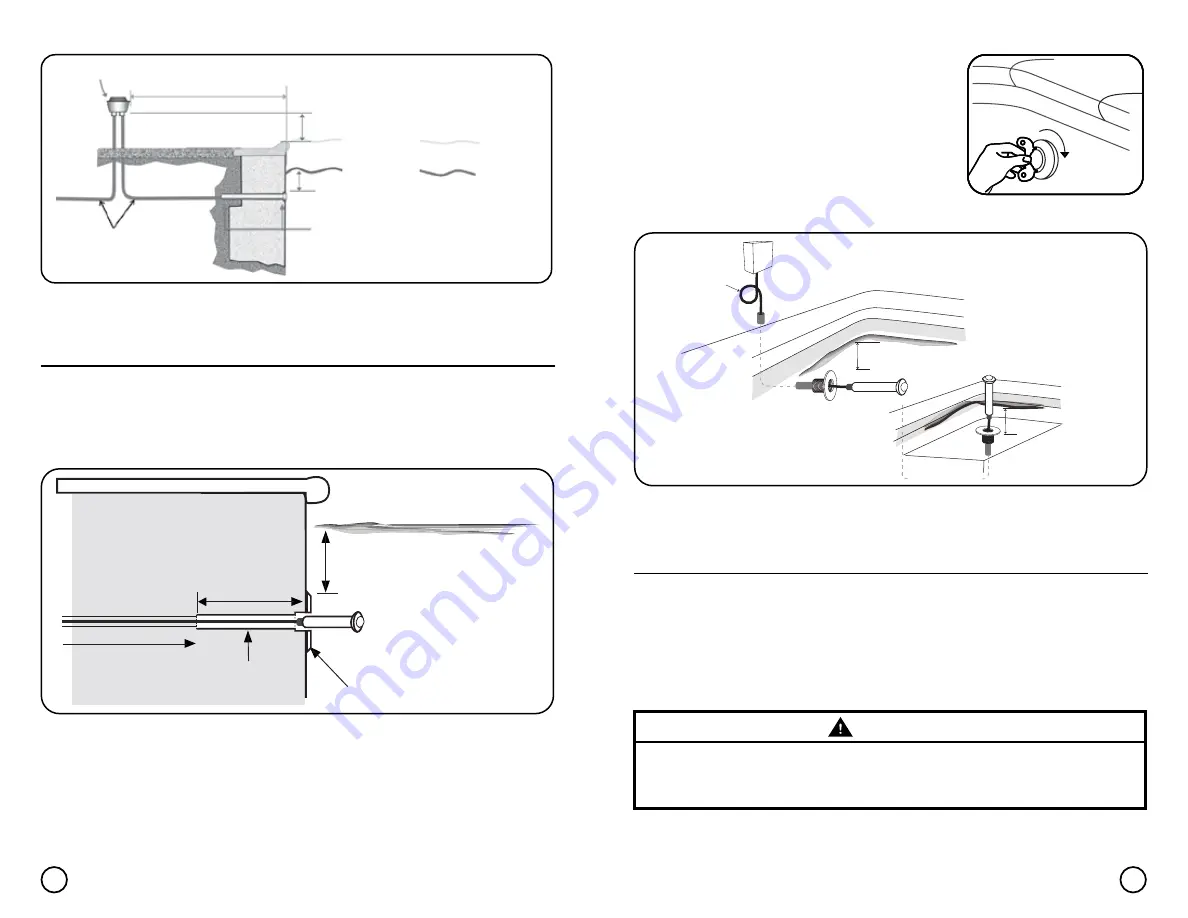
1. 1.5" pipe must be installed through the bond beam with a minimum length of fourteen (14 inches,
followed by a one (1) inch conduit with sweeps. DO NOT use 90 degree elbows. It is highly
recommended to use 1.5" pipe through out the entire width of the bond beam. (see Figure 2).
2. Snake the 2-Conductor electrical cord through the conduit outlet of the wall fitting, into the
conduit and up to the location of the 12VAC pool transformer. Cut off the cord, after allowing
for service and length of run to the transformer. A length of cord with 18" - 24" of excess
cord is recommended for the service loop. Pull the fixture snug to the wall fitting.
NOTE:
THESE STEPS ARE TO BE PERFORMED ONLY AFTER ALL ELECTRICAL
SYSTEM REQUIREMENTS ARE MET.
NOTE:
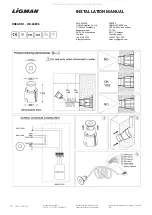
When using a 1 1/2" MIP fitting on the back of a SP-1022 or SP-1048 wall fitting,
the interior dimension of the Spears or Dura brands of MIP are both too small for
proper installation of the Halco ProLED
®
Nicheless Lights.
INSTALLING THE HALCO PROLED® NICHELESS
LIGHT FIXTURE
See chart on page 4 for min.
length requirements.
1” minimum rigid conduit No 90°
degree elbows.
4” Min. from water level to top of lens.
1.5” Pipe.
1.5” Threaded wall fitting.
Figure 2: Standard
Halco ProLED
®
Nicheless Light installation with 1.5" pool wall fitting.
5
6
Figure 1:
Halco ProLED
®
Nicheless Light installation with standard 1.5" plastic fitting.
48” min. Check local city and state for other j-box requirements.
12 VAC Class 2 Transformer or Junction Box.
8” minimum to maximum water level.
4” min to top of lens.
1.5” pipe through bond beam and a minimum length
for each style light. (See Light Info Charts, p.4)
Rigid 1” Rigid Electrical Conduit. Sweep
elbows only, no 90º elbows.
Vertical installations such as bench and walk-out locations
will use ALL of the same clearance requirements.
MAX POSSIBLE WATER LINE (top of copping)
3. Using the included Lens Key, thread the light into the
wall fitting until it is snug.
NOTE TO INSTALLER:
Please provide the pool owner
with at least 1 Lens Key upon completion of installation.
Figure 3:
Lens Key Operation.
Tighten
Figure 4:
Standard Halco ProLED
®
Nicheless Light installation with 1.5" pool wall fitting.
WIRING OPTIONS FOR CONTROLLING THE HALCO
PROLED
®
NICHELESS LIGHTS
NOTE:
Always consider the cable length when calculating the input voltage at the
transformer. The maximum service between a transformer and all the connected lights
should not exceed 150 ft... in length. This includes the primary run from the
Junction Box (J-Box).
Multiple Halco ProLED
®
Color-Changing Nicheless Lights may be synchronized by
being controlled on a single circuit, with a single transformer and switch, up to and not
exceeding 400 watts.
12VAC Pool Transformer, see table in Wire
Gauge and Length section for more details.
12VAC Pool Transformer.
NOTE:
Service Loop
not applicable for
Junction Box Installations.
4” Min. from water level to top of lens.
4” Min. from water level to
top of lens.
Allow 18”-24” slack
for Service Loop.
Conduit to 12VAC
transformer.
Vertical Installation for steps, Benches and Swim outs.
IMPORTANT:
All
Halco ProLED
®
Color-Changing Light Nicheless Lights
must be on the same circuit or switch, or tied into the same transformer in order
to synchronize colors. Use only solid wire and bus style terminal connectors.
WARNING


