


8
BASIC OPERATION
1. If the TV set is in standby status, pressing power
button can cancel the standby status, then enter
the power on status. The power on channel number
will display on the screen and it will disappear
without operation in several seconds.
2. Pressing power button again, the TV set will enter
standby status.
Standby set: connecting the power supply wire,
the TV set will enter standby status.
TV PROGRAM SELECTION AND VOLUME
ADJUSTMENT
You can use CH+/- button or number button to
select the TV channel number.
Press VOL+/- button to adjust the volume.
RECALL
Pressing RECALL button can switch the channel to the
last channel you watched.
MUTE FUNCTION
1. Press MUTE button to shut off the TV sound, the
screen displays mute mark.
2. Press MUTE button again or VOL+ button to turn
on the TV sound.
OSD LANGUAGE SELECTION
Select the LANGUAGE item in the menu.
1.Press MENU button to make the main menu display.
2.Press VOL+/- button to select FUNCTION menu.
3. Press CH+/- button to select LANGUAGE item.
4. Press VOL+/- button to select the language you need.
POWER ON/OFF TV
FUNCTION
LANGUAGE ENGLISH
BLUE SCREEN OFF
OSD SETTING
IMAGE POSITION
ADVANCE
SAVE MODE AUTO
CLOSED CAPTION OFF
PARENT CONTROL
FUNCTION
LANGUAGE ENGLISH
BLUE SCREEN OFF
OSD SETTING
IMAGE POSITION
ADVANCE
SAVE MODE AUTO
CLOSED CAPTION OFF
PARENT CONTROL
SOUND
SOUND
STANDARD
BALANCE 50
AVC ON
EQUALIZER
SURROUND ROOM
DIGITAL BASS ON
9
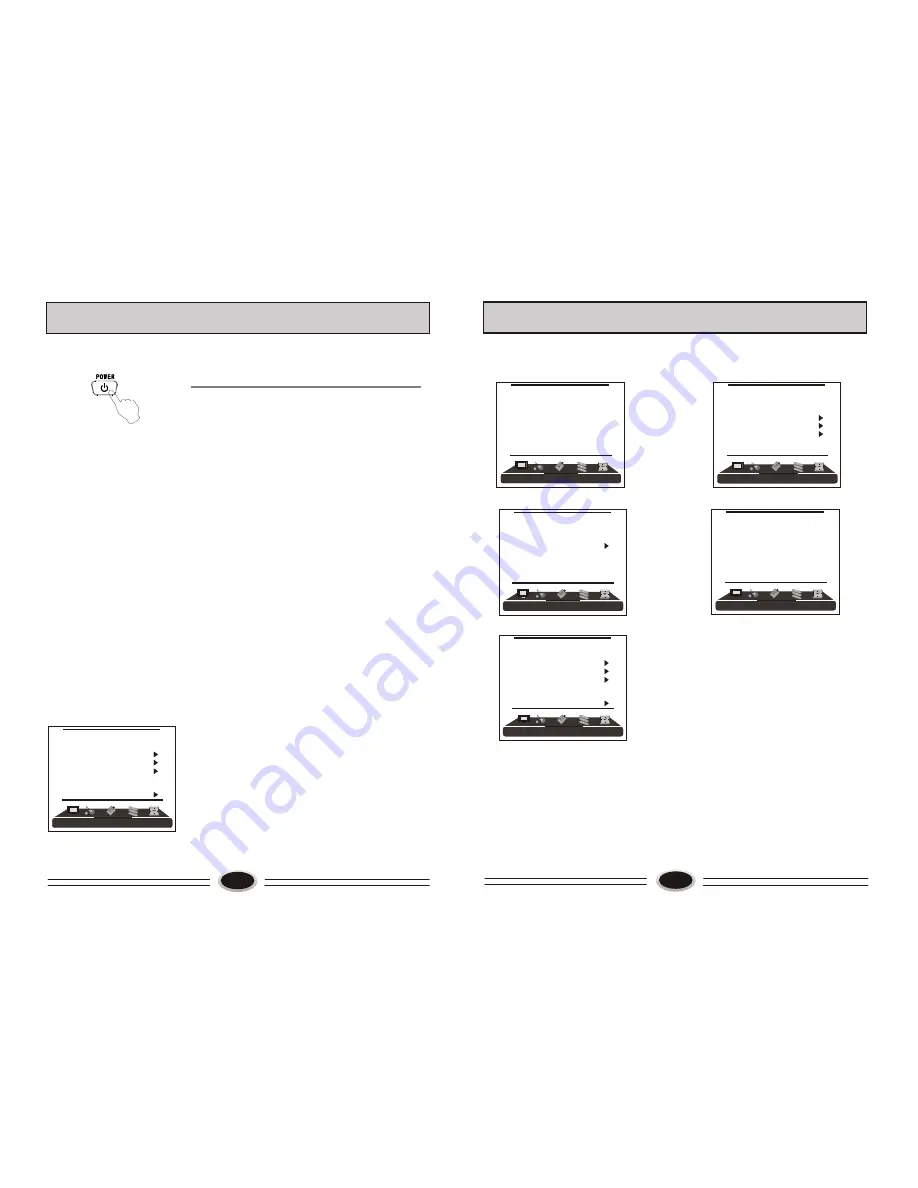
SCREEN DISPLAY
For your convenient operation and in order to know the TV set, we offer the below
menus.
Picture setting menu
Sound setting menu
Timer setting menu
Function setting menu
Tuner setting menu
Operation instructions
The real display may be different from the above menus. If you need adjust, please do as
follows:
1.Press MENU button to open the menu, press VOL+/- button to select every menu
separately.
2.Press CH+/- button to select the item needs adjust.
3.Press VOL+/- button to adjust the selected item, or enter the next menu.
4.Press MENU button to return the last menu or exit the screen menu display.
Note: “press VOL+/- button to select the menu” operation in the user’s manual, please
refer to these operation instructions.
PICTURE
PICTURE
PICTURE
SOFT
CONTRAST 45
BRIGHTNESS 45
TINT 50
COLOR 45
SHARPNESS 50
COLOR TEMP. NORMAL
ZOOM WIDE
TUNER
CH. SOURCE CABLE
CH. NUM. 11
SKIP OFF
FINE TUNE
AUTO SCAN
EDIT PROGRAM
TIMER
SLEEP TIMER OFF
CLOCK - - : - -
TIME OFF - - : - -
TIME ON - - : - -
BOOK CHAN. OFF
Содержание LC-3218P
Страница 15: ...34 ...


