732.28.428
HDE 27.07.21
1/11
en
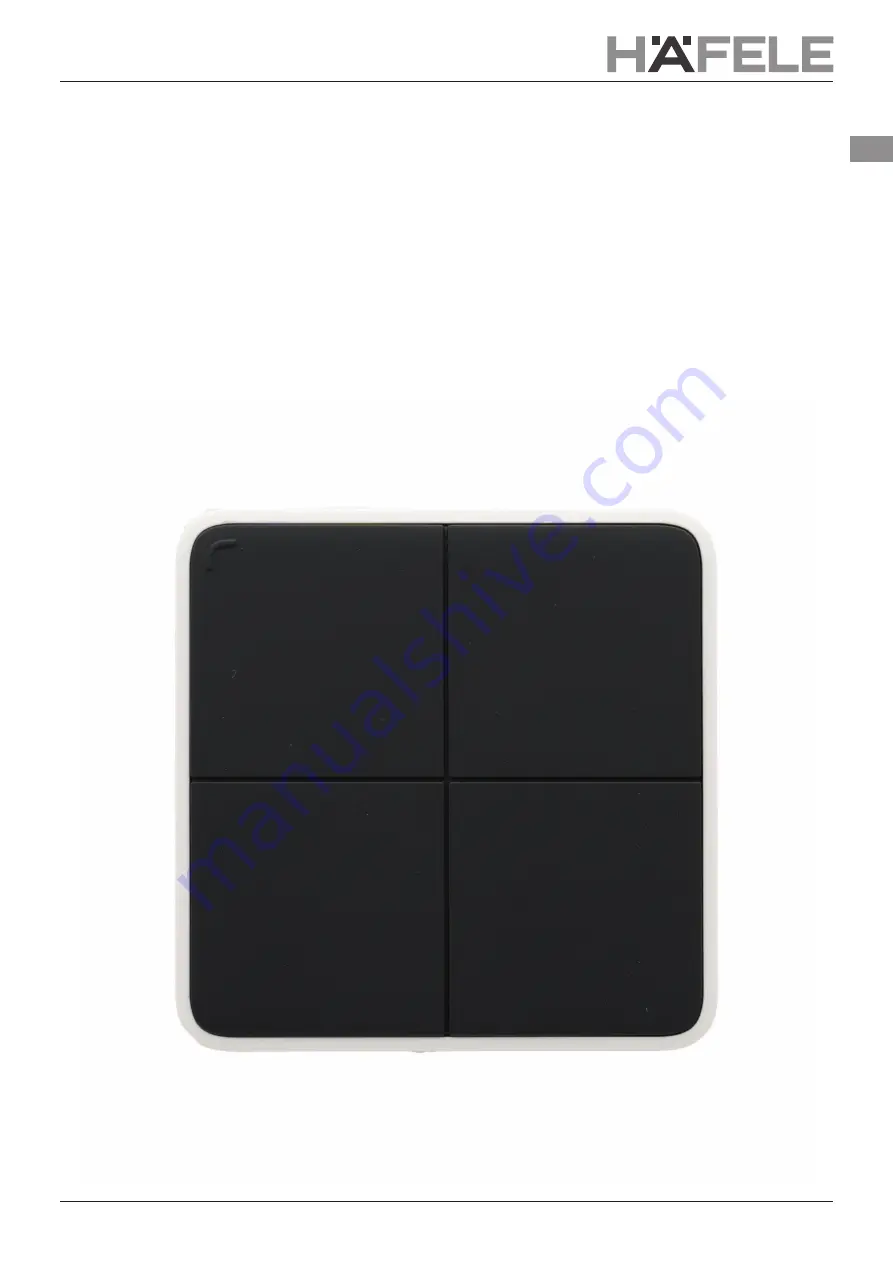
Connect Mesh Wall SwitchVersion 2.0
Страница 1: ...732 28 428 HDE 27 07 21 1 11 en Connect Mesh Wall Switch Version 2 0 ...
Страница 2: ...732 28 428 HDE 27 07 21 2 11 en 1 Change history Version Date Changes 1 0 06 2020 Initial Documentation 2 0 05 2021 Added New functions ...
Страница 3: ...et_________________________________________________________________________________________________________________7 2 7 Status LED ____________________________________________________________________________________________________________7 3 Standalone Mode_______________________________________________________________________________________________________8 3 1 Standalone Mode Wall Switch as P...
Страница 4: ...the App to control the lights The Switch can be mounted on the wall or used as a mobile control unit With Bluetooth Mesh several Bluetooth devices are combined to a meshed network This means that each device node in the network is connected to one or more devices and can communicate Devices that belong to a network work even if they are not in direct range of one another It just has to be ensured ...
Страница 5: ...428 HDE 27 07 21 5 11 en Battery Compartment CR2430 Image 3 Wall switch Hardware Version 1 Without Reset Button Battery Compartment CR2430 Image 4 Wall switch Hardware Version 2 With Reset Button Reset Button ...
Страница 6: ...start and per form the irmware update of the Mesh device more information in the speciic Häfele Connect Mesh App Option 1 Update via App If the Mesh device is provisioned and the update can be done by 1 Click on Mesh device and click on edit icon and scroll down to the bottom of the page You can ind the Update Device icon 2 Click on this icon to update the Firmware Option 2 Manual Update via Power...
Страница 7: ...r Provisioning again in the Häfele Connect Mesh App 2 7 Status LED Status LED Removable Battery Compartment Cover Image 6 The status LED is located on the back of the device Status LED Behaviour Meaning Of The Connect Mesh Wall Switch is either in normal operation mode or its power is of Waiting for 10 seconds and pressing a button will blink the status LED once In case this does not happen the ba...
Страница 8: ...ch for mesh boxes by pressing the two upper buttons for 4 seconds The led will start blinking slowly 2 Find and conigure Mesh Box When the led starts to blink fast a mesh device is found and will get conig ured 3 To stop searching for other mesh boxes press any button of the switch To start searching again continue with step 1 The buttons of the switch will control the mesh box in the following wa...
Страница 9: ...rching again continue with step 1 The buttons of the switch will control the mesh box in the following way Upper left button MW Light connected to port 1 and 2 Upper right button MW Light connected to port 3 and 4 Lower left button MW Light connected to port 5 and 6 Lower right button All lights connected Controls are Single tap On Of Long press Dim up down Tap and long press Temperature up down G...
Страница 10: ...gain continue with step 1 The buttons of the switch will control the mesh box in the following way Control RGB Light 1 connected to port 1 2 and 3 Controlled by left upper and lower buttons Control RGB Light 2 connected to port 4 5 and 6 Controlled by right upper and lower buttons Upper button Single tap On Of Long press Dim up down Tap and long press Saturation up down Lower button Long press Cha...
Страница 11: ...hing for Mesh Boxes to be provisioned with Monochrome Multi White or RGB Lights as described in Remote Control Operational manual Provisioning the Wall Switch see section 3 2 using the Standalone Mode of the Remote Control will provision the Wall Switch with the following described functions The Wall Switch behaves as group 7 on the Remote Control Group 7 Scene A Scene B Scene C image 10 Button Gr...