8
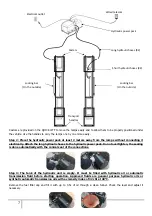
Step 4: Connect the hydraulic power pack to both booms using the quick couplings.
Step 5: Check that the electrical system is equipped with a 16 A circuit breaker. Connect the hydraulic
unit electrically to a 220V single-phase socket, your QUICK LIFT is ready to operate.
SAFTEY AREA
To achieve optimum safety, it is recommended to define an area in which other objects or walls
will be at a certain distance (2m minimum). All descent, exit and parking manoeuvres must be
carried out with the best possible attention from the operator. Nobody must be stand in the
safety area. In order to guarantee the operator's safety, the control box must be located at a
distance that allows an escape route in case of emergency.
INSTALLATION
Once the tool has been removed from its packaging, assembled and positioned on the ground, perform a no-load test
to check the QUICK LIFT's general operation.
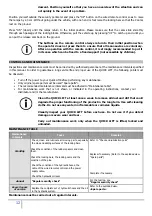
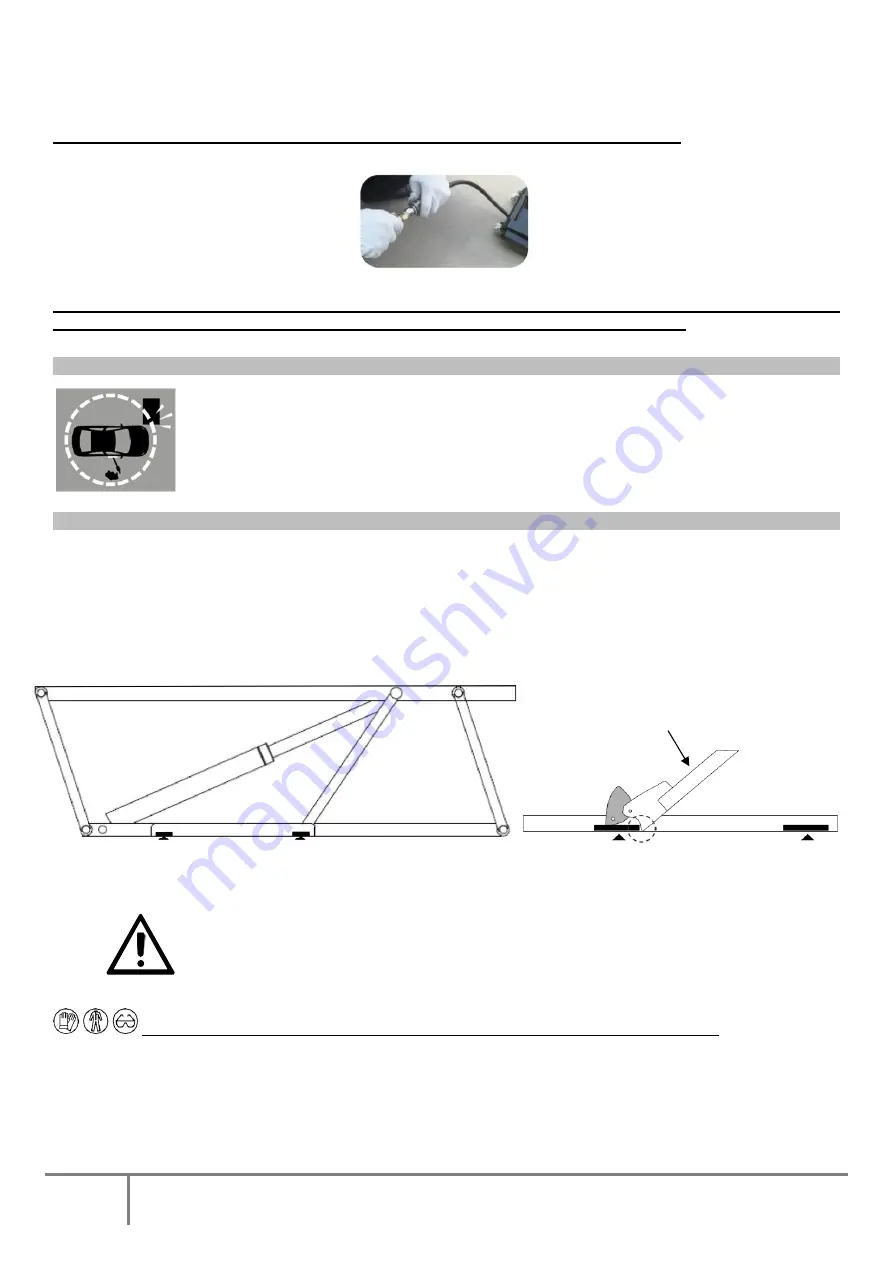
There are two positions for locking the height of the QUICK LIFT, which we will call height 1 and height 2 (max.
height) in the rest of the manual.
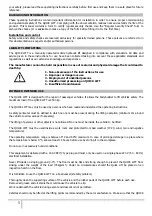
First of all, the QUICK LIFT must never be lifted unladen (without load) to the
maximum stop. The ramps could get stuck and never come down again. They are
designed to support a load during lifting. If this happens to you, please refer to
the paragraph "Abnormalities, Causes, Remedies".
Make sure you have the necessary protection: pair of glasses, safety shoes and gloves.
1/ IDLE START:
Connect the power cord of the hydraulic unit to a 220 V single-phase socket.
2/ CHECKING THE AMOUNT: use the wired remote control
a.
Press the "UP" button until the QUICK LIFT rises a few centimetres (5 to 10 cm max.).
Height 1
Height 2
Height 1
Height 2
Locking bar in locked position
height 1


