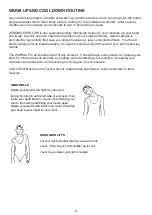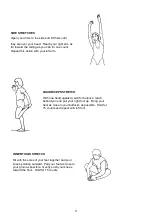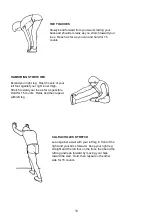
background image

7


A.

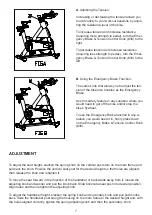
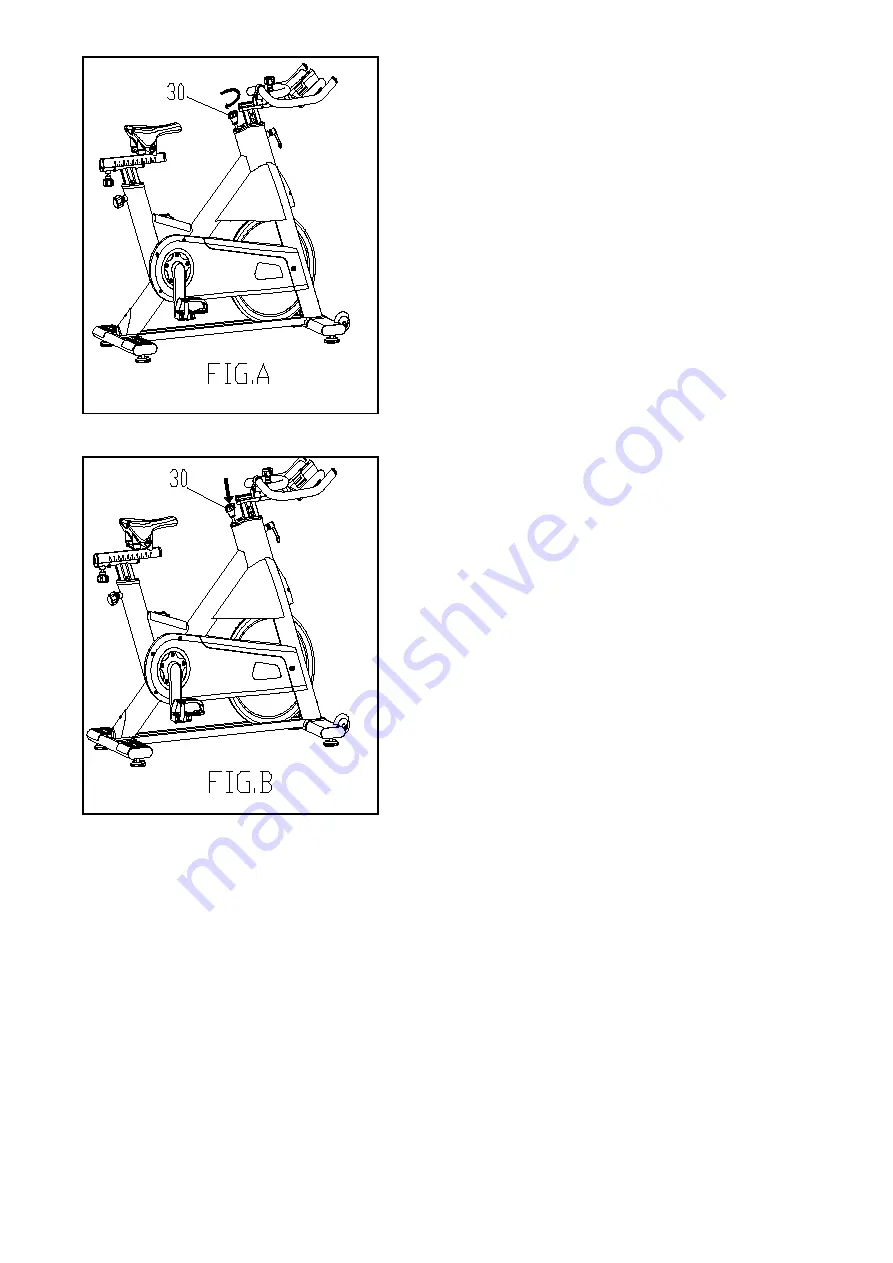
 Adjusting the Tension:

Increasing or decreasing the tension allows you 

to add variety to your workout sessions by adjus-

ting the resistance level of the bike.

To increase tension and increase resistance 

(requiring more strength to pedal), turn the Emer

-

gency Brake & Tension Control Knob (#30) to the 

right.

To decrease tension and increase resistance 

(requiring less strength to pedaL), turn the Emer

-

gency Brake & Tension Control Knob (#30) to the 

left.


B.

 Using the Emergency Brake Function:

The same knob that allows you to adjust the ten-

sion of the bike also doubles as the Emergency

Brake.

Use this safety feature in any situation where you 

would need to get off the bike and/or stop the 

bike’s flywheel.

To use the Emergency Brake function in any si-

tuation you would need it in, firmly press down

on the Emergency Brake & Tension Control Knob 

(#30).

ADJUSTMENT

To adjust the seat height, slacken the spring knob on the vertical post stem on the main frame and 

pull back the knob. Position the vertical seat post for the desired height so that holes are aligned, 

then release the knob and retighten it. 

To move the seat forward in the direction of the handlebar or backwards away from it, loosen the 

adjusting knob and washer and pull the knob back. Slide horizontal seat post into desired position. 

Align holes and then retighten the adjusting knob. 

To adjust the handlebar height, slacken the spring knob and secondary knob and pull both knobs 

back. Slide the handlebar post along the housing on the main frame to the desired height and, with 

the holes aligned correctly, tighten the spring adjusting knob and then the secondary knob.

Содержание PRO FTR

Страница 1: ...1 PRO FTR INDOOR RACER USER MANUAL Read all instructions carefully before using this product Retain this owner s manual for future reference...

Страница 2: ...that the trai ner is in the safe condition 9 Hold a routine inspection of the equipment Pay special attention to components which are the most susceptible to wear off i e connecting points and wheels...

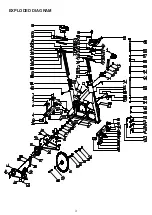
Страница 3: ...3 EXPLODED DIAGRAM...
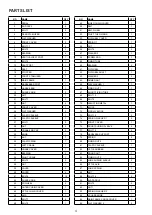
Страница 4: ...OLT 8 2 22 NUT 2 70 ADJUSTING METAL 1 23 FRONT COVER 1 71 BLOCK 1 24 FLAT WASHER 2 72 WOOLLY BLOCK 1 25 PLASTIC SLEEVE 1 73 BOLT 14 2 26 PLASTIC SLEEVE 1 74 SPRING WASHER 1 2 27 BOLT 1 5 75 FRONT COVE...

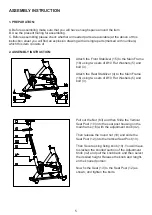
Страница 5: ...Washers 5 and bolt 3 Attach the Rear Stabilizer 4 to the Main Frame 16 using two sets of 10 Flat Washers 5 and bolt 3 Pull out the Nut 83 and then Slide the Vertical Seat Post 10 into the seat post ho...

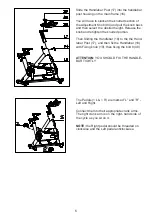
Страница 6: ...d portion Then Sliding the Handlebar 18 to the the Hand lebar Post 17 and then fix the Handlebar 18 with Fixing knob 19 then fixing the bolt 8 48 ATTENTION YOU SHOULD FIX THE HANDLE BAR TIGHTLY The Pe...

Страница 7: ...Emergency Brake function in any si tuation you would need it in firmly press down on the Emergency Brake Tension Control Knob 30 ADJUSTMENT To adjust the seat height slacken the spring knob on the ve...

Страница 8: ...of your entire exercise routine The WARM UP is an important part of any workout It should begin every session to prepare your body for more strenuous exercise by heating up and stretching your muscles...

Страница 9: ...RICEPS STRETCH With one hand against a wall for balance reach behind you and pull your right foot up Bring your heel as close to your buttocks as possible Hold for 15 counts and repeat with left foot...

Страница 10: ...an against a wall with your left leg in front of the right and your arms forward Keep your right leg straight and the left foot on the floor then bend the left leg and lean forward by moving your hips...

Страница 11: ...he date of purchase For eventual defects please contact the dealer of this product within the guarantee period The warranty applies to the following parts as far as included in the scope of delivery f...

Отзывы: