WWW.GVISION-USA.COM
30398 Esperanza, Rancho Santa Margarita CA 92688 / Tel. 949-586-3338 / Fax. 949-272-4594 / Email. [email protected]
19
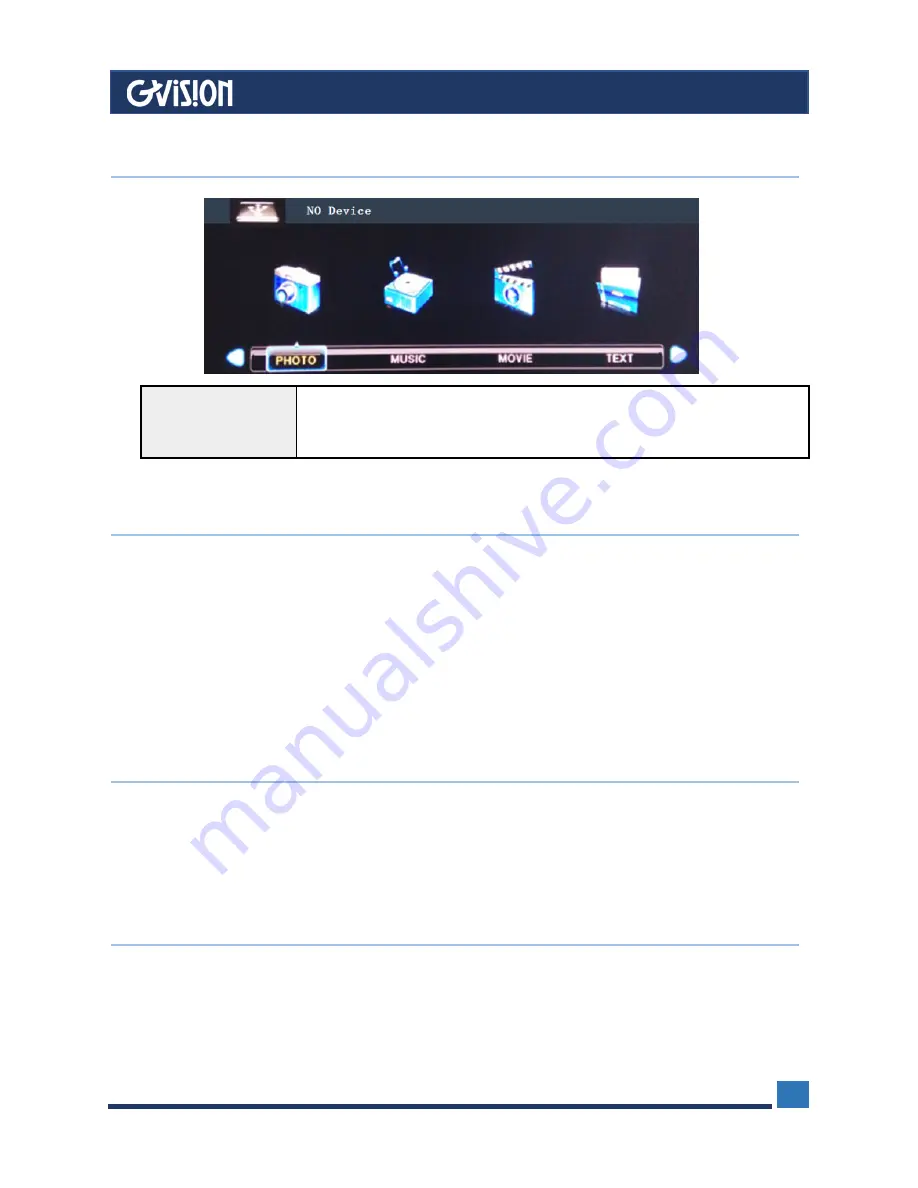
Function
Press the “< or >” button to select some functions. For
example; ”PHOTO, MUSIC, MOVIE, TEXT”.
The default priority auto
play video.
8
Setup Under SD Card / USB
9
Care and Cleaning
CAUTION:
Turn off your MONITOR before cleaning.
You can clean the MONITOR as required, using a soft lint-free cloth. Be sure to occasionally
dust the ventilation slots in the cabinet to help assure adequate ventilation.
The Monitor’s screen may be cleaned with a soft, lint-free cloth as well. Take care not to
scratch or mar the screen. If necessary, you may use a cloth dampened with warm water. While
cleaning do not spray liquid directly on the screen, or allow liquid to run down the screen and
inside the Monitor. Also, never place drinks or vases with water on top of the monitor. This could
increase the risk of
fi
re or shock hazard or damage to the monitor.
10
Mounting Monitor to Wall
CAUTION
: The wall mount must bear a minimum of five times. The monitor’s net weight without
causing damage. To mount your MONITOR to the wall you need to purchase a VESA wall
mount 100x100mm or 75x75mm, KM4x 8mm (100 x 100, for example, means the mounting
measurements are 100mm horizontally and 100mm vertically; M4 x 8 mm is the types of screw
that needs to be used).
11
Camera Setting
If you want to access the IP camera OSD to change the setting including IP address, color
adjust, recording activity, etc. Pls log into the IP camera via web or the VMS software in the CD,
the default IP address is Dynamic, and
User name: admin / Password: admin


