════════════════════════════════════════════════
13
4 Wires Resistive Serial Touch Screen Controller Hardware Installation
This chapter discusses how to install your 4 wires resistive serial touch screen controller, follow the directions
starting on the next section to install the controller to your computer.
IMPORTANT:
Before connecting the touch screen controller to your computer system,
Be sure that the computer system is turned off.
1. Turning Off Your Computer System
Before you install the 4 wires resistive serial touch screen controller, turn off your computer system.
2. Connecting the Controller
The 4 wires resistive serial touch screen controller includes a 6-pin IBM PS/2 compatible keyboard power tap
cable, which using to provide power to the controller. You may need 5-pin to 6-pin IBM PS/2 compatible keyboard
adapter if the only available keyboard socket on your computer has 5-pin.
To connect the keyboard power tap cable:
• Disconnect the keyboard cable from the back of your computer.
• Plug the keyboard cable into the power tap cable.
• Plug the power tap cable into the keyboard socket on the back of your computer.
• Connect the DC plug from the power tap cable to the jack built into the 9-pin D connector.
3. Mounting the Touch Panel
There are several methods for mounting the touch panel (or sensor) depending on your application. The 4 wires
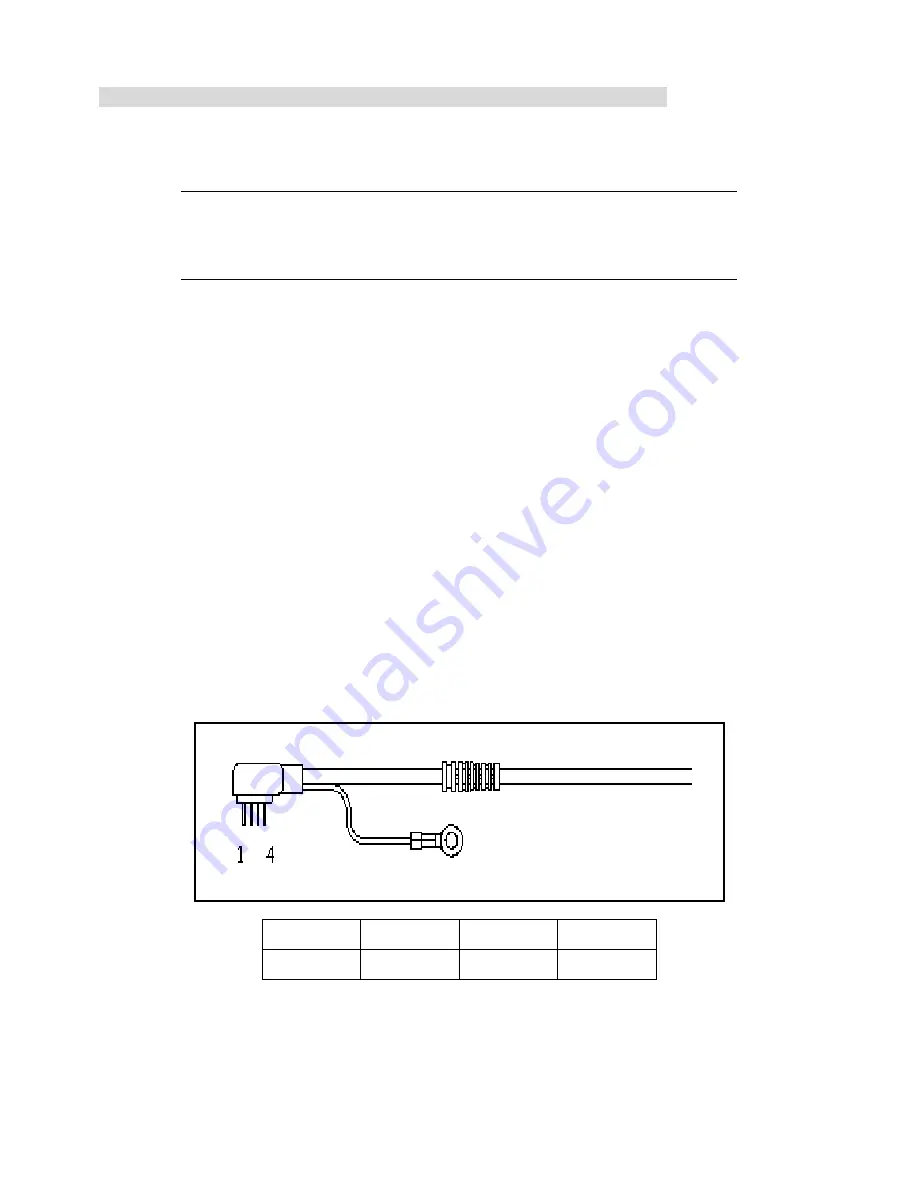
resistive serial touch screen controller included a 4-pin ( pitch 2.54mm) touch panel cable. The Pin Assignment of
Touch Panel Cable listed in below, if your touch panel’s pin out does not match it, you may need jumping cable.
Pin 1
Pin 2
Pin 3
Pin 4
YU YD XR XL


