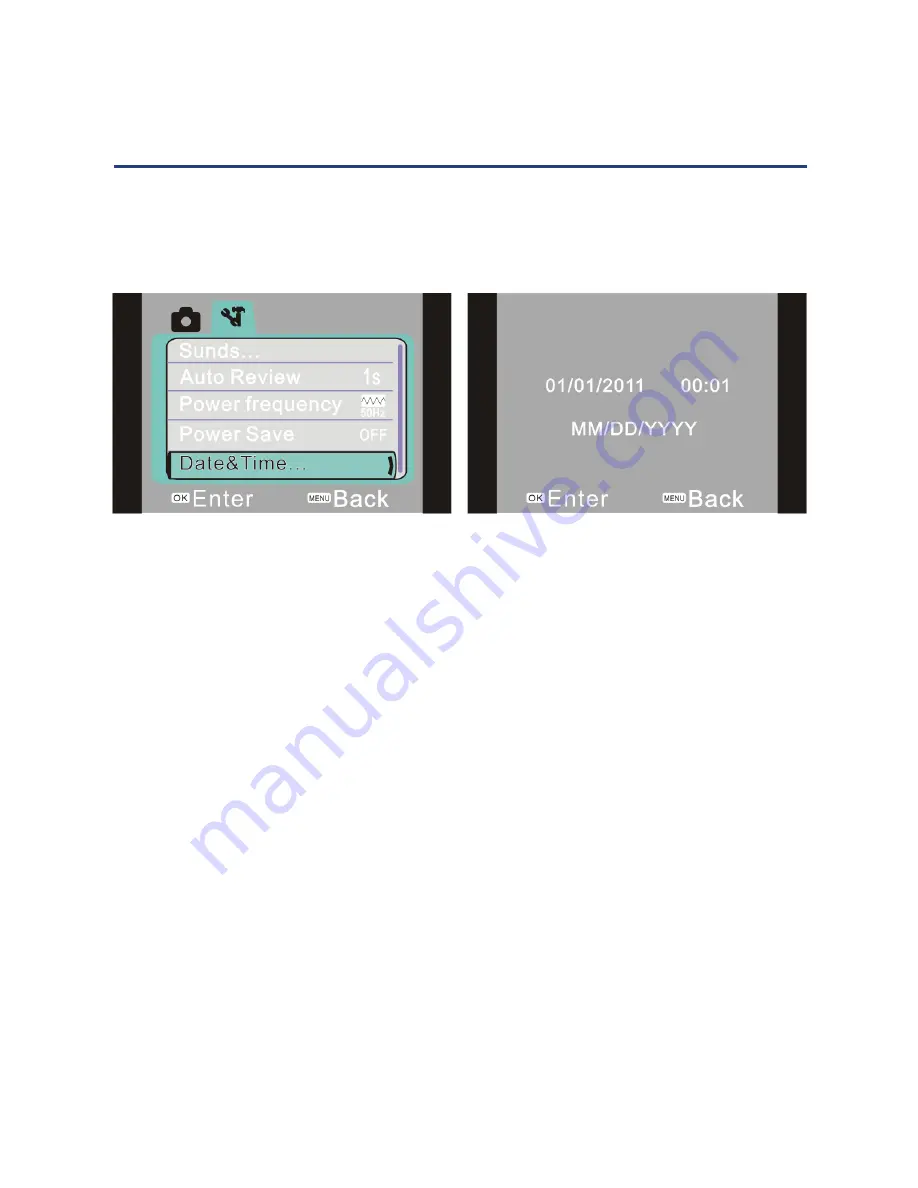
Date and time setting
Press the MENU button to open the menu, then press the LEFT or RIGHT button to
enter the setting menu. Press the DOWN button to select the “Date and Time” menu
option, as illustrated below left, then press OK to enter the setting window.
In the setting window (see above right), press the LEFT and RIGHT button to select
the item to be adjusted: date (month/date/year) and time (hours/minutes). When
the relevant number appears in yellow, use the UP or DOWN button to adjust the
value. After the date/time adjustment is completed, press the OK button to confirm
or press the MENU button to cancel the setting and exit. Finally press the MENU
button to exit the setting mode.
Connecting to the computer
Before connecting the camera to a computer for use as a webcam, you must install
the driver program (on the supplied CD) — see page 22
for instructions.
For transferring photos/video footage to a computer, first connect the power supply
of the video camera. Then use the supplied USB cable to connect the camera to a
USB port of your computer. The video camera will automatically enter movable disk
mode and will appear as a “Removable Disk Drive”.
Quick Start Guide (Cont.)
12


