30
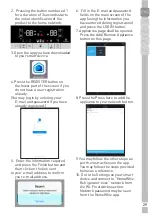
11. Return to HomeWhiz app after
connecting your smart device to
the “HomeWhiz” network. You
may see the fridge you are adding
on the app. Go to the next step by
touching the Next button.
12. On the next step, you may see the
list of nearby networks. Select the
network you want to connect the
fridge to and enter its password.
Press the Next button.
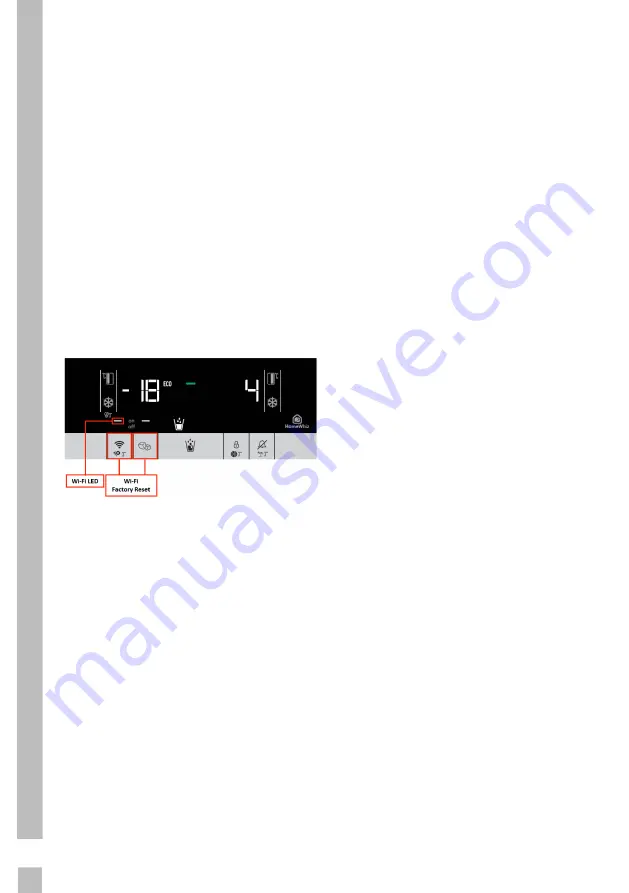
13. On the next step, you may
see that Wi-Fi Led icon on the
fridge display is flashing while
it is connecting to the network
you have selected, and then it
is illuminated solidly when the
connection is completed.
14. You shall connect to the same
network from the smart device
after connecting your fridge to the
network you have selected. If your
smart device does not perform the
connection automatically, go to the
Settings on your smart device and
connect to the network your fridge
is connected.
15. Return to HomeWhiz app after
ensuring that your smart device
and your fridge are connected to
the same network and give your
fridge a name as the final step.
You may see the appliance you
have added on the “Products”
page when you press the “Add
Appliance” button
16. You may use your fridge on more
than one smart device. For this
purpose, download HomeWhiz
app to the other smart device. You
shall log in to your account when
you open the app. If you log in to
an account that you have already
added a product, you may start
using fridge directly after logging
in. Follow the instructions below
if you want to register a new
account.
É
Create a new account and log in
to this account in the HomeWhiz
app. Ensure that your your
smart device and fridge are
connected to the same network.
É
Press Add/Remove Product
button on the products page.
You may see the product and to
which user it belongs to in the
“Other Products” tab.
É
Touch the symbol next to the
fridge you want to add and name
the product.
É
Your product adding request
shall be sent to the owner of the
product by e-mail. You may start
to use the product in common
after the owner confirms.
17. It is not required that your your
smart device and fridge are
connected to the same network
after the set-up operations are
completed. You may use your
product provided that your smart
device is connected to internet.
18. You may see the products paired
with your account by touching the
“Add/Remove Product” button on
the “Products” page in the app.
You may perform the user pairing
operation of these products on this
page.
19. You may turn on or off the Wi-Fi
feature of your fridge by pressing
shortly on the Wi-Fi key on the
display.
Содержание GSBS14620XWF
Страница 1: ...ENG DE www grundig com REFRIGERATOR USER INSTRUCTIONS RO PL CZ GSBS14620XWF ...
Страница 2: ......
Страница 35: ...33 CZ PL RO Press twice Press once ...
Страница 86: ...36 Zweimal drücken Einmal drücken ...
Страница 105: ...Notes ...
Страница 106: ...Notes ...
Страница 107: ...www grundig com 57 6629 00000 AK 1 3 EN DE ...
Страница 108: ...ENG DE www grundig com REFRIGERATOR USER INSTRUCTIONS RO PL CZ GSBS14620XWF ...
Страница 109: ......
Страница 144: ...35 CZ PL RO Apăsați de două ori Apăsați o dată ...
Страница 191: ...33 CZ RO PL Nacisnąć dwukrotnie Nacisnąć jeden raz ...
Страница 210: ...Notes ...
Страница 211: ...Notes ...
Страница 212: ...www grundig com 57 6629 00000 AK 2 3 RO PL ...
Страница 213: ...ENG DE www grundig com REFRIGERATOR USER INSTRUCTIONS RO PL CZ GSBS14620XWF ...
Страница 214: ......
Страница 246: ...32 Zmáčkněte dvakrát Zmáčkněte jednou ...
Страница 262: ...Notes ...
Страница 263: ...Notes ...
Страница 264: ...www grundig com 57 6629 00000 AK 3 3 CZ ...


