


Do not touch the surface of the screen with sharp or abrasive items (like
pens or screwdrivers), as this could scratch the display.
The monitor is only for indoor use. Please do not install it in an
environment where it is exposed to oil, vapor, steam, moisture and dust,
but in a clean environment with low humidity.
Do not apply any pressure to the monitor screen as the screen may
break.
Do not install the monitor in a location that is exposed to direct sunlight,
dust, mechanical vibration or shock.
Always place the monitor on a flat surface.
Connect the power supply to the socket and plug the video cable or
HDMI/VGA cable to the desired signal source.
Disconnect the power plug from the power outlet under following
conditions:
- If you will not use it for an indefinite period of time.
- When the power cord or plug is damaged or frayed.
- If the product has been dropped or the cabinet has been damaged.
- If the product exhibits a distinct change in performance, this indicates a
need for service.
To clean the monitor's plastic case and display, a soft, lint-free cloth can
be used. Do not use any cleaning materials with abrasive surfaces like
scrub pads to clean your monitor.
To clean the display, a slightly damp cloth may be used to clean off
fingerprints or smudges. Please unplug the monitor first before
attempting cleaning with a damp cloth.
To clean the plastic case, a mild detergent may be used to clean the
surface. But please do not use too much detergent or water as this
could leak into the interior of the monitor. Please unplug the monitor
first before attempting cleaning with a detergent or water.
Do NOT use any liquid cleaners based on alcohol, methylated spirit or
ammonia or aerosol cleaners, as this may damage any coating present
on the glass surface of the monitor. Use only mild soap or detergent
with water or special cleaners for cleaning glass panels Accessories
3 Package content
Please check the following listed accessories before installation:
1x AC cable, 1x HDMI cable, 1x User Manual, 1x LCD Monitor
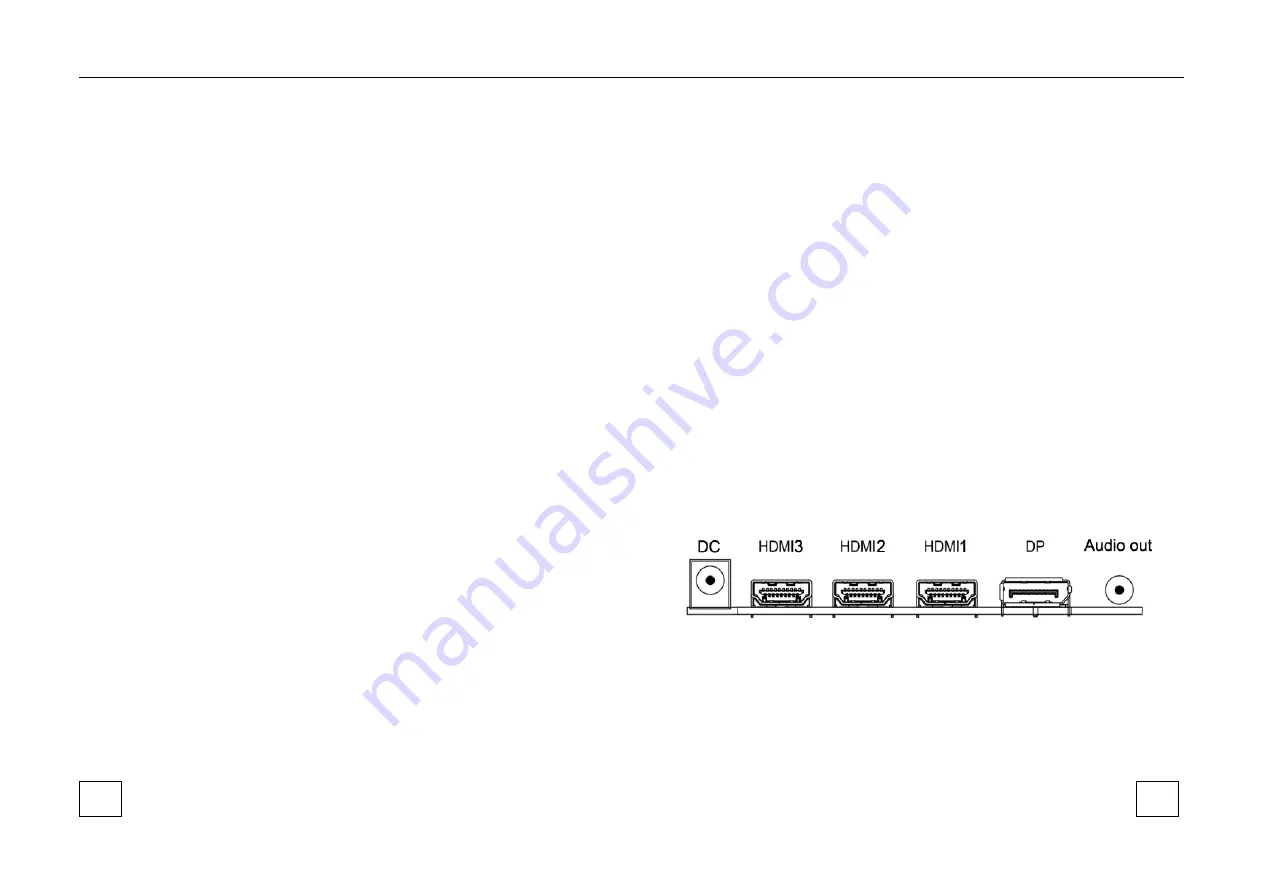
4 Connections
Rear Interface
DC:
power supply 12V 5A
HDMI (1/2/3):
Lets you connect a device, such as a digital cable box, with an
HDMI or a DVI output. HDMI (High Definition Multimedia Interface) provides
an uncompressed digital connection that carries
both video and audio data by
way of an integrated mini-plug cable. Since HDMI technology is based on
3
5
6


