Grundig DSR 1750 MICRO Скачать руководство пользователя страница 6

6

SET-UP AND SAFETY

___________________________

To ensure that this high-quality and user-friendly digital receiver
provides you with many years of entertainment, please observe the
following instructions:

This digital receiver set is designed to receive video and audio
signals. Any other use is expressly prohibited.

When setting up the device, make sure the mains plug is easily
accessible. 

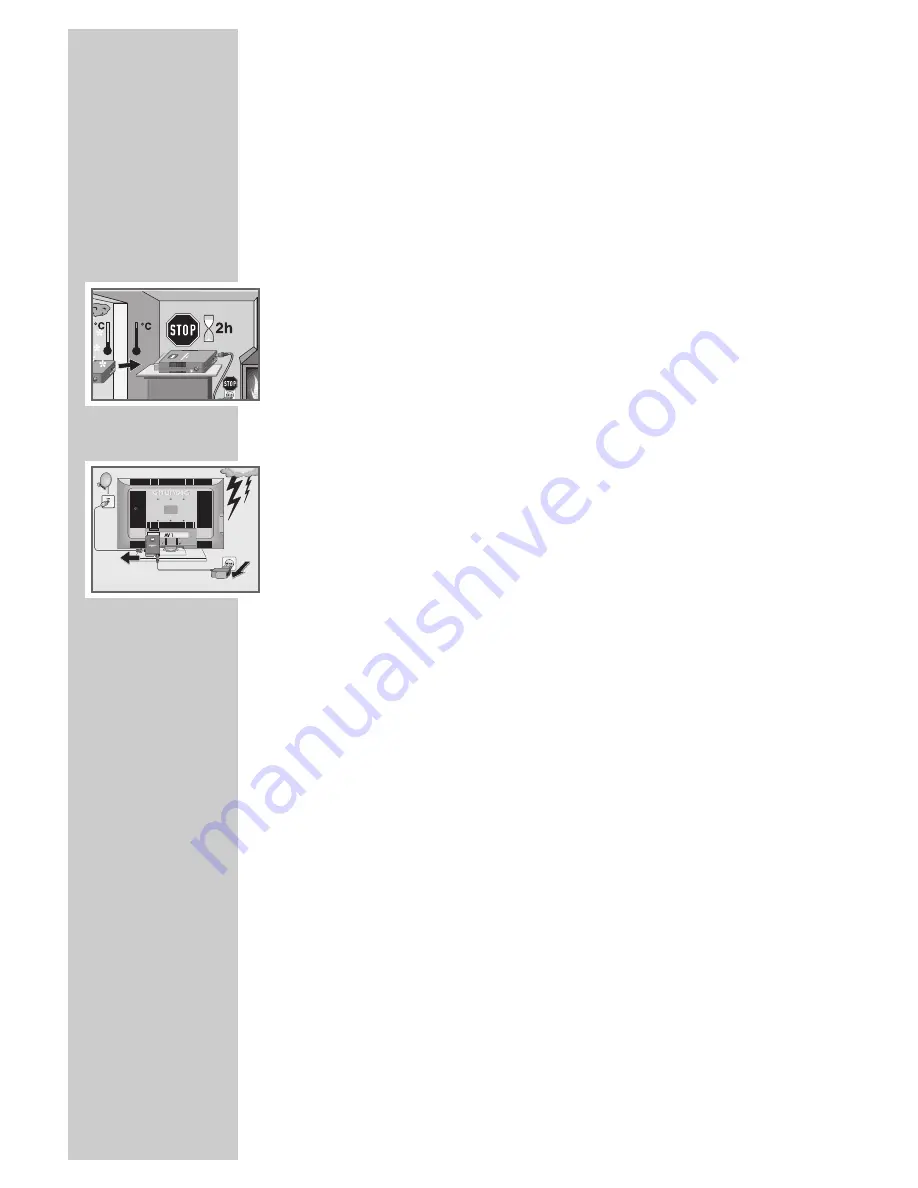
If the digital receiver is subject to a sudden change in temperature,
for example when brought in from the cold to a warm room, leave
it to stand for at least two hours before you connect it to the mains
supply. 

Do not expose the digital receiver to moisture of any kind. 
The digital receiver is designed for use in dry rooms. If you do use
it outdoors, make sure it is protected from moisture such as rain or
splashing water.

Thunderstorms are a danger to all electrical devices. Even if the
digital receiver is switched off, it can be damaged by a lightning
strike to the mains or the antenna. 
Always disconnect the mains and antenna plugs during a storm.

Never open the digital receiver casing under any circumstances.
Warranty claims are excluded for damage resulting from improper
handling.

Note:

Do not connect any other equipment while the device is switched
on.
Switch off the other equipment as well before connecting it.
Do not plug in the power supply of your device until you have 
connected the external equipment and the antenna.
Make sure the power supply is freely accessible.

Содержание DSR 1750 MICRO

Страница 1: ...DIGITAL SATELLITE RECEIVER DSR 1750 MICRO...

Страница 2: ...erting batteries into the remote control 11 17 Basic settings 11 The menu 12 Initial setup 13 Setting stations Option 1 14 15 Setting stations Option 2 16 17 Editing channel lists 18 20 Basic function...

Страница 3: ...eiver to its original state 32 Updating the digital receiver software 33 Changing remote control levels 34 37 Upgrading the television 34 Connecting a GRUNDIG television with the Digi 200 G2 chassis 3...

Страница 4: ...t every digital TV or radio station is assigned to one transmission frequency but several TV and or radio stations are broadcast by one transponder To help you with the choice and settings for satelli...

Страница 5: ...ting manual The TV guide informs you of any schedule changes at short notice and also provides an overview of all the channels schedules for the next few hours Detailed information on individual telev...

Страница 6: ...to moisture of any kind The digital receiver is designed for use in dry rooms If you do use it outdoors make sure it is protected from moisture such as rain or splashing water Thunderstorms are a dan...

Страница 7: ...red receiver The infrared receiver receives the infrared signals for the remote control and forwards the commands by wire to the receiver Position the infrared receiver so that it can receive the remo...

Страница 8: ...mode to teletext mode mix mode and back to TV mode TV G Opens and closes the electronic TV guide TV Switches to TV mode MHP This button has no function A B Switches between the last two selected stati...

Страница 9: ...tellite antenna to the socket on the digital receiver screw connector F connector Connecting the television 1 Plug the digital receiver into the corresponding scart socket on the television use enclos...

Страница 10: ...into the remote control 1 Open the battery compartment by removing the lid 2 Insert the batteries AA 2 x 1 5 V Make sure the polarity is correct as shown on the base of the battery compartment 3 Clos...

Страница 11: ...and the digital receiver Press i to open the main menu You can navigate in the menu by pressing P or P and select the desired symbol The selected symbol is highlighted When you press OK to confirm yo...

Страница 12: ...guration of the reception system antenna LNB frequencies multiswitch The settings are described on page 14 Searching for new stations New satellite channels are frequently added or satellite data is c...

Страница 13: ...for your TV using or 7 Choose TV Output Format with P or P and enter the video signal for your TV using or 8 Select OK with P or P and press OK to confirm the entries The LNB settings menu appears an...

Страница 14: ...ect OK with P or P and press OK to confirm the entries The LNB settings menu appears and the satellite Astra 19 2 East is set under Position A Note If you wish to receive several satellites and your r...

Страница 15: ...firm Save settings with OK 10 Select OK with P or P and press OK to confirm the entries Notes The preprogrammed stations for the Astra 19 2 East satellite are transferred to the channel list The stati...

Страница 16: ...annel list using P or P 4 Press z to delete the station 5 Press Z to conclude the setting 6 Using or choose Yes confirm deletion Cancel return to channel list or No do not confirm deletion and confirm...

Страница 17: ...nclude the setting Filtering stations in the channel list You can select stations in the channel list according to several criteria Satellite the stations of a satellite of several satellites or of al...

Страница 18: ...re ignored Note Every time you change station a display appears informing you of the current channel number the name of the station the time the title of the current and subsequent broadcast and the s...

Страница 19: ...n screen Muting the sound 1 Press d on the remote control to mute the sound 2 Press d on the remote control to switch the sound on again You will hear the sound at the volume previously set Displaying...

Страница 20: ...tions Some broadcasters do not supply any information 2 Press P P or to select the programmes Notes You can use the colour buttons to switch directly to the morning afternoon or evening programmes 3 P...

Страница 21: ...ivate the mix mode The teletext is superimposed on the television picture 6 To switch off the teletext press TXT again Additional functions Selecting a teletext page directly Most main pages display t...

Страница 22: ...m edges of the screen The picture is cropped on the left and right Letterbox 14 9 and Letterbox 16 9 for widescreen playback with black bars at the top and bottom of the television screen If you selec...

Страница 23: ...e default settings factory settings with this function 1 Select Restore Default Settings with P or P and press OK to confirm 2 Using set the security query to Yes and confirm this with OK Ending the s...

Страница 24: ...itle language You can select the language for the subtitles 1 Select Subtitle Language with P or P 2 Press or to select the desired language Selecting the second subtitle language If the subtitles are...

Страница 25: ...essing P or P 2 Press or to select the desired display duration Automatic info banner You can determine whether the info banner should be displayed when a new programme starts 1 Select Info Banner Aut...

Страница 26: ...t time zone menu option 1 Select Time Zone GMT with P or P 2 Press or to select your time zone Selecting summer time You can only select summer time if the Manual option is selected in the Set time zo...

Страница 27: ...to confirm 7 Press or to select the day and press OK to confirm 8 Use 0 to 9 to enter the start and end time in four digits 9 Press or to select the cycle and press OK to confirm 10 Press OK to store...

Страница 28: ...y be opened when the PIN code is entered 1 Select Menu Lock with P or P 2 Press or to switch the menu lock on or off Parental control You can set a minimum age for certain programmes here 1 Select Par...

Страница 29: ...to open the main menu The main menu is displayed 2 Select Search for Channels with P or P and press OK to confirm 3 Select Automatic Search with P or P and press OK to confirm 4 Choose Satellite with...

Страница 30: ...t predefined Symbol Rate Enter five digit symbol rate of channel with 1 0 only required if the transponder is not predefined Polarisation Select polarisation of channel hori zontal or vertical with or...

Страница 31: ...ress i to open the main menu The main menu is displayed 2 Select Box Settings with P or P and press OK to confirm The Box Settings menu appears 3 Select Miscellaneous Settings with P or P and press OK...

Страница 32: ...open the main menu 2 Select Technical Information with P or P and press OK to confirm 3 Select System Information with P or P and press OK to confirm 4 Confirm Update Software with OK The digital rece...

Страница 33: ...press Z to quit the menu 2 Press and hold down DR and press OK to confirm If you now want to use the digital receiver with the second remote control level you must first press and hold down DR while p...

Страница 34: ...ASY DIALOG is showing main menu by pressing the green button Connecting the communication line to the receiver 1 Plug the communication line into the IR remote and 12 VDC sockets Note The communicatio...

Страница 35: ...7 Select the Euro AV socket with P or P and press OK to confirm 8 Select Install external module with P or P and start the installation with OK Note When the installation has been successfully comple...

Страница 36: ...lection PIP Displays an inset picture Returns to normal picture AV Opens the pre selection for AV channels Then select with P or P d Sound on off mute i Opens the television EASY DIALOG menu main menu...

Страница 37: ...he appropriate button Note The DR button has been programmed for operating a GRUNDIG digital receiver remote control level 1 The DVD button has been programmed for operat ing a GRUNDIG DVD player You...

Страница 38: ...the settings of your receiver unit but also on the channel which is currently active Remember this when aligning your antenna using the signal level display 5 Press i to quit the menu Displaying devic...

Страница 39: ...ion selected Teletext VPS Teletext decoder installed supports the teletext of the television set Software download Via Astra 19 2 East satellite Mains supply DC 12 V with power supply unit 240 V 50 Hz...

Страница 40: ...perly connected incorrect settings in the Video output menu The sound is muted the SCART cable is incorrectly connected or the receiver volume is set to low The satellite antenna is not cor rectly ins...

Страница 41: ...Grundig Multimedia B V Atrium Strawinskylaan 3105 NL 1077 ZX Amsterdam http www grundig com 07 37 72011 801 6500...

Отзывы: