11
Maintenance
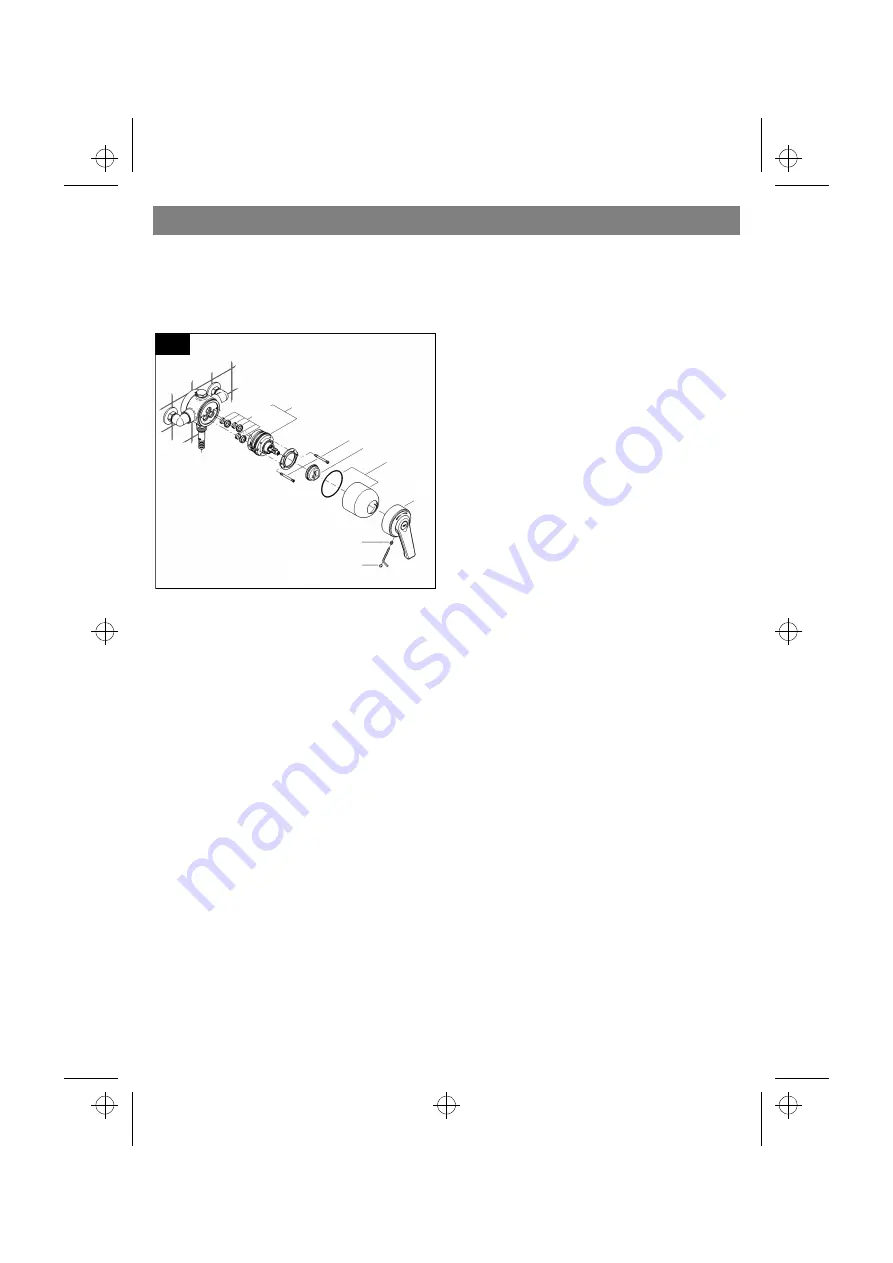
Ceramic Cartridge
1.Shut off hot and cold water supply!
2.Lever out plug (O), see Fig. [13].
3.Remove set screw (P) with 3mm socket
spanner
4.Pull off lever (R).
5.Unscrew cap (S).
6.Pull off temperature limiter (T) and note
position.
7.Remove screws (U) and detach complete
cartridge (V).
8.Change either the complete cartridge (V)
or seals (V1).
Assemble in reverse order.
Make sure that the cartridge seals (V1)
engage in the grooves on the housing.
Fit screws (U) and tighten evenly and
alternately.
Check, clean and if necessary replace parts.
Only genuine GROHE replacement parts
must be used.
13
O
P
S
T
U
V
R
V1
3
m
m
955751.book : i95575gb.fm Seite 11 Mittwoch, September 20, 2000 10:10 AM


