-18-
g8749 drum/Flap sander
SEctiON 6: MAiNtENANcE
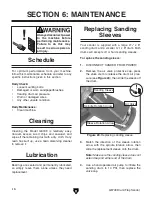
Always disconnect power
to the machine before
performing maintenance.
Failure to do this may
result in serious person-
al injury.
For optimum performance from your machine,
follow this maintenance schedule and refer to any
specific instructions given in this section.
Daily check:
•
loose mounting bolts.
•
damaged or worn sandpaper/brushes.
•
sanding drum air pressure.
•
Worn or damaged wires.
•
any other unsafe condition.
Daily Maintenance:
•
Clean machine.
Schedule
Cleaning the Model g8749 is relatively easy.
Vacuum excess wood chips and sawdust, and
wipe off the remaining dust with a dry cloth. if any
resin has built up, use a resin dissolving cleaner
to remove it.
cleaning
Lubrication
Bearings are sealed and permanently lubricated,
so simply leave them alone unless they need
replacement.
Replacing Sanding
Sleeves
your sander is supplied with a large 4
3
⁄
4
" x 8"
sanding drum and a smaller 3
1
⁄
4
" x 8" drum. Both
drums will accept soft or hard sanding sleeves.
to replace the sanding sleeve:
1. disConnECt sandEr FroM poWEr!
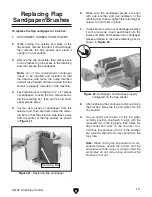
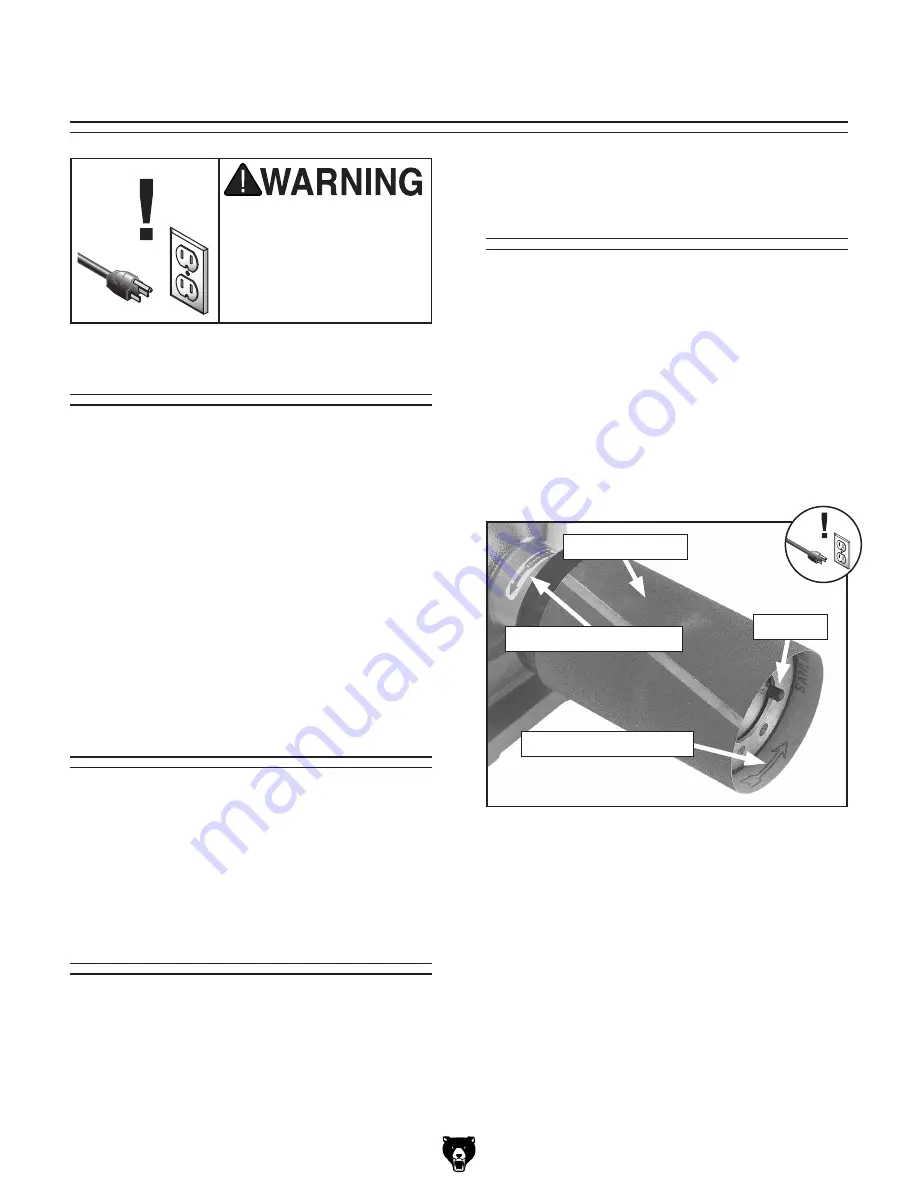
2. remove the air valve protective cap, press
the valve stem to release the drum air pres-
sure (see
Figure 20), then slide the sleeve off
the drum.
Figure 20. replacing sanding sleeve.
air Valve
spindle rotation arrow
sleeve rotation arrow
3. Match the direction of the sleeve rotation
arrow with the spindle rotation arrow, then
slide the replacement sleeve onto the drum.
Note:
Make sure the sanding sleeve does not
extend beyond either end of the drum.
4. use a hand-operated air pump to inflate the
sanding drum to 10 psi, then replace the
valve cap.
sanding sleeve
Содержание G8749
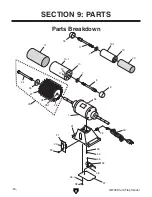
Страница 26: ...24 G8749 Drum Flap Sander 6 Parts Breakdown SECTION 9 PARTS...
Страница 28: ...26 G8749 Drum Flap Sander...

