-24-
Model G0923 (Mfd. Since 05/20)
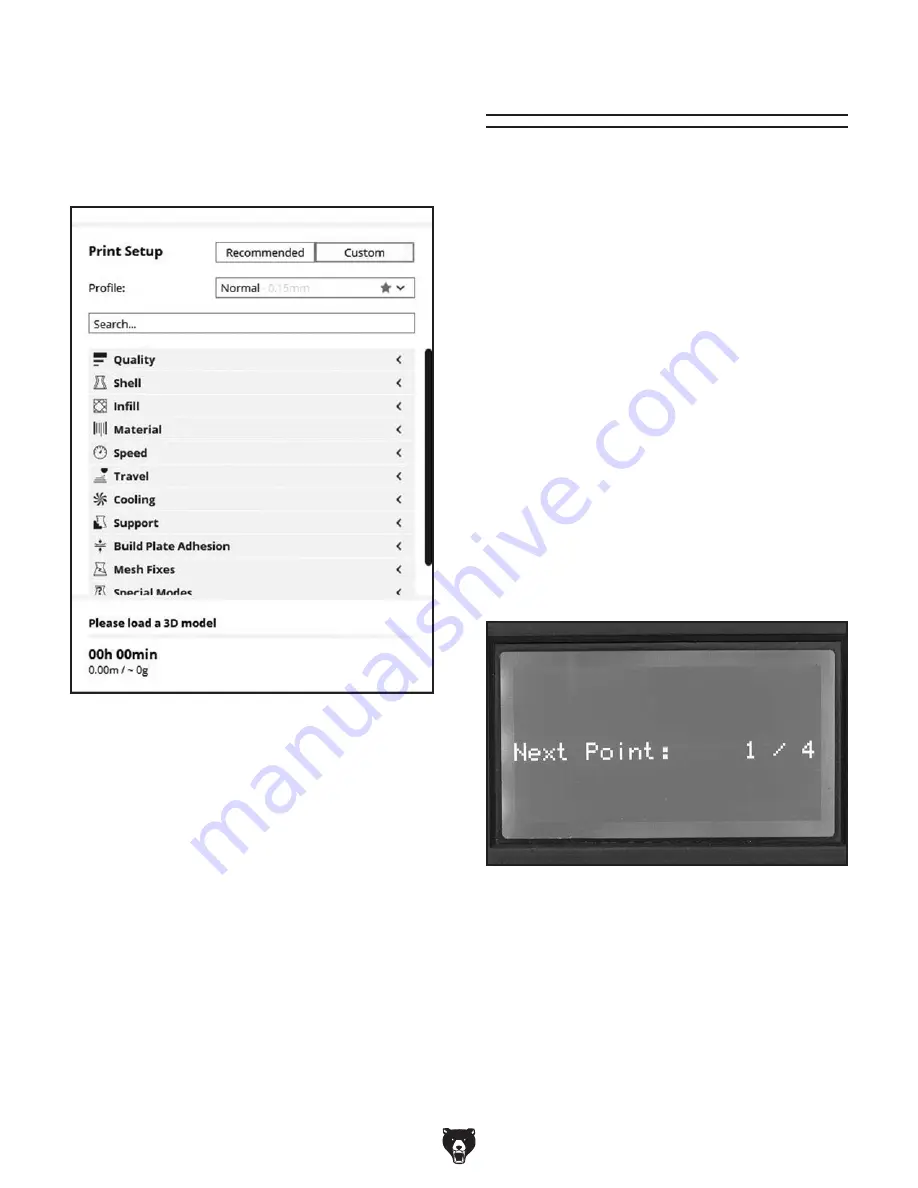
Figure 22. Custom print settings.
For tasks that require very specific settings and
resolving print-quality issues, print settings can
be precisely calibrated through the custom print
setup pane. To open the custom pane, select the
"Custom" button (see
Figure 22).
Custom Print Setup
We suggest using the recommended settings
with your initial prints and moving to the custom
settings when you have a specific need. Because
the range of options is so wide, giving detailed
instructions for the custom settings is beyond the
scope of this manual. However, most settings are
universal across 3D printers and slicer software.
As you learn about 3D printing from other sourc-
es, you will find that the custom print setup has the
options you need to make successful prints.
Leveling Build Plate
Tools Needed
Qty
Sheet of Paper .................................................. 1
To level build plate with automatic function:
1. Press control dial to open main menu.
2. Navigate to "Prepare," then to "Level bed."
Axes will home, and "Click to Begin" will
appear on display.
3. Press control dial to begin. Nozzle will move
to a corner of the build plate and lower until
Z-axis limit switch is engaged. Display will
indicate next axis position (see
Figure 23).
The build plate must be level to ensure molten
filament adheres properly and the nozzle does not
snag on previous layers. In addition to providing
a flat surface, leveling the build plate sets the Z
height of your nozzle, which is essential for proper
build plate adhesion.
Automatic Leveling
Figure 23. Display during leveling.
Содержание G0923
Страница 56: ......


