-20-
Model G0792 (Mfd. Since 12/15)
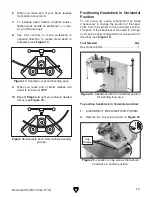
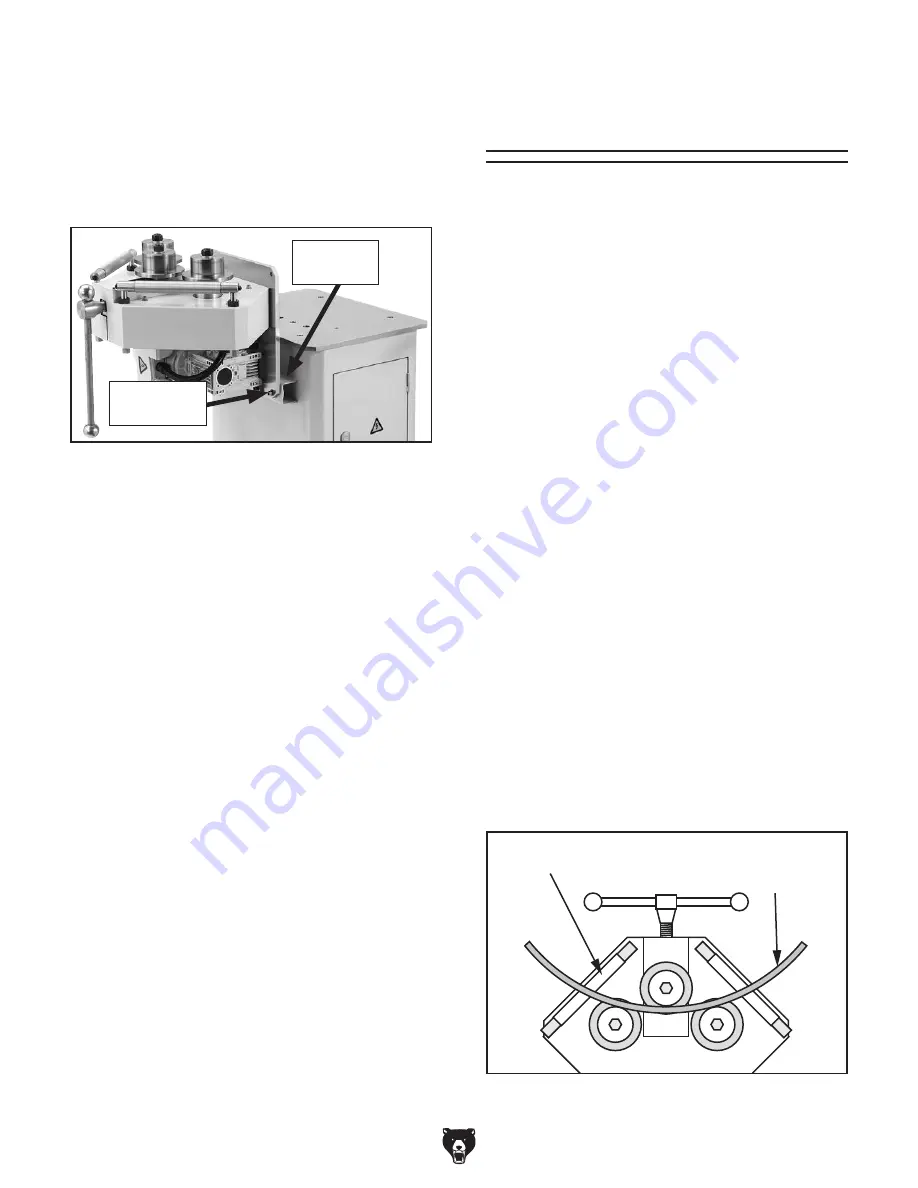
3. With help of an assistant, gently tilt headstock
backward until it rests on horizontal mount,
as shown in
Figure 21.
4. Use cap screws removed in Step 2 to secure
headstock to horizontal mount (see
Figure
21).
Figure 21. Headstock in horizontal position.
Cap Screws
(1 of 2)
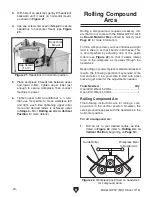
5. Place workpiece in headstock between upper
and lower rollers, tighten upper roller just
enough to secure workpiece, then connect
machine to power.
6. Tighten upper roller an additional
1
⁄
4
–
1
⁄
2
turn,
then use foot pedals to move workpiece left
and right, each time tightening upper roller
more until desired radius is achieved (refer
to
Steps 4–10 of Rolling an Arc in Vertical
Position for more details).
Horizontal
Mount
Rolling a compound arc requires accessory roll-
ers that do not come with the Model G0792, such
as
Round Material Dies offered by Grizzly (see
Page 22 for more information).
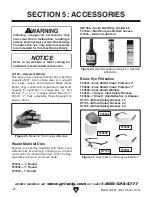
To roll a compound arc you must introduce a slight
twist to the arc, so that it bends in both axes. This
is accomplished by adjusting one of the guide
rollers (see
Figure 22) so that it exerts lateral
force on the workpiece as it passes through the
headstock.
Depending on your workpiece material and desired
results, the following operation may require some
trial and error. It is a good idea to start with a test
piece to get a feel for the adjustments needed.
Tools Needed
Qty
Open-End Wrench 22mm .................................. 1
Open-End Wrench 30mm ................................. 1
Rolling Compound
Arcs
Rolling Compound Arc
The following instructions are for rolling a com-
pound arc in the vertical position. However, the
same procedure applies with the headstock in the
horizontal position.
To roll a compound arc:
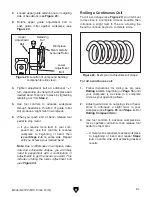
1. Roll an arc to your desired radius, as illus-
trated in
Figure 22 (refer to Rolling Arc in
Vertical Position, beginning on Page 18).
Workpiece Bent
to Desired Arc
Guide Roller
Figure 22. Workpiece positioned on headstock
for compound bend.
Содержание G0792
Страница 44: ......


