9
8
OPERATION
OPERATION
LOADING FASTENERS
LOADING INSTRUCTIONS
The model GRTPN Palm Nailer is automatically actuated when the nail
in the nose is pressed against the work surface. The nailer continues to
deliver multiple hammer blows until the nail is fully driven, or tool is lifted
off work surface. Never press tool nose down unless it has been
properly positioned to drive a nail into a safe work surface.
WARNING
1. Connect tool to air supply
using quick-connect coupling.
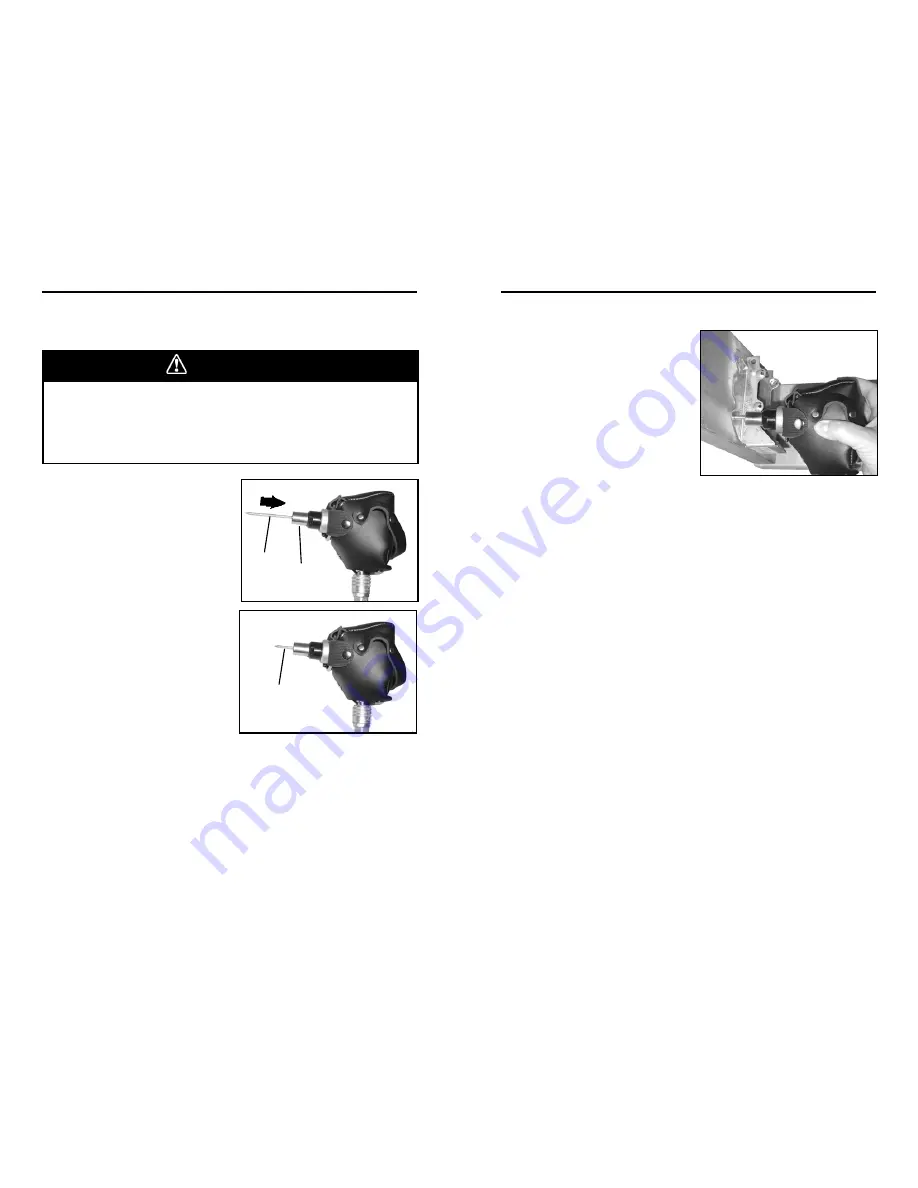
2. Insert nail (A) into guide (B),
head first. DO NOT press nail
into guide forcefullly, or nailer
may begin operating. Mag-
netic holder helps keep nail in
place while positioning nailer
for driving.
3. Tool is now loaded and ready
to drive the nail into the desired
work surface.
A
B
A
1. Hold the tool securely using
the housing as a handgrip. Do
not depress tool nose until tool
is in driving position and you
are ready to drive a nail.
2. Position the nail on the
workpiece, placing the nail
point in driving position at the
desired driving location.
IMPORTANT
- If nail is being
driven to secure a joist hanger
or other metal connector, make
sure nail point is centered in
punched hole in connector.
OPERATION
3. Press the tool firmly to begin driving the nail, and continue pushing
until the nail is fully driven. Use firm, steady pressure.
4. After the nail is fully driven, lift the tool off of the work surface.
5. Reload the nailer, and place the tool in position for the next nail to be
driven.
6. Repeat steps 1 through 5 until all desired nails have been driven.
7. Use Grip-Rite™ nails for best results.
8. Increase air pressure to drive into harder materials. Reduce air
pressure to drive into softer materials. For longest tool and part life,
always use the lowest air pressure necessary to drive fasteners.
9. Disconnect tool from air supply when nailing is completed.


