9
Model BCSW-FRP
Routine Maintenance
Once the unit has been put into operation, a routine
maintenance schedule should be set up to accomplish
the following:
1. Lubrication of bearings and motor (see below).
2. Wheel, housing, bolts and set screws on the entire
fan should be checked for tightness.
3. Any dirt accumulation on the wheel or in the
housing should be removed to prevent unbalance
and possible damage.
4. Springs should be checked for breaks and
fatigue. Rubber isolators should be checked for
deterioration.
5. Inspect fan impeller and housing looking for fatigue,
corrosion, or wear.
When performing any service to the fan, disconnect
the electrical supply and secure fan impeller.
Motors
Motor maintenance is generally limited to cleaning
and lubrication. Cleaning should be limited to exterior
surfaces only. Removing dust and grease build up on
the motor housing assists proper motor cooling. Never
wash-down motor with high pressure spray. Greasing
of motors is only intended when fittings are provided.
Many fractional motors are permanently lubricated for
life and require no further lubrication. Motors supplied
with grease fittings should be greased in accordance
with the manufacturer’s recommendations. When
motor ambient temperature does not exceed 104°F
(40°C), the grease should be replaced after 2000 hours
of running time.
CAUTION
When operating conditions of the fan are to be
changed (speed, pressure, temperature, etc.),
consult Greenheck to determine if the unit can
operate safely at the new conditions.
Shaft Bearings
The bearings for Greenheck fans are carefully
selected to match the maximum load and operating
conditions of the specific class, arrangement, and
fan size. The instructions provided in this manual
and those provided by the bearing manufacturer, will
minimize any bearing problems. Bearings are the
most critical moving part of the fan, therefore special
care is required when mounting them on the unit and
maintaining them.
Refer to the following chart and the manufacturers
instructions for grease types and intervals for various
operating conditions. Never mix greases made with
different bases. This will cause a breakdown of the
grease and possible failure of the bearing.
WARNING
Lubricate bearings prior to periods of extended
shutdowns or storage and rotate shaft monthly to
aid in preventing corrosion. If the fan is stored more
than three months, the bearings should be purged
with new grease prior to start-up.
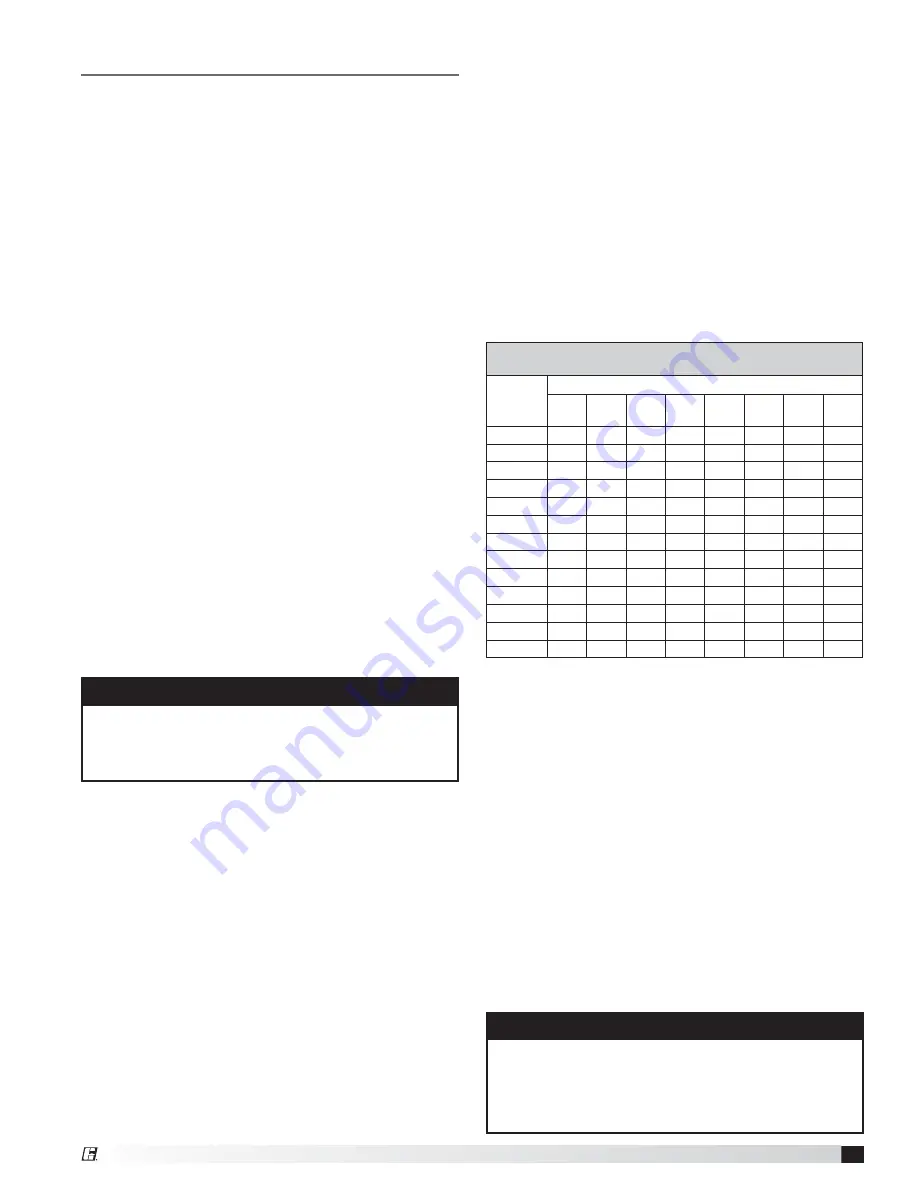
Recommended Fan Bearing Lubrication Schedule - Standard Grease
Lubrication Schedule in Months*
Fan RPM
Bearing Bore (inches)
1
⁄
2
-
1
1
1
⁄
8
-
1
1
⁄
2
1
5
⁄
8
-
1
7
⁄
8
1
15
⁄
16
-
2
3
⁄
16
2
7
⁄
16
- 3
3
3
⁄
16
-
3
1
⁄
2
3
15
⁄
16
-
4
1
⁄
2
4
15
⁄
16
-
5
7
⁄
8
To 250
12
12
12
12
12
12
10
8
500
12
12
10
10
8
7
5
4
750
12
9
8
7
6
4
3
2
1000
12
7
6
5
4
3
2
1
1250
12
6
5
4
3
2
1
0.5
1500
12
5
4
3
2
1
0.5
2000
12
3
2
2
1
0.5
0.25
2500
12
2
2
1
0.5
0.25
3000
12
2
1
0.5
0.25
3500
12
1
0.5
0.25
4000
12
0.5
0.25
5000
12
0.25
# of shots**
4
8
8
10
16
25
41
57
*Suggested initial greasing interval is based on 12 hour per
day operation and 160ºF maximum housing temperature.
For continuous (24 hour) operation, decrease greasing
interval by 50%.
• If possible, relubricate with grease while in operation
without endangering personnel.
• For ball bearings (operating) relubricate until clean
grease is seen purging at the seals. Be careful not to
unseat the seal by over lubricating.
• For ball bearings (idle) add 1-2 shots of grease up to
2 in. bore sizes, and 4-5 shots of grease above 2 in. bore
sizes with hand grease gun.
• For roller bearings, relubricate with 4 shots of grease up
to 2 in. bore size, 8 shots for 2-5 in. bore size, and 16
shots above 5 in. bore size with hand grease gun.
• Adjust lubrication frequency based on condition of
purged grease.
• A high quality lithium base grease conforming to NLGI
Grade 2 consistency is recommended.
• The use of synthetic lubricants will increase lubrication
intervals by approximately three (3) times.


