❏
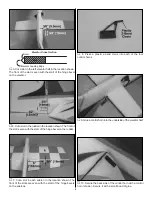
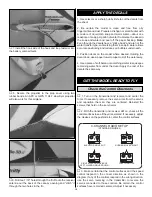
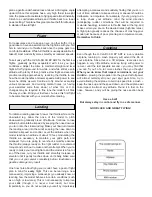
11. Slide the 3mm carbon elevator joiner tube into the
plastic tubes on the stabilizer. Make sure it is centered.
❏
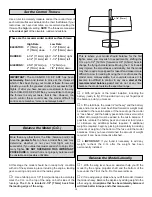
12. Run a small bead of hot melt glue into the groove on
the leading edge of an elevator half. Run the glue-gun tip
back through the bead to re-melt and spread it, and press
the elevator half onto the joiner tube.
❏
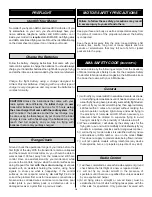
13. Repeat the previous step with the other elevator half,
making sure to keep the elevator halves aligned with each
other. The trailing edge of the elevator should be even when
viewed from behind.
❏
1. Secure a 6" extension to each of your aileron servos
with tape or heat-shrink tubing. Use the strings in the wings
to pull the leads through into the cockpit area.
❏
2. Use hot-melt glue to glue the servos into the wing
cutouts with the output shafts forward.
❏
3. Secure 12" extensions to your tail servos using tape or
heat shrink tubing. Use the string in the fuselage to pull both
servo leads into the cockpit area.
❏
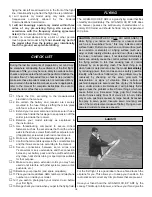
4. Glue the tail servos into the cutout in the fuselage with
hot-melt glue. Both servos should have their output shafts
toward the front of the airplane, and the lower servo should
project out the left side of the plane, while the upper servo
projects out the right side.
SET UP THE RADIO SYSTEM
8


