11
❏
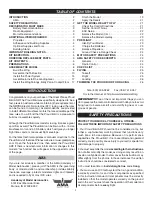
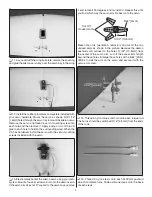
3. When satisfi ed with its position, use a felt-tip pen to
trace around the fuselage onto the stab. Remove the stab
and cut away the covering 1/16" [1.6mm] inside the lines you
drew. Wipe away the lines with a paper towel dampened with
denatured alcohol.
❏
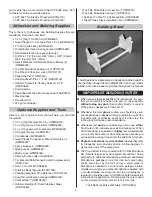
4. Check the fi t of the elevator joiner wire into the elevator
halves. Lay them on a fl at surface. If the two elevator halves
do not lay fl at, make adjustments to the wire until they do.
❏
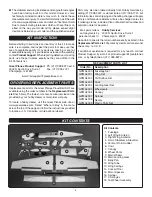
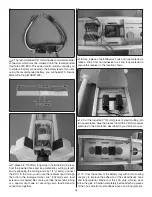
5. Clean the ends of the elevator joiner wire with denatured
alcohol. Insert the joiner wire into the aft end of the stab slot.
Mix up a batch of epoxy (30-minute is recommended to allow
you the added working time) and coat the exposed wood (top
and bottom) of the stab. While holding the joiner wire back and
out of the way, slide the stab back into the slot aligning it with
the wing and centering it left and right. Clean up any excess
epoxy with denatured alcohol. If necessary, add weight to the
high side of the stab while the epoxy is curing to ensure that
the wing and stab remain parallel. On the center stab, check
the alignment and use medium CA.
❏
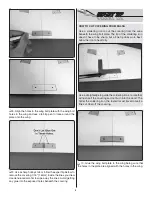
5. Hinge the elevator halves onto the stabilizer just as
you did with the ailerons. Ensure that the elevators are
equally spaced between the stab ends. The elevators
should both be centered.
Pull on elevators to be sure
they are securely attached.
❏
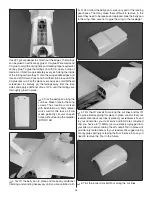
6. Insert the vertical fi n into the slot in the fuselage. Trace
around the fuselage onto the fi n. Remove the covering 1/16"
[1.6mm] below your lines. Wipe away the lines with alcohol
and epoxy the fi n into the slot. View the plane from behind
and confi rm that the fi n is square with the stab. If not, use
some masking tape to pull it square while the epoxy is curing.


