3
5. Installation
Step 1:
Plug the provided power adapter into the Grand iUSB HUB Pro, and connect the
Grand iUSB HUB Pro to your network router by using the provided RJ-45 cable.
NOTE:
If you have a DHCP-enabled router, you do not need to set up your Grand iUSB HUB Pro.
Step 2:
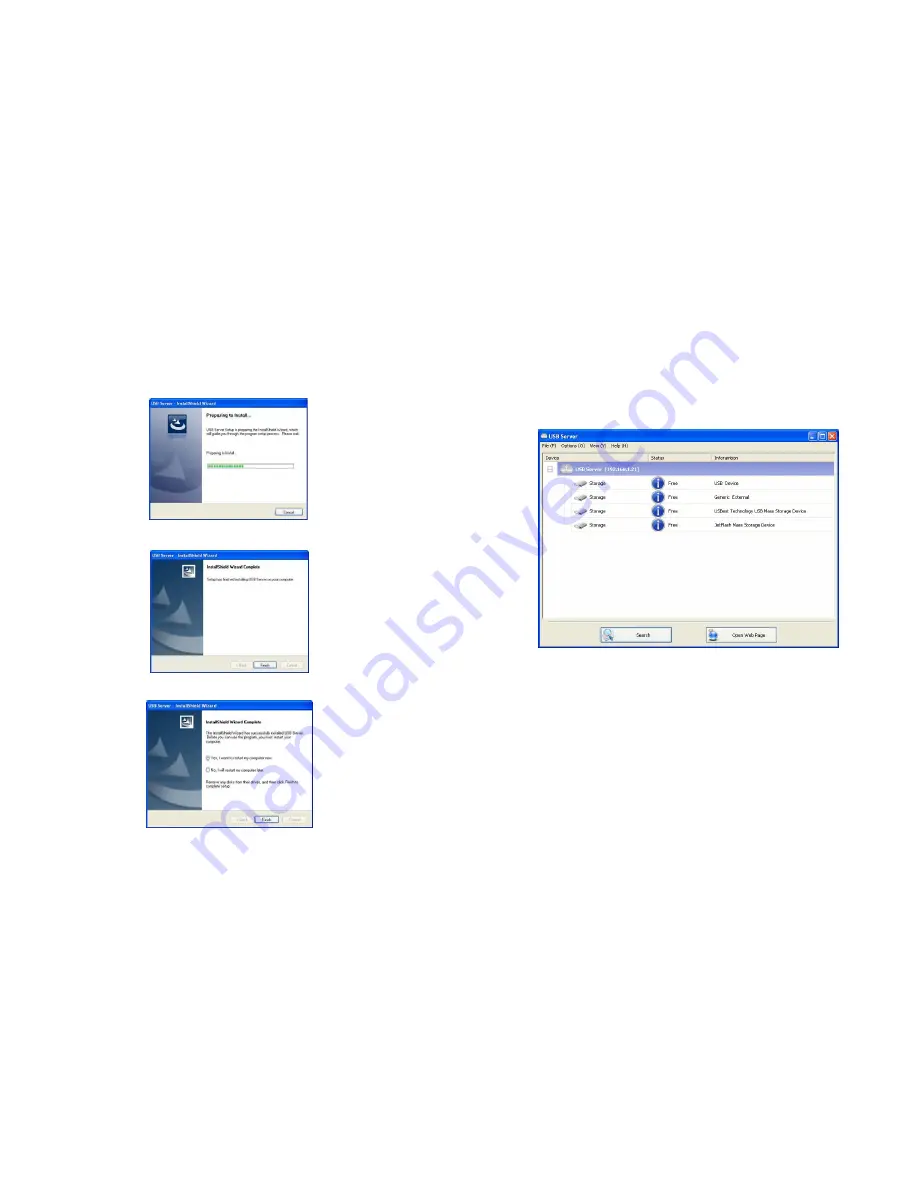
Insert the Driver CD into your CD-ROM driver, double-click the
Driver
folder to open it.
Execute the
Setup.exe
file to install the driver to your PC.
Step 3:
Installation is complete. Click “
Finish
”.
Step 4:
Click on “
Yes, I want to restart my computer now
” to restart your computer.
Step 5:
After installing the software, the “Launch USB Server” and “Launch Network Printer
Wizard” icons should appear on your desktop. Or you could also find the shortcut by click on
< Start >
→
< USB Server 2 >
4
6. Using the iUSB HUB Pro
Double click the shortcut icon (Launch USB Server) on the desktop to run the program. The
main dialog box of USBServer is shown below. It is consisted of a Control Menu (File, Options,
View and Help), a tree view (list the USB Servers and devices in the network), a
Search
button to get the current status of USB Servers and devices on the network, and a button that
toggles between
Open Web Page
and
Connect
Device
depending on the node you select
on the tree view. It toggles to
Open Web Page
when a server is selected and toggles to
Connect
Device
when a device is selected.


