Page 3 of 6
OPERATIONS
:
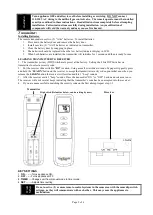
The GCRK Remote Control has two (2) operating modes: Manual and Timer.
(15 min. -180 min. in 15 minutes
increments). The max setting time is 180 min.
The transmitter will operate the remote receiver from 1 foot to 30 feet. The distance is reduced when batteries
are low or when the receiver is inside a metal enclosure.
Initial startup:
1. After initial power up the transmitter is reset.
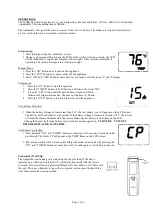
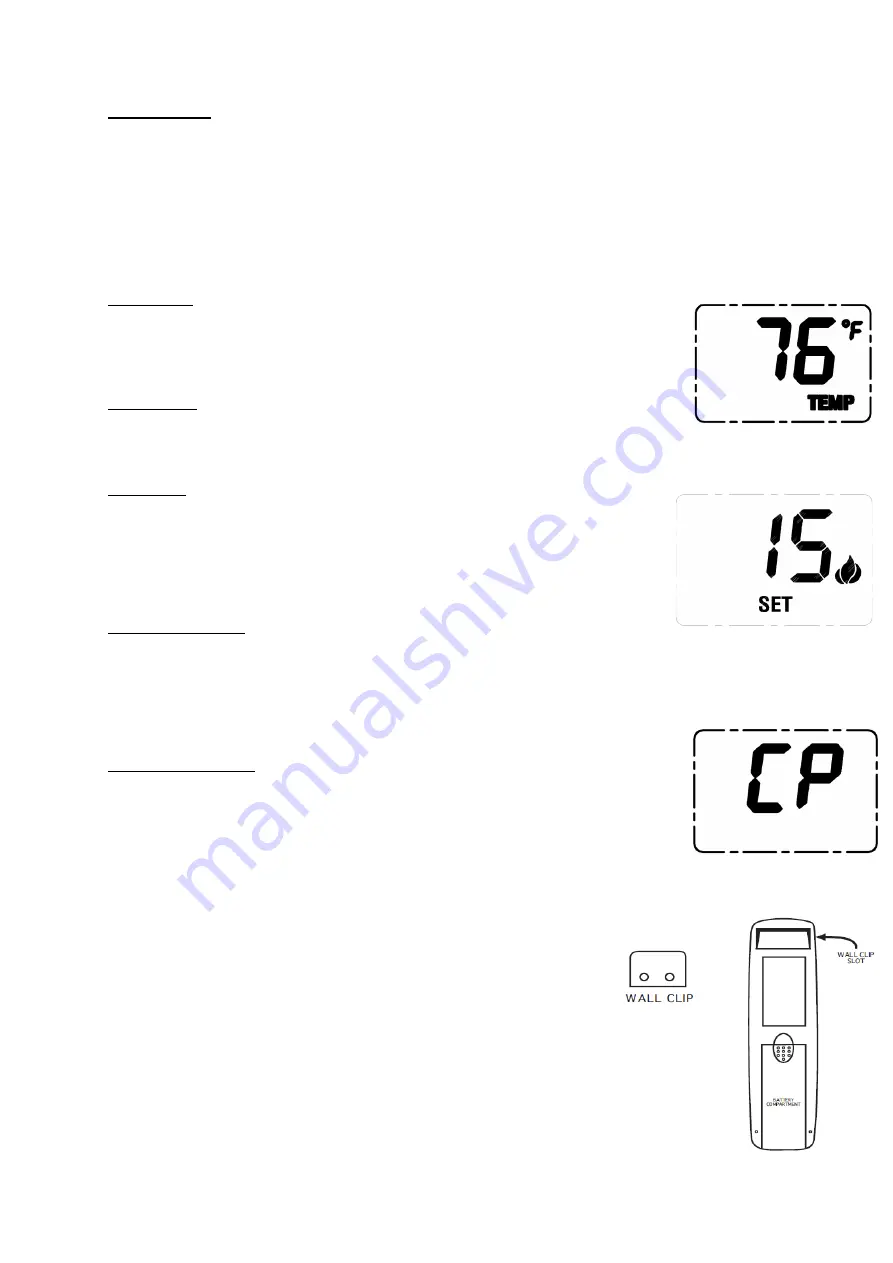
2. During system reset, all features of the LCD will be visible. After one second, the LCD
will be initialized. A typical reset display is shown right. After reset the transmitter is
operating. The real room temperature is shown as right.
Manual Mode:
1.
Press the” ON” button once to turn on the appliance.
2.
Press the” OFF” button once again to turn off the appliance.
3.
Press” ON” and” OFF” button at same time for 1 second to select between °C and °F display.
Timer mode:
1.
Press the ”ON” button to start the appliance
2.
Press the “TIMER”
button. The LCD screen will show the word ‘SET’.
3.
Press the “SET” button until the desired time is reached (15min-
180min.in15minute increments). The max setting time is 180 min.
4.
Press the
“
OFF
”
button to turn OFF the timer, and the appliance
Low-battery detection:
1.
When the battery voltage of remote less than 2.2V, the low battery icon will appear on the LCD screen.
The battery will be checked every3 minute. If the battery voltage of remote is less than 1.8V, the remote
will send the flame off command to the receiver and only low battery icon display on the LCD,
Change the battery before the battery is too weak for normal operation.
TURN THE UNIT OFF
BEFORE REPLACING BATTERIES
.
Child-proof protection:
1.
Press and hold ”ON” and ”TIMER” button at same time for 5 seconds to activate child-
proof mode. The letters CP will appear in the TEMP frame on the LCD screen.
2. The remote control will not work until child-proof mode is deactivated by pressing the
”ON” and” TIMER” buttons at same time for 5 seconds again to exit child-proof mode.
Transmitter Wall Clip
The transmitter can be hung on a wall using the clip provided. If the clip is
installed on a solid wood wall, drill 1/8” pilot holes and install with the screws
provided. If it is installed on a plaster/wallboard wall, first drill two 1/4” holes into
the wall. Then use a hammer to tap in the two plastic wall anchors flush with the
wall; then install the screws provided.


