background image

8

308738

Operation

Pressure Relief Procedure

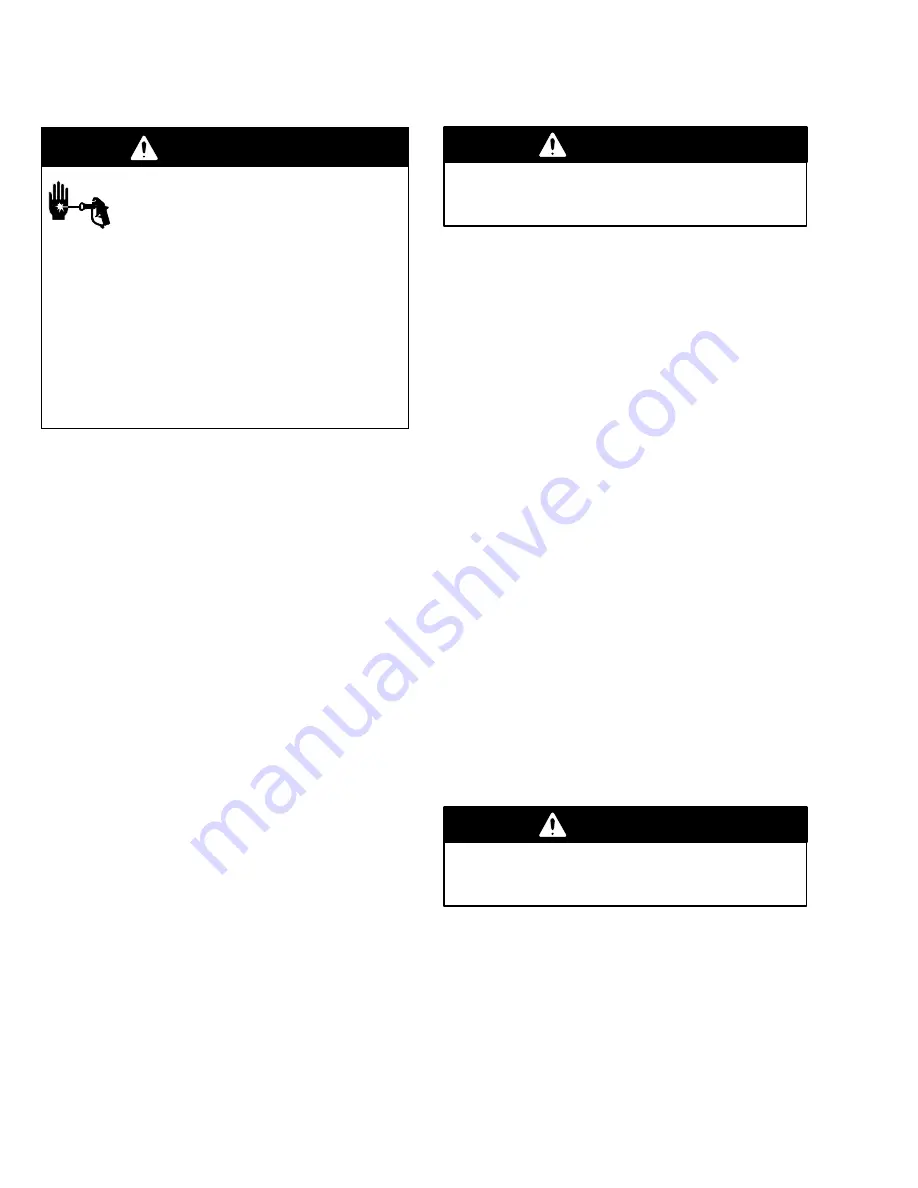
WARNING

INJECTION HAZARD

The system pressure must be manually
relieved to prevent the system from
starting or spraying accidentally. Fluid

under high pressure can be injected through the
skin and cause serious injury. To reduce the risk of
an injury from injection, splashing fluid, or moving
parts, follow the 

Pressure Relief Procedure

whenever you:

D

are instructed to relieve the pressure,

D

stop spraying,

D

check or service any of the system equipment,

D

or install or clean the spray tip.

1.

Lock the gun trigger safety.

2.

Shut off the air supply to the pump.

3.

Close the bleed-type master air valve (required in
your system).

4.

Unlock the gun/valve trigger safety.

5.

Hold a metal part of the gun/valve firmly to the side
of a grounded metal pail, and trigger the gun/valve
to relieve pressure.

6.

Lock the gun/valve trigger safety.

7.

Open the drain valve (required in your system),
and have a container ready to catch the drainage.

8.

Leave the drain valve open until you are ready to
spray again.

If you suspect that the spray tip/nozzle or hose is
completely clogged, or that pressure has not been fully
relieved after following the steps above,


very slowly

loosen the tip guard retaining nut or hose end coupling
and relieve pressure gradually, then loosen it
completely.  Then clear the tip/nozzle or hose.

Flush the Pump Before First Use

The pump is tested with lightweight oil, which is left in
to protect the pump parts.  If the fluid you are using
may be contaminated by the oil, flush it out with a
compatible solvent before using the pump.  If the pump
is being used to supply a circulating system, allow the
solvent to circulate until the pump is thoroughly
flushed.  See 

Flushing the Pump 

on page 9.

Packing Nut/Wet-Cup

WARNING

To reduce the risk of serious injury whenever you
are instructed to relieve pressure, always follow the

Pressure Relief Procedure

 at left.

Keep the packing nut/wet-cup (S) filled with Graco
Throat Seal Liquid (TSL) or compatible solvent to help
prolong the packing life.  Check the tightness of the
packing nut weekly; tighten just enough to prevent
leakage; do not overtighten it.  See Fig. 3 on page 11.
Relieve the pressure before adjusting the packing nut
or adding TSL.

Starting and Adjusting the Pump

Begin these steps 

before

 you install the spray

tip/nozzle.

1.

Ensure that the air regulator (E) and bleed-type
master air valve (D) are closed.  See Fig. 2 on
page 6.

2.

Hold a metal part of the gun/valve firmly to the side
of a grounded metal pail and hold the trigger open.

3.

Open the pump’s bleed-type master air valve (D).

4.

Slowly open the air regulator (E) until the pump
starts; approximately 2.8 bar (0.28 MPa, 40 psi).

5.

Cycle the pump slowly until all the air is pushed
out and the pump and hoses are fully primed.

6.

Release the gun/valve trigger and lock the trigger
safety.  The pump should stall against pressure
when you release the trigger.

WARNING

To reduce the risk of serious injury whenever you
are instructed to relieve pressure, always follow the

Pressure Relief Procedure

 at left.

7.

Relieve the pressure

.

8.

Install the spray tip/nozzle in the gun/valve.

Содержание President A Series

Страница 1: ...O 9001 2 BUNG MOUNT 200 LITER 55 GALLON DRUM SIZE 10 1 Ratio Presidentr Pump Part No 239326 Series A 62 bar 6 2 MPa 900 psi Maximum Fluid Working Pressure 6 2 bar 0 62 MPa 90 psi Maximum Air Input Pre...

Страница 2: ...urpose If you are uncertain about usage call your Graco distributor D Do not alter or modify this equipment Use only genuine Graco parts and accessories D Check equipment daily Repair or replace worn...

Страница 3: ...gger safety operates before spraying dispensing D Lock the gun valve trigger safety when you stop spraying dispensing D Follow the Pressure Relief Procedure on page 8 whenever you are instructed to re...

Страница 4: ...including solvent rags and gasoline D Electrically disconnect all equipment in the spray dispense area D Extinguish all open flames or pilot lights in the spray dispense area D Do not smoke in the sp...

Страница 5: ...ut 13 mm 0 5 in off the bottom of the drum Loosen the drum vent plug to prevent forming a vacuum The pump dimensions are shown on page 13 Grounding WARNING FIRE AND EXPLOSION HAZARD Before operating t...

Страница 6: ...ulator F Air line filter G Bleed type master air valve for accessories H Electrically conductive air supply hose J Air line moisture trap and drain valve K Pump runaway valve L Fluid drain valve requi...

Страница 7: ...utlet Use of a short whip hose between the main fluid hose and the gun allows freer gun movement Air Line Accessories Install the following accessories in the order shown in Fig 2 using adapters as ne...

Страница 8: ...s If the fluid you are using may be contaminated by the oil flush it out with a compatible solvent before using the pump If the pump is being used to supply a circulating system allow the solvent to c...

Страница 9: ...he Pressure Relief Procedure on page 8 For overnight shutdown relieve the pressure and always stop the pump at the bottom of the stroke to prevent the fluid from drying on the exposed displacement rod...

Страница 10: ...fluid lines Clogged fluid line valves etc Clear Loose packing nut or worn throat packings Tighten packing nut see page 8 replace throat packings Damaged riser tube o rings Replace See manual 307044 Pu...

Страница 11: ...e the air motor refer to manual 306982 Reconnecting the Displacement Pump 1 Lubricate the o ring 9 and check that it is in place on the displacement rod R 2 Orient the fluid outlet N to the air inlet...

Страница 12: ...e manual 306982 1 2 220465 DISPLACEMENT PUMP ASSY see manual 307044 1 3 222308 BUNG ADAPTER consists of items 4 and 5 1 4 210834 ADAPTER 1 5 104542 CAPSCREW 1 6 166237 ROD tie carbon steel 89 mm 3 5 i...

Страница 13: ...308738 13 Dimensions F fluid intake E fluid outlet D air inlet A B 07199 G bung adapter Dimension Measurement A 883 mm 34 75 in B 1454 mm 57 25 in D 1 2 npt f E 3 4 npt f F 3 4 npt f G 2 in npt...

Страница 14: ...Refer to manual 307044 Sound Pressure Levels dBa measured at 1 meter from unit Input Air Pressures at 15 cycles per minute Air Motor 2 8 bar 0 28 MPa 40 psi 4 8 bar 0 48 MPa 70 psi 7 bar 0 7 MPa 100...

Страница 15: ...flow along bottom of chart 2 Follow vertical line up to intersection with selected fluid outlet pressure curve black Follow left to scale to read fluid outlet pressure To find pump air consumption m m...

Страница 16: ...ty shall be as set forth above The buyer agrees that no other remedy including but not limited to incidental or consequential damages for lost profits lost sales injury to person or property or any ot...

Отзывы: