manualshive.com logo in svg
background image

R

R

OWNER’S MANUAL

©2007 Graco ISPM015BC     4/07     US

Model 2797

Keep Instructions For Future Reference

Содержание 2797DIG - iMonitor Digital Color Video Baby Monitor

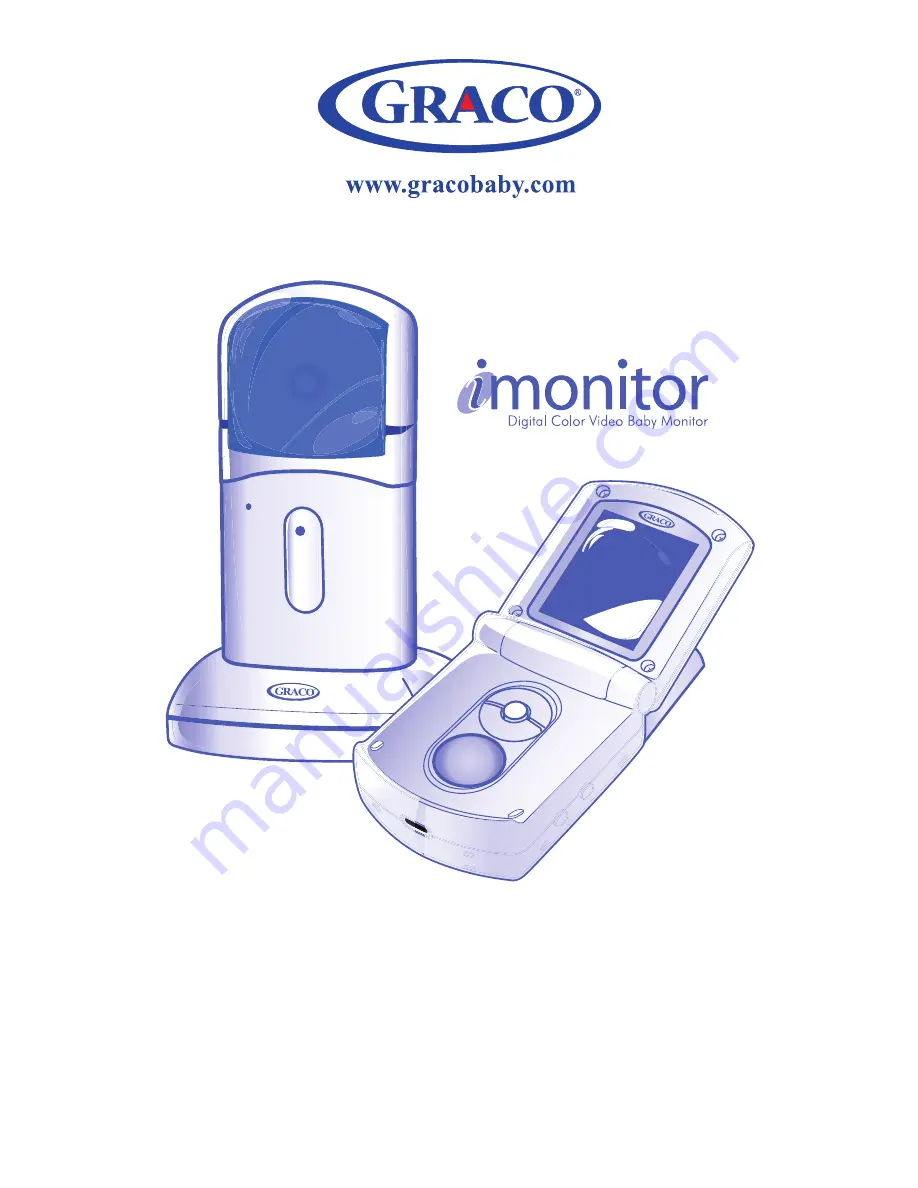
Страница 1: ...R R OWNER S MANUAL 2007 Graco ISPM015BC 4 07 US Model 2797 Keep Instructions For Future Reference...

Страница 2: ...h of children Do not use with extension cords DO NOT place the Nursery Unit or its cord within your child s reach Do not put the Nursery Unit inside a crib or playard Use ONLY with 110 120 volt AC ele...

Страница 3: ...to liquids Unit has been dropped or is damaged DO NOT OPEN THE NURSERY UNIT PARENT UNIT NURSERY UNIT BASE OR ADAPTERS No user serviceable parts inside Risk of electrical shock fire or death The antenn...

Страница 4: ...an be determined by turning the equipment off and on the user is encouraged to try to correct the interference by one or more of the following measures Reorient or relocate the receiving antenna Incre...

Страница 5: ...nit Base A5195 1 AC Adapter OWNER S MANUAL Keep instructions for future use Digital Color Video Baby Monitor Quick Start Product Instruction Manual Quick Start Manual Wall Mount 1 AC Adapter Belt Clip...

Страница 6: ...TATUS LIGHT pg29 LCD SCREEN SPEAKER BATTERY LEVEL LIGHT pg29 POWER ON OFF pg13 AC ADAPTER JACK pg8 UP pg15 OK pg15 DOWN pg15 BATTERY pg7 Parent Unit CONNECTION LIGHT LED pg13 SOUND LIGHTS ANTENNA VOLU...

Страница 7: ...e plugged into the Parent Unit before the unit will be ready for use Remove the battery door cover on the Parent Unit by sliding it down Place battery pack into recess and press wire into the slot Plu...

Страница 8: ...R Replace the battery door Attach the AC adapter to the unit and plug into wall to charge the battery Charge battery for 3 hours 4 5...

Страница 9: ...Nursery Unit R MICROPHONE BATTERIES pg10 VIDEO CAMERA POWER LED pg30 ON OFF pg12 AC ADAPTER JACK pg11...

Страница 10: ...o battery door Optional Insert 3 AAA batteries Make sure they are inserted correctly Batteries can be useful in the case of a power outage Batteries should be replaced periodically Batteries should on...

Страница 11: ...11 Attaching Nursery Unit Base Attach the AC adapter to the back of the nursery unit base and plug into wall Mount nursery unit onto base to operate 8 9...

Страница 12: ...Nursery Unit Power On Off Depress button for 1 sec to turn camera on To change camera angle swivel the nursery unit top in the desired direction Please note that camera cannot swivel completely around...

Страница 13: ...econd Unit will cycle through intro and begin searching for the Nursery Unit Make sure Nursery Unit is turned on The parent unit will display searching on the status screen until the nursery unit is f...

Страница 14: ...hold ON OFF button for 1 second to turn unit off 14 To activate or deactivate the live video feed press the video button Pressing the video button will allow the user to view the image from the nurse...

Страница 15: ...one of the options press the OK button to make the selection NOTE Once you make a selection OK the unit will automatically advance you to the next option screen or return you to the live video feed if...

Страница 16: ...m In Move Zoom Out Back Use Up Down to choose an area to Zoom IN OUT Press OK to select Zoom Zoom Zoom Zoom om Zoo o o Z Zo Z Z om Zoo o Z Z Z Z 16 Zoom Press OK to open Menu Choose the Zoom option Pr...

Страница 17: ...o open Menu Choose the Zoom option and press Ok to select it Choose Zoom Out and press OK to select it Monitor will return to live video screen if available Zoom icon will not be visible on the status...

Страница 18: ...Zoom Alarm Settings Exit Use UP DOWN to choose OK to select Settings Menu Time Brightness Video Off Time Language Back Choose Time and press OK to select it 18 Press OK to open Menu Choose Settings a...

Страница 19: ...the first digit Press OK to move to the next digit Monitor will return to the Time Menu after adjusting all digits Use UP DOWN to choose OK to select Set Time 07 22 PM 19 27 To return to the live vid...

Страница 20: ...ect Settings Menu Time Brightness Video Off Time Language Back Choose Time and press OK to select it Use UP DOWN to choose OK to select Main Menu Zoom Alarm Settings Exit Press OK to open Menu Choose...

Страница 21: ...splay format and press OK to select it Use UP DOWN to choose OK to select Time Menu Time Time Format Exit Choose Time Format and press OK to select it To return to live Video feed if available select...

Страница 22: ...Alarm On Alarm Off Back Use UP DOWN to choose OK to select Set Alarm Time 07 22 PM 22 Setting Alarm Press OK to open Menu Choose Alarm and press OK to select it Select Alarm Time Press Up Down to sele...

Страница 23: ...se OK to select Alarm Menu Alarm Time Alarm On Alarm Off Back When Alarm sounds press any button to deactivate it Alarm will sound off every 2 seconds for 10 minutes or until user stops it 23 To activ...

Страница 24: ...splay format and press OK to select it Use UP DOWN to choose OK to select Time Menu Time Time Format Exit Choose Time Format and press OK to select it 24 To return to live Video feed if available sele...

Страница 25: ...Brightness and press OK to select it Press OK to open Menu Choose Settings and press OK to select it Brightness To return to live Video feed if available select and press Back Exit or wait 5 seconds a...

Страница 26: ...oose OK to select Video Off Time 30 seconds Choose the amount of time the LCD screen stays on in battery mode after pressing the Video button by pressing Up Down You can choose from 15sec 30sec 60sec...

Страница 27: ...ct Settings Menu Time Brightness Video Off Time Language Back Choose Language and press OK to select it Use UP DOWN to choose OK to select Select Language English French Spanish Back Choose a language...

Страница 28: ...Up Down Press the Volume Up or Down button to change the volume If the live video feed is not active the volume display screen will be shown and an audible beep will be heard while adjusting the volum...

Страница 29: ...y low the screen will display the warning Batteries are very low Turning off The unit will then turn off The Battery Level Light will illuminate green when the batteries are OK red when the batteries...

Страница 30: ...nit is closed Nursery Unit Backup Batteries Three AAA batteries can be optionally installed in the Nursery Unit in case AC power is lost When the Nursery Unit is on battery power only the audio will b...

Страница 31: ...your waist belt for hands free use 31 Accessories Wall mount Belt clip Attach wall mount to wall using a 6 screw and drywall anchor not included Make sure all cords are not within child s reach Make s...

Страница 32: ...is turned up on Parent Unit Parent Unit is in range of the Nursery Unit Parent Unit Only Works With AC Adapter Check that the battery is plugged in No Sound or No Video Batteries dead or weak replace...

Страница 33: ...om other electrical equipment eliminate cause of static TVs mixers computers fans fluorescent lights light dimmers etc Significant amount of obstructions between Parent Unit and Nursery Unit such as w...

Страница 34: ...re below to pair the Parent Unit and Nursery Unit If you purchased a new Parent Unit skip Step 1 The new Parent Unit is ready to pair with your Nursery Units 1 Erase the Pairing from the Parent Unit G...

Страница 35: ...rn on the Nursery Unit using the On Off Button on the side The green power light should come on Within a few seconds the Parent Unit will find the Nursery Unit The Parent Unit will display Nursery Uni...

Страница 36: ...the following Graco Children s Products 150 Oaklands Blvd Exton PA 19341 www gracobaby com or 1 800 345 4109 Product Registration USA To register your Graco product from within the U S A visit us onl...

Страница 37: ...R R MANUAL DE DUE O 2007 Graco ISPM015BC 4 07 US Modelo 2797 Guarde las instrucciones para uso futuro...

Страница 38: ...los ni os No lo use con cordones de extensi n NO ponga la unidad para el dormitorio o su cord n cerca del alcance de su ni o No ponga la unidad para el dormitorio en el interior de una cuna o corrali...

Страница 39: ...d para el dormitorio si Los cordones del adaptador o enchufes han resultado da ados La unidad ha entrado en contacto con l quidos La unidad se ha ca do o ha resultado da ada NO ABRA LA UNIDAD PARA EL...

Страница 40: ...a con la recepci n de radio o televisi n lo cual se puede determinar apagando y encendiendo el equipo se sugiere al usuario que trate de corregir la interferencia a trav s de una de las siguientes med...

Страница 41: ...5195 1 Adaptador de CA OWNER S MANUAL Keep instructions for future use Digital Color Video Baby Monitor Quick Start Product Instruction Manual Manual de activaci n r pida Montante de pared 1 Adaptador...

Страница 42: ...9 PANTALLA LCD ALTAVOZ LUZ DE LA SITUACI N DE CARGA pg29 ENCENDIDO APAGADO pg13 ENCHUFE DEL ADAPTADORDE CA pg8 ARRIBA pg15 BIEN pg15 ABAJO pg15 PILA pg7 Unidad para padres LUZ DE CONEXI N LED pg13 LUC...

Страница 43: ...idad para padres antes de que la unidad est lista para su uso Saque la tapa de la pila en la unidad para padres desliz ndola hacia abajo Ponga el paquete de pilas en el receso y oprima el alambre en l...

Страница 44: ...R Vuelva a instalar la puerta de las pilas Conecte el adaptador de CA a la unidad y ench felo en la pared para cargar la pila Cargue la pila durante 3 horas 4 5...

Страница 45: ...Unidad para el dormitorio R MICR FONO PILAS pg10 C MARA DE VIDEO LUZ INDICADORA DE ENCENDIDO pg30 ENCENDIDO APAGADO pg12 ENCHUFE DEL ADAPTADOR DE CA pg11...

Страница 46: ...as Opcional Instale las 3 pilas tama o AAA Aseg rese de que est n instaladas correctamente Las pilas pueden ser tiles en caso de que se corte la electricidad Se deben cambiar peri dicamente las pilas...

Страница 47: ...adaptador de CA a la parte trasera de la unidad de base del dormitorio y ench fela en la pared Monte la unidad para el dormitorio sobre la base para que funcione Instalaci n de la unidad de base del d...

Страница 48: ...ncender la c mara Para cambiar el ngulo de la c mara gire la parte de arriba de la unidad para el dormitorio en la direcci n deseada Por favor note que la c mara no puede girar completamente Encendido...

Страница 49: ...ad pasar por el ciclo de introducci n y comenzar a buscar la unidad para el dormitorio Aseg rese de que la unidad para el dormitorio est encendida La unidad para padres mostrar buscando en la pantalla...

Страница 50: ...t n de ENCENDIDO APAGADO durante 1 segundo para apagar la unidad 14 Para activar o desactivar la entrada de video oprima el bot n de video Oprimir el bot n de video permitir al usuario ver la imagen d...

Страница 51: ...a de las opciones oprima el bot n OK para activar la selecci n NOTE Una vez que haya hecho su selecci n OK la unidad avanzar autom ticamente a la pr xima opci n pantalla o volver al video en vivo si c...

Страница 52: ...over Alejar Atr s Use Arriba Abajo para elegir una zona para Zoom IN OUT Oprima OK para seleccionarla Zoom Zoom Zoom Zoom om Zoo o o Z Zo Z Z om Zoo o Z Z Z Z 16 Zoom Oprima OK para abrir el Men Elija...

Страница 53: ...para abrir el Men Elija la opci n Zoom y oprima Ok para seleccionarla Elija Zoom Out y oprima Ok para seleccionarlo El monitor volver al video en vivo si est disponible El icono del Zoom no estar visi...

Страница 54: ...rma Valores Salida Use ARRIBA ABAJO para elegir OK para seleccionar Valores Hora Brillo Hora de parar el video Idioma Atr s Elija Hora y oprima Ok para seleccionarlo 18 Oprima OK para abrir el Men Eli...

Страница 55: ...d gito Oprima OK para pasar al d gito siguiente El monitor volver al Men de la hora despu s del ajuste de todos los d gitos Use ARRIBA ABAJO para elegir OK para seleccionar Programar la hora de la ala...

Страница 56: ...alores Hora Brillo Hora de parar el video Idioma Atr s Elija Hora y oprima Ok para seleccionarlo Use ARRIBA ABAJO para elegir OK para seleccionar Men Principal Zoom Alarma Valores Salida Oprima OK par...

Страница 57: ...ima OK para seleccionarlo Use ARRIBA ABAJO para elegir OK para seleccionar Men de la hora Hora Formato de la hora Atr s Elija Formato de la hora y oprima Ok para seleccionarlo Para volver al video en...

Страница 58: ...r s Use ARRIBA ABAJO para elegir OK para seleccionar Programar la hora de la alarma 07 22 PM 22 Programaci n de la alarma Oprima OK para abrir el Men Elija Alarma y oprima Ok para seleccionarlo Selecc...

Страница 59: ...ra seleccionar Men Alarma Hora de la alarma Alarma activada Alarma desactivada Atr s Cuando suene la alarma oprima cualquier bot n para desactivarla La alarma sonar cada 2 segundos durante 10 minutos...

Страница 60: ...ima OK para seleccionarlo Use ARRIBA ABAJO para elegir OK para seleccionar Men de la hora Hora Formato de la hora Atr s Elija Formato de la hora y oprima Ok para seleccionarlo 24 Para volver al video...

Страница 61: ...Brillo y oprima Ok para seleccionarlo Oprima OK para abrir el Men Elija Valores y oprima Ok para seleccionarlo Brillo Para volver al video en vivo si est disponible seleccione y oprima Atr s Salida o...

Страница 62: ...ar el video 30 seconds 43 44 45 Elija la cantidad de tiempo que la pantalla LCD permanecer encendida en el modo pila luego de oprimir el bot n del video oprimiendo Arriba abajo Puede elegir entre 15 s...

Страница 63: ...ccionar Valores Hora Brillo Hora de parar el video Idioma Atr s Elija Idioma y oprima Ok para seleccionarlo Use ARRIBA ABAJO para elegir OK para seleccionar Seleccionar el idioma Ingl s Franc s Espa o...

Страница 64: ...en Oprima el bot n Subir bajar el volumen para cambiar el volumen Si la entrada de video en vivo no est activada aparecer la pantalla indicadora del volumen y se escuchar un sonido mientras se ajuste...

Страница 65: ...pilas est n muy descargadas Apagando La unidad entonces se apagar La luz del nivel de las pilas ser verde cuando las pilas est n cargadas rojas cuando est n descargadas La luz del nivel de las pilas s...

Страница 66: ...e tres pilas AAA en la unidad para el dormitorio en caso de que se corte la corriente Cuando la unidad para el dormitorio funciona con las pilas solamente se transmitir el audio Esto ayuda a extender...

Страница 67: ...intur n para usarlo sin las manos 31 Instale el montante para la pared usando un tornillo n 6 y sujetador para yeso no se incluyen Aseg rese de que todos los cordones est n lejos del alcance del ni o...

Страница 68: ...volumen est alto en la unidad para padres La unidad para padres est dentro de la distancia requerida de la unidad para el dormitorio La unidad para padres solamente funciona con el adaptador de CA Ver...

Страница 69: ...a Objetos grandes bloquean la se al trate de poner la unidad para el dormitorio en otro lugar Volumen demasiado bajo s balo Interferencia de otros equipos el ctricos elimine la causa de la est tica te...

Страница 70: ...ara padres o dormitorio siga el procedimiento a continuaci n para programar la unidad para padres y la unidad para el dormitorio Si compr una nueva unidad para padres evite el paso 1 La nueva unidad p...

Страница 71: ...ra el dormitorio usando el interruptor de encendido y apagado del costado Se deber encender la luz verde de encendido En unos pocos segundos la unidad para padres encontrar la unidad para el dormitori...

Страница 72: ...omun quese con nosotros en Graco Children s Products 150 Oaklands Blvd Exton PA 19341 www gracobaby com o 1 800 345 4109 Registro del producto EE UU Para registrar su producto Graco desde dentro de lo...

Страница 73: ...a Atr s Programar la hora de la alarma 07 22 PM Valores Hora Brillo Hora de parar el video Idioma Atr s Men de la hora Hora Formato de la hora Atr s Formato de la hora 12 horas a m p m 24 horas Atr s...

Отзывы: