


22
(ID: 040708)
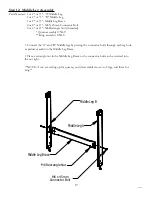
Left Batting Rail
Mount End Assembly
1/4" Flat Washer
1/4" Nylock Nut
1/4" Plastic Knob
1-1/4" Fender Washer
Right Batting Rail
Mount End Assembly
1/4" Flat Washer
1/4" Nylock Nut
1/4" Plastic Knob
1-1/4" Fender Washer
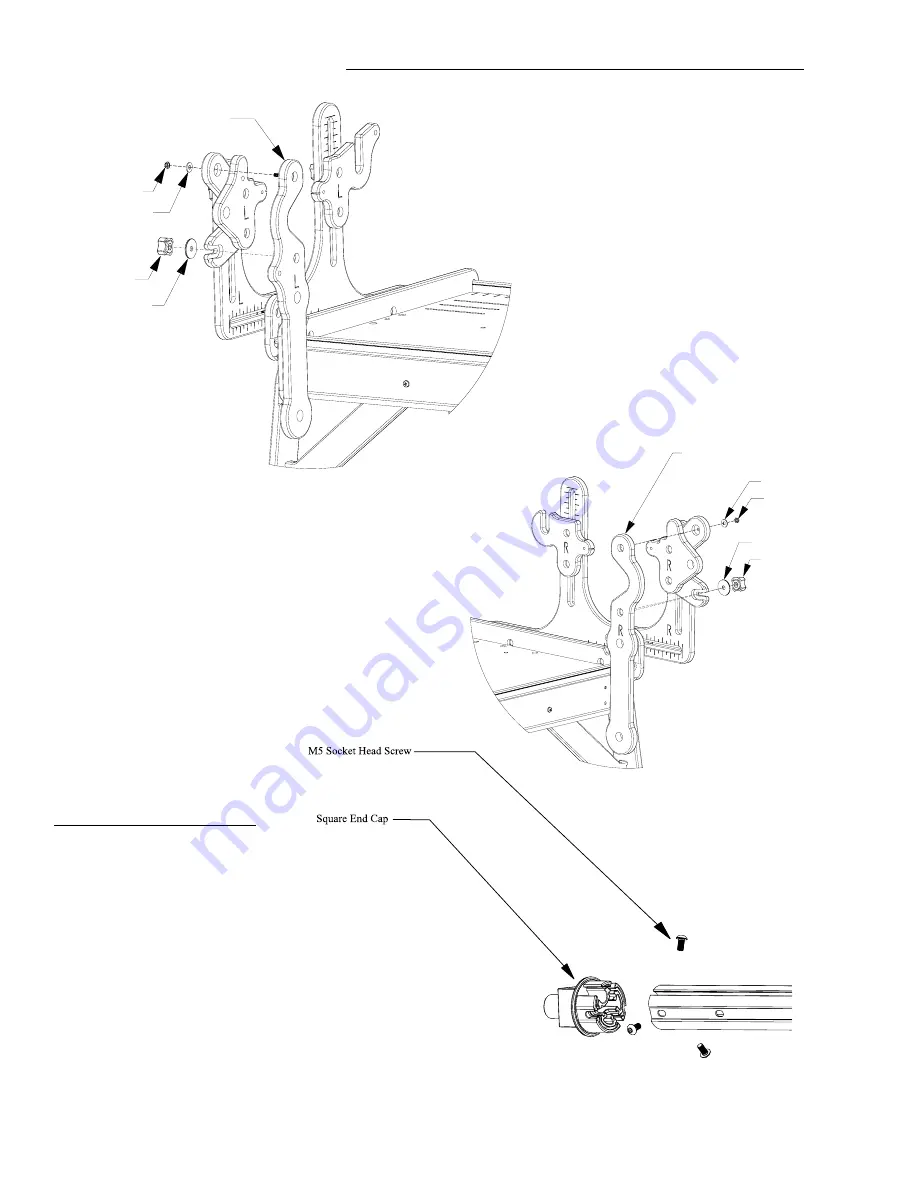
Step 21: Batting Rail Mount End to Table Assembly
Parts Needed: 1- Right and Left Top Fabric Rail Mount end
2- M6 Nylock Nut
2- M6 Flat Washer
2- M6 Plastic Knob
2- M8 Fender Washer
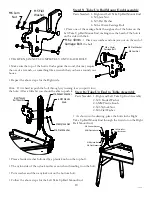
• Put the top bolt on your Left Batting Rail
Mount end through the hole in the Left
Pivot end, while the bottom bolt will slip
through the slit in the Left Pivot end.
• On the top bolt you will need to put a flat
washer followed by a nylock nut.
• NOTe!! Leave all the nylock nuts loose
enough to slide in the joint, and loose
enough to allow the washer to turn in your
fingers!**
• On the bottom bolt you will need to add a fender washer
followed by a plastic knob.
• Follow the above instructions to add the Right Batting Rail
to your frame.
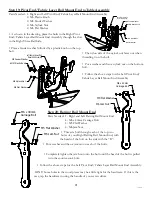
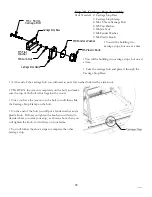
Step 22: Rail Assembly
Parts Needed: 4 - 70” Rail
4*- 34” Rail
4**- 24” Rail
4* or 8**- Rail Coupler
4 - Round end Caps
4 - Square end Caps
48* or 96**- M5 x 10mm Socket Head Screw
* Queen, or ** King ONLY
24- M5 x 16mm Socket Head Screw
24 - M5 Square Nut
• First you will install one square end cap on the end of each 70” Rail. (Remember that your M5 Square nuts are
pre-installed into your end caps.)
M6 Nylock Nut
M6 Flat Washer
M6 Plastic Knob
M8 Fender Washer
M6 Flat Washer
M6 Nylock Nut
M8 Fender Washer
M6 Plastic Knob


