background image

4

1

  Read these instructions.

2

   Keep these instructions.

3

   Heed all warnings.

  Follow all instructions.

5

   Do not use this apparatus near water.

6

  Clean only with a damp cloth.

7

  Do not block any of the ventilation openings. 

Install in accordance with the manufacturer’s 

instructions.

8

  Do not install near any heat sources such 

as radiators, heat registers, stoves, or other 

apparatus (including amplifi ers) that produce 

heat.

9

  Do not defeat the safety purpose of the 

polarized-type plug. A polarized plug has two 

blades with one wider than the other. The 

wide blade is provided for your safety. When 

the provided plug does not fi t into your outlet, 

consult an electrician for replacement of the 

obsolete outlet.

10

  Protect the power cord from being walked on 

or pinched particularly at plug, convenience 

receptacles, and the point where they exit from 

the apparatus.

11

  Only use attachments/accessories specifi ed by 

the manufacturer.

12

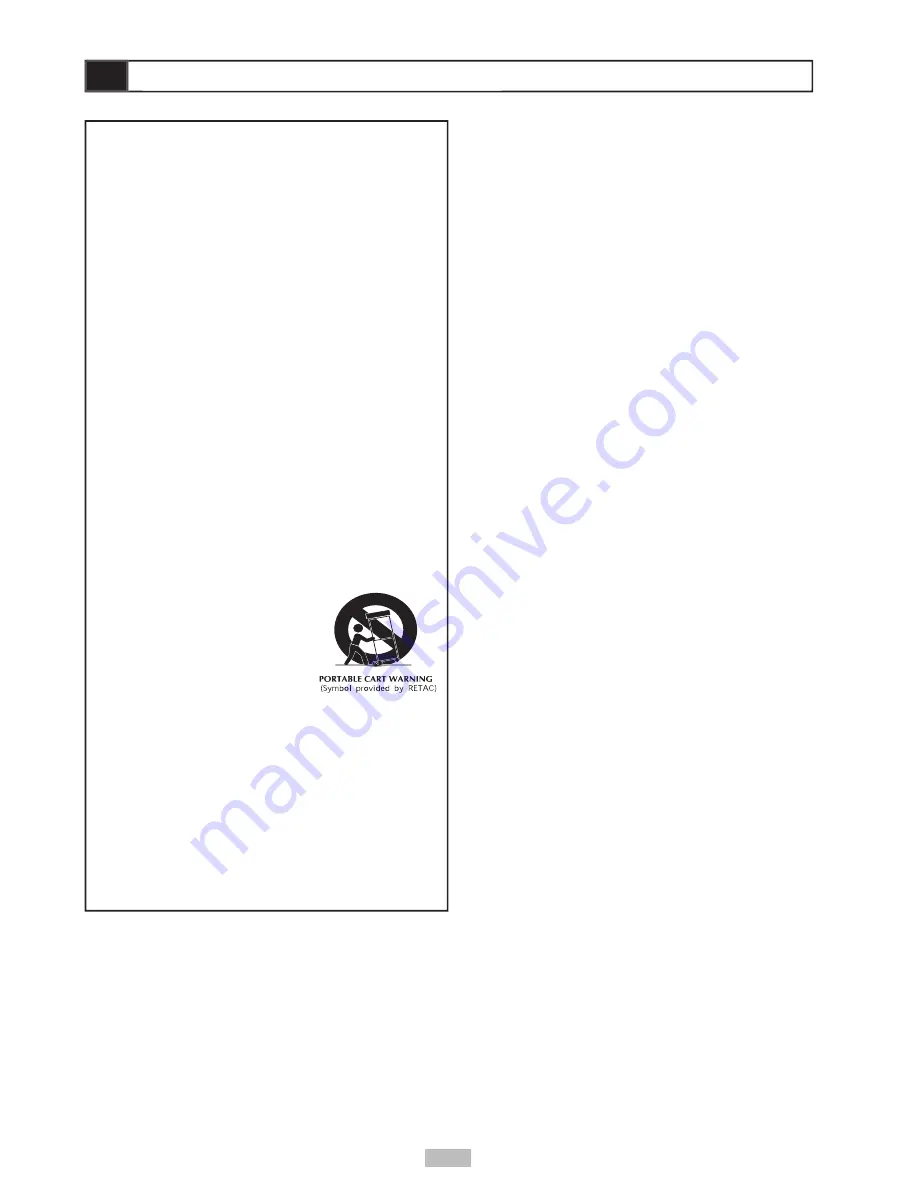
  Use only with a cart, 

stand, tripod, bracket, 

or table specifi ed by the 

manufacturer or sold with 

the apparatus. When a cart 

is used, use caution when 

moving the cart/apparatus 

combination to avoid injury 

from tip-over.

13

  Unplug this apparatus during lighting storms or 

when unused for long periods of time.

14

  Refer all servicing to qualifi ed service personnel. 

Servicing is required when the apparatus has 

been damaged in any way; such as when the 

power-supply cord or plug is damaged, liquid 

has been spilled or objects have fallen into the 

apparatus, the apparatus has been exposed to 

rain or moisture, does not  operate normally, or 

has been dropped.

Power cord protection

To avoid any malfunctions of the unit, and to protect 

against electric shock, fi re or personal injury, please 

observe the following:

•  Hold the plug fi rmly when connecting or 

disconnecting the AC power cord.

•  Keep the AC power cord away from heating 

appliances.

•  Never put any heavy object on the AC power cord.

•  Do not attempt to repair or reconstruct the AC 

power cord in any way.

Important Safety Instructions

Important Safety Instructions

Placement

Avoid placing the unit in areas of:

•  direct sunlight or heating radiators, or closed 

automobiles

•  high temperature (over 95°F) or high humidity 

(over 90%)

•  signifi cant dust as the internal parts may be 

seriously damaged.

Non-use periods

When the unit is not being used, turn it off. When left 

unused for a long period of time, the unit should be 

unplugged from the household AC outlet.

No fi ngers or other objects inside

•  Touching internal parts of this unit is dangerous, 

and may cause serious damage to the unit. Do not 

attempt to disassemble the unit.

•  Do not put any foreign object in the disc tray.

Keep away from water

•  Keep the unit away from fl ower vases, tubs, sinks, 

etc. If liquids are spilled into the unit, serious 

damage could occur.

Keep away from magnets

Never bring a magnet or magnetized object near the 

unit.

Stacking

•  Place the unit in a horizontal position, and do not 

place anything heavy on it.

Condensation

Moisture may form on the lens in the following 

conditions:

•  immediately after a heater has been turned on

•  in a steamy or very humid room

•  when the unit is suddenly moved from a cold 

environment to a warm one

If moisture forms inside this unit, it may not operate 

properly. In this case, turn on the power and wait 

about one hour for the moisture to evaporate.

If there is noise interference on the TV while 

a broadcast is being received

Depending on the reception condition of the TV, 

interference may appear on the TV monitor while you 

watch a TV broadcast and the unit is left on. This is 

not a malfunction of the unit or the TV. To watch a TV 

broadcast, turn off the unit.

Содержание DP6240

Страница 1: ... ...

Страница 2: ...le Language DVD 21 Screen Setup 22 TV Type 22 Screen Saver Screen Saver Screen Saver 22 TV System 23 Video Output 23 Audio Setup 24 Digital Audio Output DVD 24 Custom Setup 25 Parental Control DVD 25 Change Password DVD 25 Angle Mark DVD 26 Restore Defaults 26 LCD Setup 27 Panel 27 Color Color Color 27 Brightness 27 Invert 27 Close 27 Troubleshooting 28 Disc Handling Maintenance 29 Parts Accessori...

Страница 3: ... reception which can be determined by turning the equipment off and on the user is encouraged to try to correct the interference by one or more of the following measures Reorient or relocate the receiving antenna Increase the separation between the equipment and receiver Connect the equipment into an outlet on a circuit different from that to which the receiver is connected Consult the dealer or a...

Страница 4: ...ve the following Hold the plug firmly when connecting or disconnecting the AC power cord Keep the AC power cord away from heating appliances Never put any heavy object on the AC power cord Do not attempt to repair or reconstruct the AC power cord in any way Important Safety Instructions Important Safety Instructions Placement Avoid placing the unit in areas of direct sunlight or heating radiators o...

Страница 5: ...lections in menus 9 Open Top Panel Latch Releases the player s top panel 10 Reverse Scan Scans backward at variable speed during playback Moves left in menus Front View 11 Power Indicator Lights when player Power Indicator Lights when player Power Indicator is on 12 IR Sensor Receives input from IR Sensor Receives input from IR Sensor remote control 13 Stop Stops playback Moves down in menus 14 Fo...

Страница 6: ...such as a camcorder or VCR 3 Audio Output Input Connects out to a stereo TV or analog amplifier Also connects in from an external audio device such as a camcorder or VCR 4 AV Out AV In Switch Changes the Video and Audio jacks to be either Inputs or Outputs 5 Coaxial Digital Audio Output Connects out to a digital amplifier receiver with a Dolby Digital or DTS decoder 6 Phones 1 2 Jacks Connects to he...

Страница 7: ...n menus 6 Play Select Select Starts playback Also makes selections in menus 7 Skip Previous Skips to previous chapter track during playback 8 Stop Stops playback Moves down in menus 9 Numbers Makes direct selections in menus 10 Mode Switches between S Video and Progressive Scan modes 11 LCD Displays a series of options relating to the display including Panel Color Brightness Invert and Close 12 Su...

Страница 8: ...Step 3 Open Top Panel Slide the Open latch on the front of the player to release the top panel and adjust the LCD screen to the desired angle Step 4 Turn on Power Slide the Power button to the On position to turn on Power button to the On position to turn on Power the player Step 5 Open Disc Cover Press the Open button to open the disc cover Step 6 Insert Disc Place the disc in the center of the t...

Страница 9: ...ck on the right side of the player 3 Turn off the player The battery pack will NOT charge while the portable DVD player is powered on 4 The battery charge indicator will turn red while the battery is charging 5 The battery charge indicator will turn green when the battery pack is fully charged Removing the Battery Pack Press the Battery Release button on top of the battery pack to remove it CAUTIO...

Страница 10: ...s These connections require special cables with mini plug adapters not included S Video Connections 1 Connect an S Video cable with mini plug adapter not included from the S Video jack on the left side of the player to the S Video input on your television 2 Slide the AV Out AV In switch to the AV Out position 3 Set the Video Output to S Video in the player s Screen Setup menu see page 23 You can a...

Страница 11: ...mini plug to RCA stereo from the AV Out jack on the left side of the player to the left and right Audio Inputs on your stereo or 2 channel analog receiver 2 Slide the AV Out AV In switch to the AV Out position 3 Set your stereo to its appropriate input to hear the player Digital Audio Connections 1 Connect a digital coaxial cable with mini plug adapter not included from the Coaxial jack on the lef...

Страница 12: ...elect the desired chapter title To select a chapter title input the number e g press 1 for chapter 1 10 for chapter 10 etc 6 Press Select The player starts playback of the selected item DVD Playback DVD Playback Viewing Disc Menus Press Menu The portable DVD player stops playback and then displays the menu screen When not in use When the portable DVD player is not in use remove the disc and press ...

Страница 13: ...ginning of the chapter The player then skips a chapter each time you press the button Pause Press once during playback The screen is paused To return to normal playback press Select DVD Playback DVD Playback Repeat Press 1 All repeatedly during playback to select from the following options Press once to repeat the current Chapter Press twice to repeat the current Title Press three times to repeat ...

Страница 14: ... display them This operation works only with discs that provide subtitles 1 Press Subtitle during playback When you press Subtitle once the first subtitle language recorded on the disc will be displayed The rest of the subtitles recorded will display in sequence as you press the button If no subtitles are recorded will display instead of the language number instead of the language number 2 Press Su...

Страница 15: ...layback To resume normal sound press MUTE repeatedly until MUTE OFF appears on the screen Special DVD Features Title Some DVDs have Title menus which allow you to choose among multiple titles usually movies 1 Press TITLE in stop mode The Title menu appears if available 2 Press to select the preferred item 3 Press Select Select Disc Menu Most DVDs have disc menus which include special disc features...

Страница 16: ...yback Press Stop once to stop and hold playback at the current position Press Stop twice to stop and reset the disc to the beginning Other Disc Playback Other Disc Playback Forward Reverse Scan Press or during playback Normal playback is resumed when you press Select The Forward Scan x2 x4 etc and Reverse Scan x2 x4 etc speed changes each time you press the buttons Skipping Ahead Press during play...

Страница 17: ...e the desired image 5 Press Select repeatedly to rotate the image clockwise in 90 degree increments To restore all rotated images to their original state choose Reset and press Select Play Mode Play mode allows you to view your images in a slide show 1 Press to select the Play icon then press Select 2 The slide show starts playing from the current image Press and to view the previous or next image...

Страница 18: ...e the image in 90 degree increments Press Pause to pause the slide show Press Select to resume the slide show Press Stop to return to File Manager mode Other Disc Playback Other Disc Playback Program Mode Program mode allows you to create a custom slide show 1 Press to highlight the desired images then press Select to mark them with a yellow box and add them to your Program List 2 Press to choose ...

Страница 19: ...ip to the previous next track Press during playback To pause playback Press Pause To resume playback Press Select Programming MP3 CDs Program mode allows you to create a custom play list 1 Press Stop to stop playback 2 Press to select Program then press Select 3 Press to highlight the desired tracks then press Select to mark them with a yellow box and add them to your Program List 4 Press to choos...

Страница 20: ...en Language Setup Language Setup Disc Menu Language You can select your preferred language for DVD disc menus 1 Press Setup in Stop mode 2 Press to select Language Setup then press Select 3 Press to select Menu then press Select 4 Press to select your preferred language 5 Press Select To return to the Setup menu Press To exit the Setup menu Press Setup or select Exit Setup on the Setup Menu screen...

Страница 21: ...o Language DVD You can select your preferred language for DVD audio sound tracks 1 Press Setup in Stop mode 2 Press to select Language Setup then press Select 3 Press to select Audio then press Select 4 Press to select your preferred language Select Original if you want the default language to always be played first 5 Press Select If the language selected is not recorded on the disc the DVD player ...

Страница 22: ... return to the Setup menu Press To exit the Setup menu Press Setup or select Exit Setup on the Setup Menu screen Screen Setup Screen Saver The Screen Saver comes on automatically to protect the LCD screen if the player is left in Stop mode for 10 or more minutes 1 Press Setup 2 Press to select Screen Setup then press Select 3 Press to select Screen Saver then press Select 4 Press to select On or O...

Страница 23: ...ove Select SETUP Quit TV Ty Ty T pe Screen Saver S Video P SCAN Your TV Supports P Scan YES Press Play NO Press Stop 4 TV System When connecting the portable DVD player to a TV you must specify the broadcast system of your television Choose from the following NTSC The color TV broadcast standard for the USA Canada Latin America and Taiwan PAL The color television broadcast standard for Western Eur...

Страница 24: ...reen Digital Audio Output DVD The digital audio output jack labeled Coaxial is used to output the audio signal recorded on DVD discs to an external amplifier receiver The player provides three options for this audio signal SPDIF PCM Select if you are using a 2 channel digital amplifier SPDIF RAW Select if you are using a Dolby Digital 5 1 or DTS capable amplifier Off Select if you are not using the C...

Страница 25: ...ress Select 3 Press to select Parental Ctrl then press Select 4 Enter a 4 digit password then press Select The factory pre set password is 0000 You must enter 0000 to set the rating for the first time when purchasing your DVD from the store 5 Press to select the desired rating and press Select To return to the Setup menu Press To exit the Setup menu Press Setup or select Exit Setup on the Setup Men...

Страница 26: ...urn to the Setup menu Press To exit the Setup menu Press Setup or select Exit Setup on the Setup Menu screen Angle Mark DVD Some DVDs feature scenes filmed at different angles which you can select by pressing the ANGLE button You can have the player alert you when multiple angles are available by displaying an Angle Mark on screen Whether Angle Mark is set to On or Off pressing the ANGLE button wil...

Страница 27: ...ss LCD repeatedly to select Invert 2 Use the buttons to turn Invert On or Off Use this feature to flip the screen when mounting the player on the ceiling e g in a car or minivan Close 1 Press LCD repeatedly to select Close 2 Use the buttons to turn select On or Off Use this feature to turn off the LCD screen to preserve battery life e g while listening to a CD or MP3 disc The audio will still be he...

Страница 28: ...r capabilities Distorted picture Check disc for fingerprints and clean with a soft cloth wiping from center to edge Sometimes a small amount of picture distortion may appear This is not a malfunction Completely distorted picture or no color in picture Disc format does not match TV format PAL NTSC Picture distorted during forward or reverse scan Picture will be somewhat distorted at times This is no...

Страница 29: ... cause noise If the disc is brought from a cold to a warm environment moisture may form on the disc Wipe moisture off with a soft dry lint free cloth before using the disc Improper disc storage You can damage discs if you store them in the following places Areas exposed to direct sunlight Humid or dusty areas Areas directly exposed to a heat outlet or heating appliance Disc which cannot be played ...

Страница 30: ... 00044 Video Cable Mini plug to yellow RCA connector 54 201 00045 Carrying Case Viewable carrying case 86 135 04010 Earphones Stereo earphones 54 401 00015 S Video Cable Mini plug to S Connector 54 201 00020 Progressive Scan Component Video Cable Mini plug to red green blue RCA connectors 54 201 00046 A number of replacement parts and optional accessories are available for this portable DVD player...

Страница 31: ... period of the original warranty Please retain dated sales receipt Within the warranty period the customer pays for inbound shipping charges and GoVideo pays return shipping charges Other Warranty Coverage Commercial Industrial or Educational use has the same warranty coverage as stated in this warranty What are the Exceptions This warranty does not cover 1 Normal maintenance service such as clean...

Страница 32: ......

Отзывы: