


External Postioner (Fixed) Camera - Quick Start Guide
3830 SW 30 Avenue, Ft. Lauderdale, Florida 33312 | 305-937-2000 | www.GovComm.us | [email protected]
© GovComm, Inc. 2018
15
4 Accessing via Web Browser
System Requirements:
Operating System: Microsoft Windows XP SP1 and above version CPU: 2.0 GHz or higher
RAM: 1G or higher
Display: 1024×768 resolution or higher
Web Browser: Internet Explorer 8.0 and above version, Apple Safari 5.0.2 and above version, Mozilla
Firefox 5.0 and above version and Google Chrome 18 and above version
Steps:
1. Open the web browser.
2. In the browser address bar, input the IP address of the network camera, and press the Enter key
to enter the login interface.
NOTE:
The default IP address is 192.168.1.64. You are recommended to change the IP address to
the same subnet with your computer.
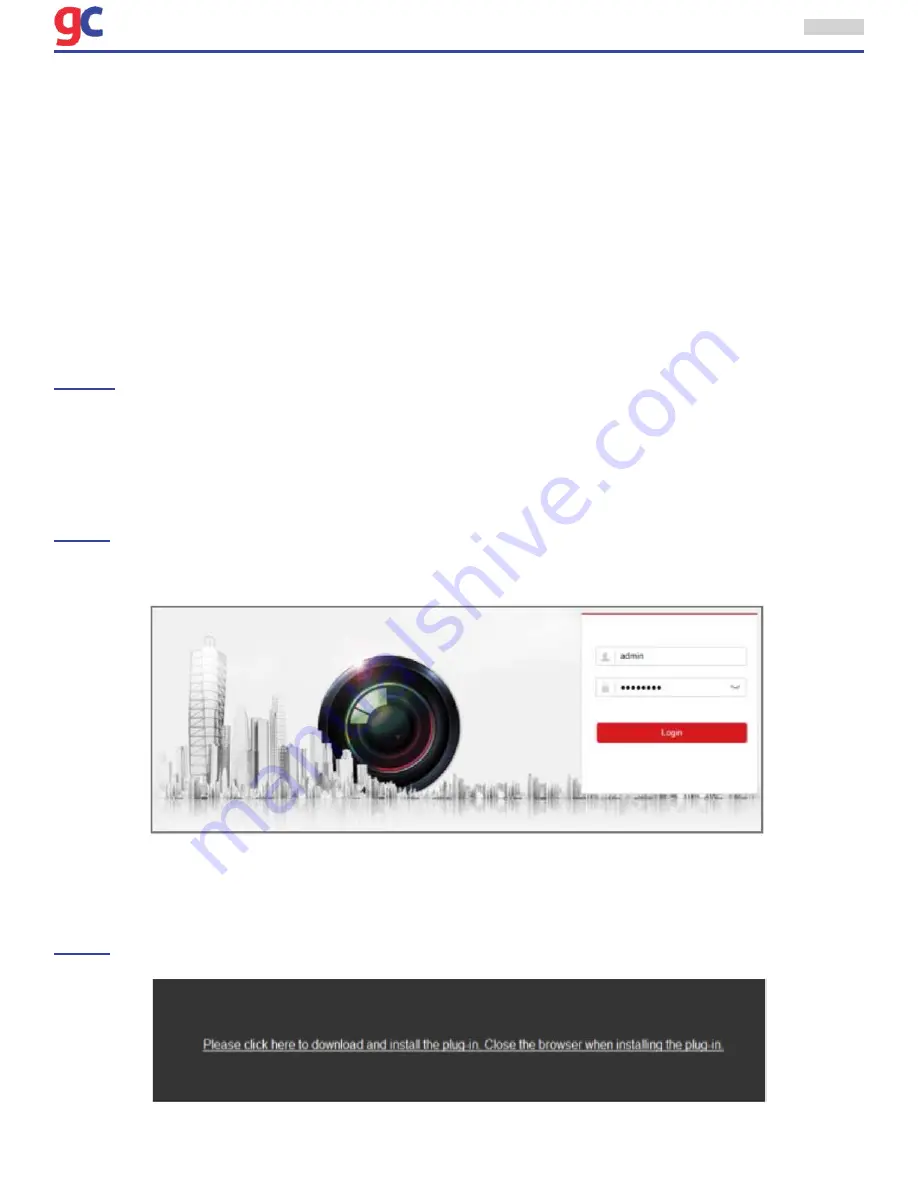
3. Input the user name and password.
The admin user should configure the device accounts and user/operator permissions properly. Delete
the unnecessary accounts and user/operator permissions.
NOTE:
The device IP address gets locked if the admin user performs 7 failed password attempts (5
attempts for the user/operator).
4. Click
Login.
5. Install the plug-in before viewing the live video and managing the camera. Follow the installation
prompts to install the plug-in.
NOTE:
You may have to close the web browser to finish the installation of the plug-in.
Figure 4-1 Modify the IP Address
Figure 4-2 Modify the IP Address


