10
03
Daily use
Switching ON
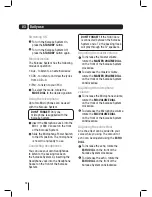
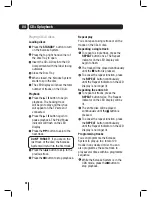
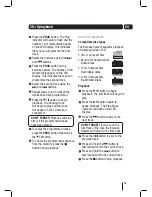
To turn the Karaoke System On,
press the
STANDBY
button.
To turn the Karaoke System Off,
press the
STANDBY
button again.
Mode selection
The Karaoke System has the following
modes of operation:
• Aux - to listen to an external device
• CDG - to listen to and view the lyrics
from a CD+G
• iPod - to listen to your iPod
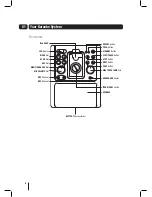
To select the mode, rotate the
MODE DIAL
to the desired position.
Using the microphone
Up to two Microphones can be used
with the Karaoke System.
DON’T FORGET!
Only one
microphone is supplied with the
Karaoke System.
Insert the Microphone Jack into the
MIC 1 or MIC 2 socket on the front
of the Karaoke System.
Slide the Microphone Power Switch
to the ON position. The microphone
is now On and ready to use.
Connecting headphones
You can use your own Headphones
to listen to the backing tracks on
the Karaoke System by inserting the
Headphone Jack into the Headphone
Socket on the front of the Karaoke
System.
DON’T FORGET!
If the RCA Cable
is connected between the Karaoke
System and a TV, the backing track
will play through the TV speakers.
Adjusting the master volume
To increase the master volume,
rotate the
MASTER VOLUME DIAL
on the front of the Karaoke System
clockwise.
To decrease the master volume,
rotate the
MASTER VOLUME DIAL
on the front of the Karaoke System
anticlockwise.
Adjusting the microphone
volume
To increase the Microphone volume,
rotate the
MIC VOLUME DIAL
on the front of the Karaoke System
clockwise.
To decrease the Microphone volume,
rotate the
MIC VOLUME DIAL
on the front of the Karaoke System
anticlockwise.
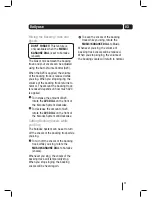
Adjusting the echo effect
An echo effect can be added to your
voice while you sing. The amount of
echo can be adjusted using the
ECHO
DIAL
.
To increase the echo, rotate the
ECHO DIAL
on the front of the
Karaoke System clockwise.
To decrease the echo, rotate the
ECHO DIAL
on the front of the
Karaoke System anticlockwise.
Содержание XB7CDGIP
Страница 25: ......
Страница 26: ......
Страница 27: ......
Страница 28: ...Technical Support 0871 230 1777 DCS May10 XB7CDGIP XB7CDGIP_UserGuide Rev5 indd 28 ...


