

7
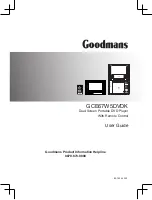
DUAL-SCREEN PORTABLE DVD PLAYER
USER GUIDE
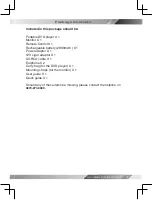
Package Contents
Included in this package should be:
Portable DVD player X 1
Monitor X 1
Remote Control X 1
Rechargeable battery (2800mAh ) X 1
Power adaptor X 1
12V cigar adaptor X 1
AV-RCA cable X 1
Earphone X 2
Carry bag (for the DVD player) X 1
Mounting straps (for the monitor) X 1
User guide X 1
Quick guide X 1
Should any of these items be missing, please contact the helpline on
0870-873-0080.


