4
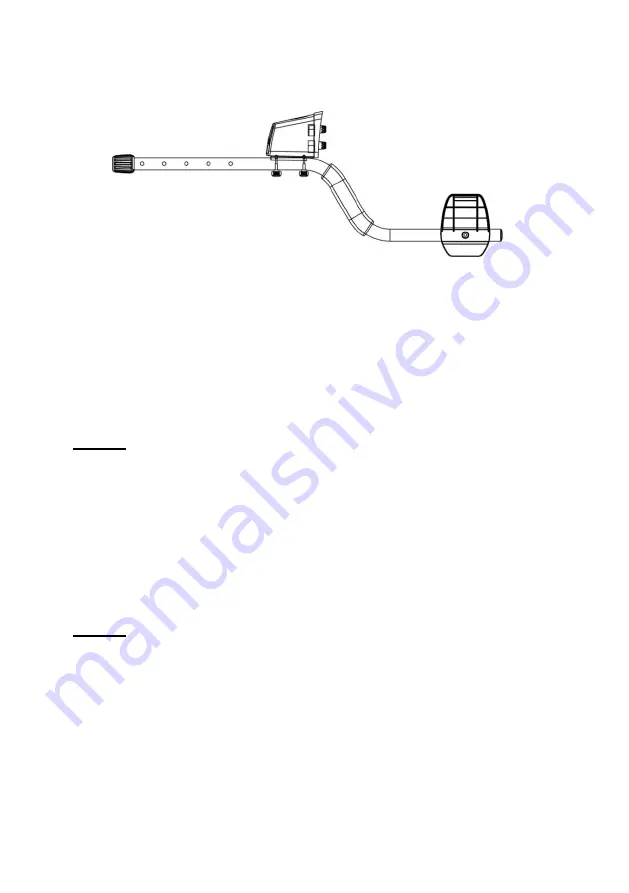
2. Fix the main box on the S shaft and tighten the screws properly (shown as
below).
3. Loosen the lock nut counter-clockwise on the S shaft. Insert the lower shaft
into the S shaft and tighten the lock nut.
4. Align the holes on the search coil bracket with the lower shaft. Push the
connector through the holes, then replace and tighten the fixing knobs.
5. Wind the search coil cable around the shaft and insert the plug into the
relevant jack.
Caution
:
The search coil
’s plug fits into the jack in only one-way. Do not force the
plug into the jack because it can be damaged.
Don
’t pull the cable if you want to pull out the plug from the jack.
6. Rotate the lock nut on the shaft clockwise to loosen it.
7. Stand and stretch your arm, holding the metal detector to make the search
coil is above the ground approximately 1 to 5 cm. Rotate the lock nut on the
shaft counterclockwise to re-tighten it.
Caution
: Do not over tighten the lock nut.
INSTALLING THE BATTERIES
1. Check the power switch on the front panel of the main box to make sure it is in
the “OFF” position.
2. Slide the battery cover on the left off in the direction the arrows point.
3. Place a 9V battery into the battery compartment matching the polarity symbols


