background image

9

2 - Getting Started

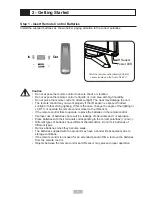
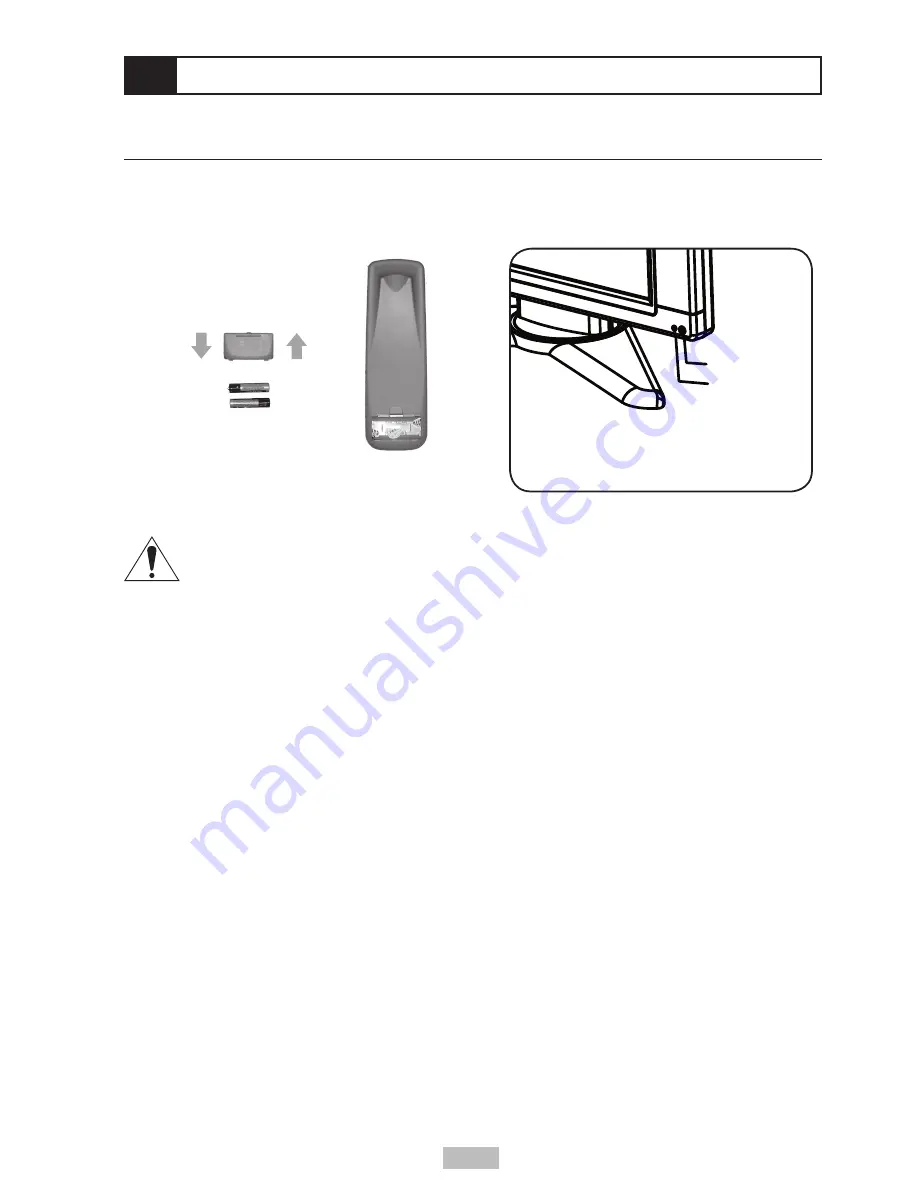
Step 1 - Insert Remote Control Batteries

Install the supplied batteries as shown below, paying attention to the correct polarities.

-

+

+

-

In

Out

Caution

•  Do not expose the remote control to severe shock or vibration.

•  Do not expose the remote control to liquids, or in an area with high humidity.

•  Do not place the remote control in direct sunlight. The heat may damage the unit.

•  The remote control may not work properly if the IR sensor is exposed to direct 

sunlight or other strong lighting. If this is the case, change the angle of the lighting or 

LCD TV, or operate the remote control closer to the IR sensor.

•  If the remote control fails to operate, replace the batteries in the remote control.

•  Improper use of batteries can result in a leakage of chemicals and / or explosion.

•  Place batteries with their terminals corresponding to the correct polarities (+) and (-).

•  Different types of batteries have different characteristics. Do not mix batteries of 

different types.

•  Remove batteries when they become weak.

•  The batteries supplied with the product may have a shorter life expectancy due to 

storage conditions.

•  If the remote control is not used for an extended period of time, remove the batteries 

from the remote control.

•  Objects between the remote control and IR sensor may prevent proper operation.


Point the remote control directly at the IR 

sensor located on the front of the TV.

IR Sensor

Power LED

AUTO

INPUT

EXIT

UP DOWN

CHANNEL

VOLUME

+

-

ENTER

MENU

Содержание T2040

Страница 1: ... ...

Страница 2: ...1 Table of Contents 2004 GoVideo All rights reserved Printed in China GoVideo is a registered trademark All other brand and product names are trademarks or registered trademarks of their respective companies GoVideo shall not be liable for any errors contained herein or for any damages arising out of or related to this document or the information contained herein even if GoVideo has been advised o...

Страница 3: ...determined by turning the equipment off and on the user is encouraged to try to correct the interference by one or more of the following measures Reorient or relocate the receiving antenna Increase the separation between the equipment and the receiver Connect the equipment into an outlet on a circuit different from that to which the receiver is connected Consult the dealer or an experienced radio ...

Страница 4: ... should not be located in the vicinity of overhead power lines or other electric light or power circuits or where it can fall into such power lines or circuits When installing an outside antenna system extreme care should be taken to keep from touching such power lines or circuits as contact with them might be fatal Read instructions All operating instructions must be read and understood before th...

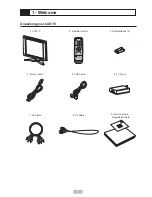
Страница 5: ...7 AV Cable 1 LCD TV 8 RF Cable 9 User s Guide Registration Card 3 AAA Batteries 2 DISPLAY 1 4 7 10 2 5 8 0 3 6 9 JUMP CH VOL VOL CH RETURN MENU ENTER MUTE FAVORITES INPUT POWER CHANNEL SEARCH ASPECT CAPTIONS AUDIO PICTURE MODE 1 Welcome Unpacking your LCD TV ...

Страница 6: ...ideo connections 5 Component Video Y Cb Cr In Connects to the Component Video Out of a DVD player or other AV equipment 6 Audio In Connects to the Audio Out of your AV equipment when using the Component Video connections 7 RF In Connects to an Antenna Cable TV jack Cable Box or Satellite Receiver using an RF cable 8 VGA In Connects to the VGA Out of a PC using a VGA cable 9 Audio In Connects to th...

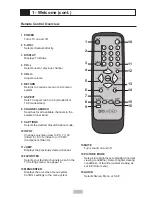
Страница 7: ... AV Video In SV S Video In or YCbCr Component Video In 11 JUMP Displays the previously viewed channel 12 FAVORITES Selects your favorite channels as set in the TV Settings menu see page 14 13 MENU ENTER Displays the on screen menu system Confirms settings in the menu ystem DISPLAY 1 4 7 10 2 5 8 0 3 6 9 JUMP CH VOL VOL CH RETURN MENU ENTER MUTE FAVORITES INPUT POWER CHANNEL SEARCH ASPECT CAPTIONS A...

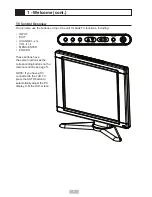
Страница 8: ...NNEL VOL MENU ENTER POWER These buttons have the same functions as the corresponding buttons on the remote control see page 7 NOTE If you have a PC connected to the LCD TV press the AUTO button to automatically adjust the PC display to fit the LCD screen 1 Welcome cont AUTO INPUT EXIT UP DOWN CHANNEL VOLUME ENTER MENU ...

Страница 9: ...er to the IR sensor If the remote control fails to operate replace the batteries in the remote control Improper use of batteries can result in a leakage of chemicals and or explosion Place batteries with their terminals corresponding to the correct polarities and Different types of batteries have different characteristics Do not mix batteries of different types Remove batteries when they become we...

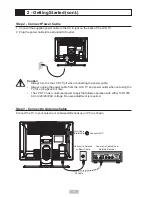
Страница 10: ...ont Step 2 Connect Power Cable 1 Connect the supplied power cable to the AC In jack on the back of the LCD TV 2 Plug the power cable into a standard AC outlet Caution Always turn the the LCD TV off when connecting the power cable Always unplug the power cable from the LCD TV and power outlet when not using the TV for a long period of time The LCD TV has a universal power supply that allows operati...

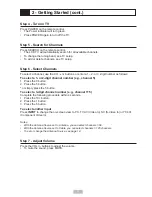
Страница 11: ...t channel number e g channel 5 1 Press the 0 button 2 Press the 5 button or simply press the 5 button To select a 3 digit channel number e g channel 115 Complete the following procedure within 4 seconds 1 Press the 10 button 2 Press the 1 button 3 Press the 5 button To select another input Press INPUT to change the on screen view to PC TV AV Video In SV S Video In or YCbCr Component Video In Notes...

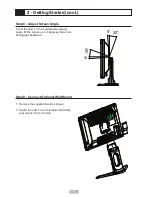
Страница 12: ...tional Wall Mount 1 Remove the supplied stand as shown 2 Attach the LCD TV to a standard VESA Arm wall mount 100 x 100 mm Step 8 Adjust Screen Angle To set the LCD TV to a comfortable viewing angle tilt the screen up to 5 degrees forward or 20 degrees backward ...

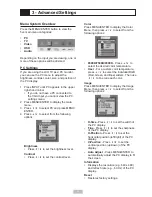
Страница 13: ...Contrast Press to set the contrast level Color Press MENU ENTER to display the Color Menu then press to select from the following options 6500K 7500K 9300K Press to select the desired color temperature User For a custom color temperature press to select the individual RGB Red Green and Blue sliders Then use to fine tune each color Image Press MENU ENTER to display the Image Menu then press to selec...

Страница 14: ...display the Picture Menu then press to select from the following options Picture Mode Press to select Standard normal viewing conditions Vivid brighter viewing conditions or Custom personalized setting Brightness Press to set the brightness level Contrast Press to set the contrast level Sharpness Press set the picture sharpness Color Press to set the color saturation Tint Press to set the hue Vide...

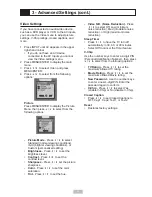
Страница 15: ... Brightness Press to set the brightness level Contrast Press to set the contrast level Sharpness Press set the picture sharpness Color Press to set the color saturation Tint Press to set the hue Video N R Noise Reduction Press to select Off Low minimum noise reduction Med moderate noise reduction or High maximum noise reduction Sleep Timer Press to have the TV turn off automatically in 30 60 or 90...

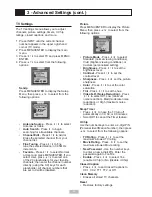
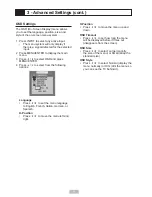
Страница 16: ...d press MENU ENTER 4 Press to select from the following options Language Press to set the menu language to English French Italian German or Spanish H Position Press to move the menu left and right V Position Press to move the menu up and down OSD Timeout Press to set how long the menu will be displayed before it times out disappears from the screen OSD Size Press to select Large magnify the size o...

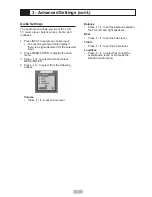
Страница 17: ...ected for the selected input 2 Press MENU ENTER to display the main menu 3 Press to select Audio and press MENU ENTER 4 Press to select from the following options Volume Press to set volume level Balance Press to set the balance between the TV s left and right speakers Bass Press to set the bass level Treble Press to set the treble level Loudness Press to select Yes boost the overall audio level o...

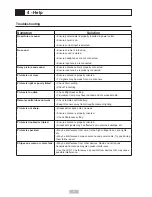
Страница 18: ...amp may have reached end of serviceable life Remote control does not work Check remote control battery Keep IR sensor away from strong fluorescent lighting Picture is not sharp Broadcast reception may be weak Ensure antenna is properly oriented Check Sharpness setting Picture is doubled or tripled Ensure antenna is properly oriented Broadcast signals may be effected by mountains buildings etc Pictu...

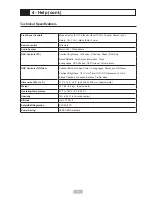
Страница 19: ...Position OSD Timeout Volume Mute OSD Controls TV Video Channel Edit Auto Scan Stereo 5 Languages Sharpness NR Reset Contrast Brightness Tint Color Timer Off OSD Transparent V Chip Closed Captions Loudness Balance Treble Bass Dimension W x H x D 21 3 x 18 2 x 8 2 540 x 462 x 209 mm approximate Weight 18 1 lbs 8 2 kg approximate Operating Temperature 41 F to 104 F 5 C to 40 C Humidity 10 to 80 non c...

Страница 20: ...SYNC ON Green 70W ON ON STANDBY Amber 4W OFF ON OFF Amber 4W OFF OFF Compatible PC Video Mode Mode Resolution H Freq KHz Band Width MHz 1 VGA 720 x 400 31 47 KHz 70 Hz 2 VGA 640 x 480 31 47 KHz 60 Hz 3 MAC 640 x 480 35 00 KHz 67 Hz 4 VESA 640 x 480 37 86 KHz 72 Hz 5 VESA 640 x 480 37 5 0 KHz 75 Hz 6 VESA 800 x 600 35 10 KHz 56 Hz 7 VESA 800 x 600 37 88 KHz 60 Hz 8 VESA 800 x 600 46 88 KHz 75 Hz 9 ...

Страница 21: ...riod of the original warranty Please retain dated sales receipt Within the warranty period the customer pays for inbound shipping charges and GoVideo pays return shipping charges Other Warranty Coverage Commercial Industrial or Educational use has the same warranty coverage as stated in this warranty What are the Exceptions This warranty does not cover 1 Normal maintenance service such as cleaning...

Страница 22: ......

Отзывы: