T o b e l e f t w i t h t h e u s e r
Instructions for Use
Installation and Servicing
G.C. No. 41-047-42
Chimney
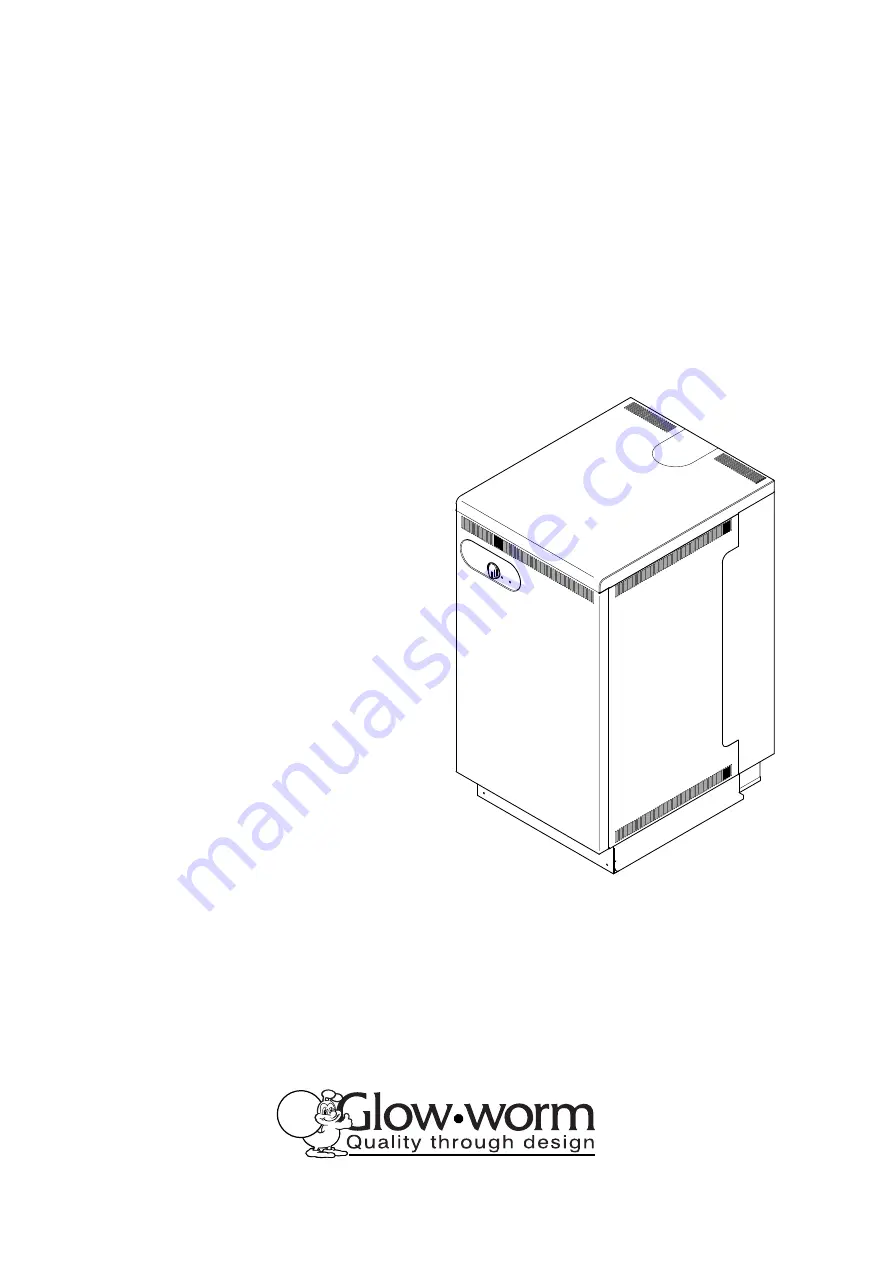
Fanned Flue Boiler
0020003579A.08.04
Hideaway
100C FF
G.C. No. 41-047-43
Hideaway
115C FF
Glow-worm,
Nottingham Road, Belper, Derbyshire. DE56 1JT
www.glow-worm.co.uk


