11
Data collection
1.
Tap the
SETUP
icon to enter the
SETUP screen. This dialog box allows
you to select the sensors, sampling
rate and number of samples for the
next data recording.
2.
Tap the
RUN
icon to start recording
and observe the graph build on the
screen. You can switch the display
view by tapping the Bar or Table
Graph key at the bottom.
3.
To stop recording tap the
STOP
icon.
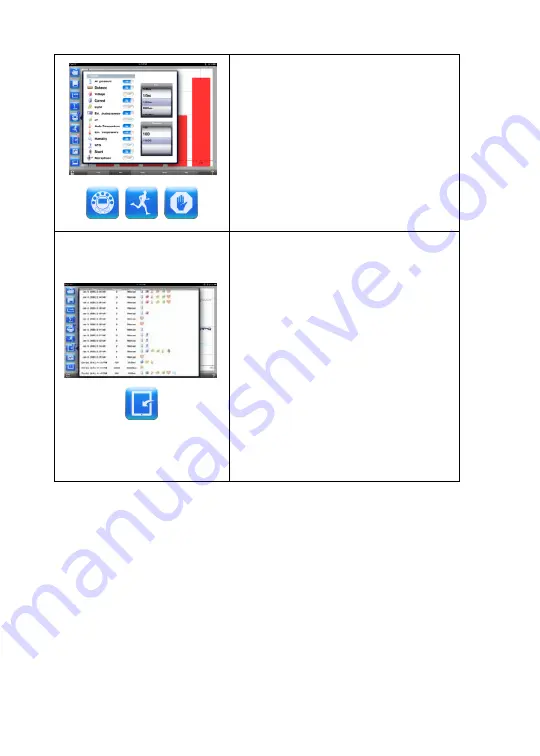
Download stored measurements
The
Mini
can store up to 127 different
experiments. This is very useful when
conducting outdoor data collection or long
measurements.
1.
Tap the
Download
icon.
2.
The iPad will list all stored
experiments and show what sensors
were used, the sampling rate and
how many samples were collected as
well as the date/time of the
collection.
3.
Click on one of the lines in the list to
transfer the data to the iPad. Once
data is transferred, the iPad will show
a graph of the collected
measurement.