13
12
Fig. 1
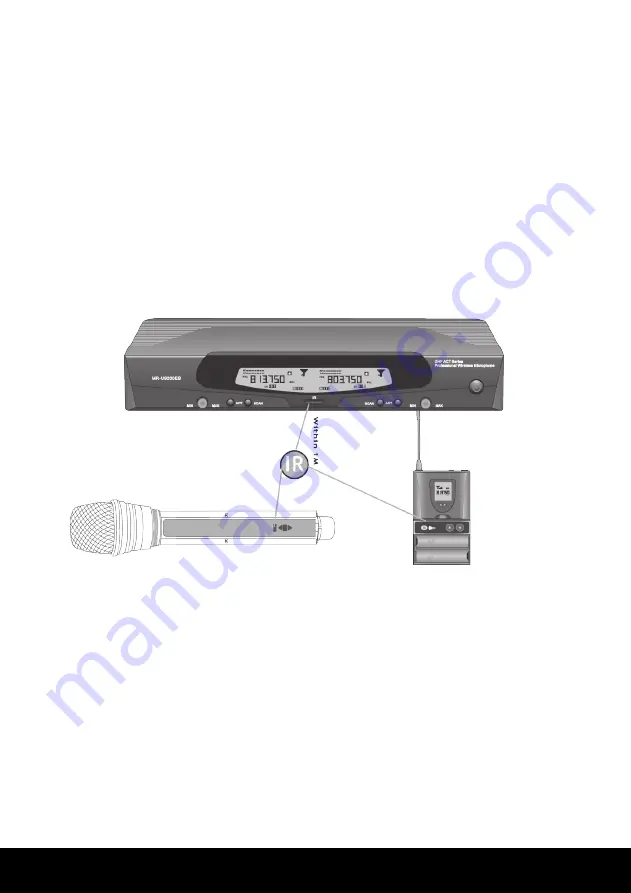
- Automatico: con questa procedura, la base invierà
automaticamente la frequenza impostata al microfono
trasmittente. Sarà sufficiente premere sulla base
una sola volta il tasto ACT avendo cura di allineare
il sensore IR del microfono al sensore IR della base
(Fig. 1).
Terminata la procedura bloccate le frequenze
tenendo premuto il tasto SCAN di sinistra fino a
far apparire sul display il simbolo del lucchetto
chiuso.
SELEZIONE MANUALE CONTEMPORANEA DEI
CANALI
E’ possibile selezionare contemporaneamente le
frequenze dei 2 canali scegliendo una delle 100
combinazioni disponibili. Per fare ciò, assicuratevi che
la base sia sbloccata (lucchetto aperto visualizzato su
display). Per sbloccare il lucchetto tenete premuto il
tasto SCAN di sinistra. Tenete premuto il tasto SCAN
di destra, lampeggeranno entrambe le frequenze.
Tramite SCAN e ACT selezionate la combinazione
desiderata, quindi attendete qualche istante fino a che
cesserà il lampeggio. Come già spiegato, bloccate il
lucchetto e inviate le frequenze ai microfoni.
- Auto: with this system the receiver will send
automatically the selected frequency to the transmitter
microphone. It will be enough to press just once the
ACT button, taking care of aligning the microphone’s
IR sensor with the receiver’s IR sensor (Pict. 1)
Once this procedure is completed, lock the
frequencies using the left SCAN button, until the
symbol of the closed lock appears on the display.
MANUAL CONTEMPORARY CHANNEL
SELECTION
It is possible to select at the same time the 2 channels’
frequencies by choosing one of the 100 available
combinations. To do that, make sure the receiver is
unlocked (open lock on the display).
To unlock the keys press and hold the left SCAN
button. Press and hold then the also thr right SCAN
button: both frequencies will flash.
Using the keys SCAN and ACT select the desired
combination, then wait some instants until flashing
stops. Now lock the keys (as explained before) and
send the frequencies to the microphones.


