Hardware Installation
- 20 -
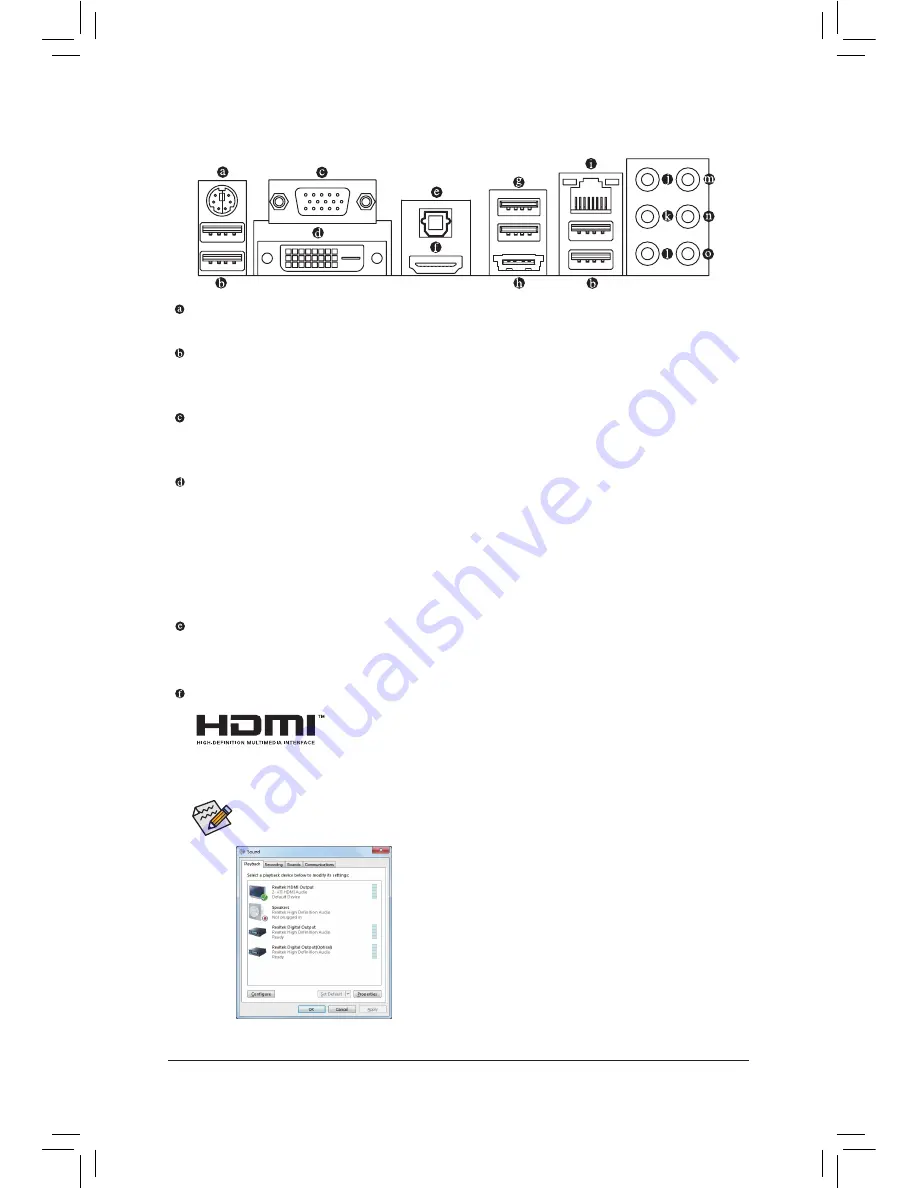
1-7 Back Panel Connectors
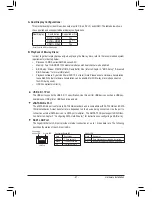
After installing the HDMI monitor, make sure to set the default sound playback device to HDMI. (The
item name may differ depending on your operating system. The screenshot below is from Windows 7.)
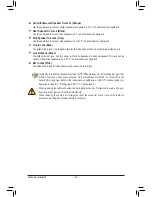
PS/2 Keyboard/Mouse Port
Use this port to connect a PS/2 mouse or keyboard.
USB 3.0/2.0 Port
The USB 3.0 port supports the USB 3.0 specification and is compatible to the USB 2.0/1.1 specification.
Use this port for USB devices such as a USB keyboard/mouse, USB printer, USB flash drive and etc.
D-Sub Port
(Note 1)
The D-Sub port supports a 15-pin D-Sub connector. Connect a monitor that supports D-Sub connection
to this port.
DVI-D Port
(Note 1)(Note 2)
The DVI-D port conforms to the DVI-D specification and supports a maximum resolution of 2560x1600.
Connect a monitor that supports DVI-D connection to this port. Please note that the actual resolutions
supported are dependent on the monitor being used and the resolution of 2560x1600 is supported only
when Dual Link DVI mode is enabled. The D-Sub, and HDMI ports will be disabled when Dual Link DVI
mode is enabled (refer to Chapter 2, "BIOS Setup," "MB Intelligent Tweaker(M.I.T.)," "IGX Configura
-
tion," for more information)
Optical S/PDIF Out Connector
This connector provides digital audio out to an external audio system that supports digital optical audio.
Before using this feature, ensure that your audio system provides an optical digital audio in connector.
HDMI Port
(Note 1)
The HDMI port is HDCP compliant and supports Dolby True HD and DTS HD
Master Audio formats. It also supports up to 192KHz/24bit 8-channel LPCM
audio output. You can use this port to connect your HDMI-supported monitor. The maximum supported
resolution is 1920x1200, but the actual resolutions supported are dependent on the monitor being used.
(Note 1) All integrated graphics ports do not support Hot plug. If
you want to change to another graphics port when the
computer is on, be sure to turn off the computer first.
(Note 2) The DVI-D port does not support D-Sub connection by
adapter.
In Windows 7, select Start>Control Panel>Hardware and
Sound>Sound>Playback, set
Realtek HDMI Output
-
ATI HDMI
Audio
to the default playback device.
Содержание GA-A75-D3H
Страница 1: ...GA A75 D3H User s Manual Rev 1002 12ME A75D3H 1002R ...
Страница 2: ...Motherboard GA A75 D3H Jun 13 2011 Jun 13 2011 Motherboard GA A75 D3H ...
Страница 54: ...BIOS Setup 54 ...
Страница 70: ...Unique Features 70 ...
Страница 92: ...Appendix 92 ...
Страница 93: ... 93 Appendix ...
Страница 94: ...Appendix 94 ...


