E
ngl
ish
4. Installation Instruction
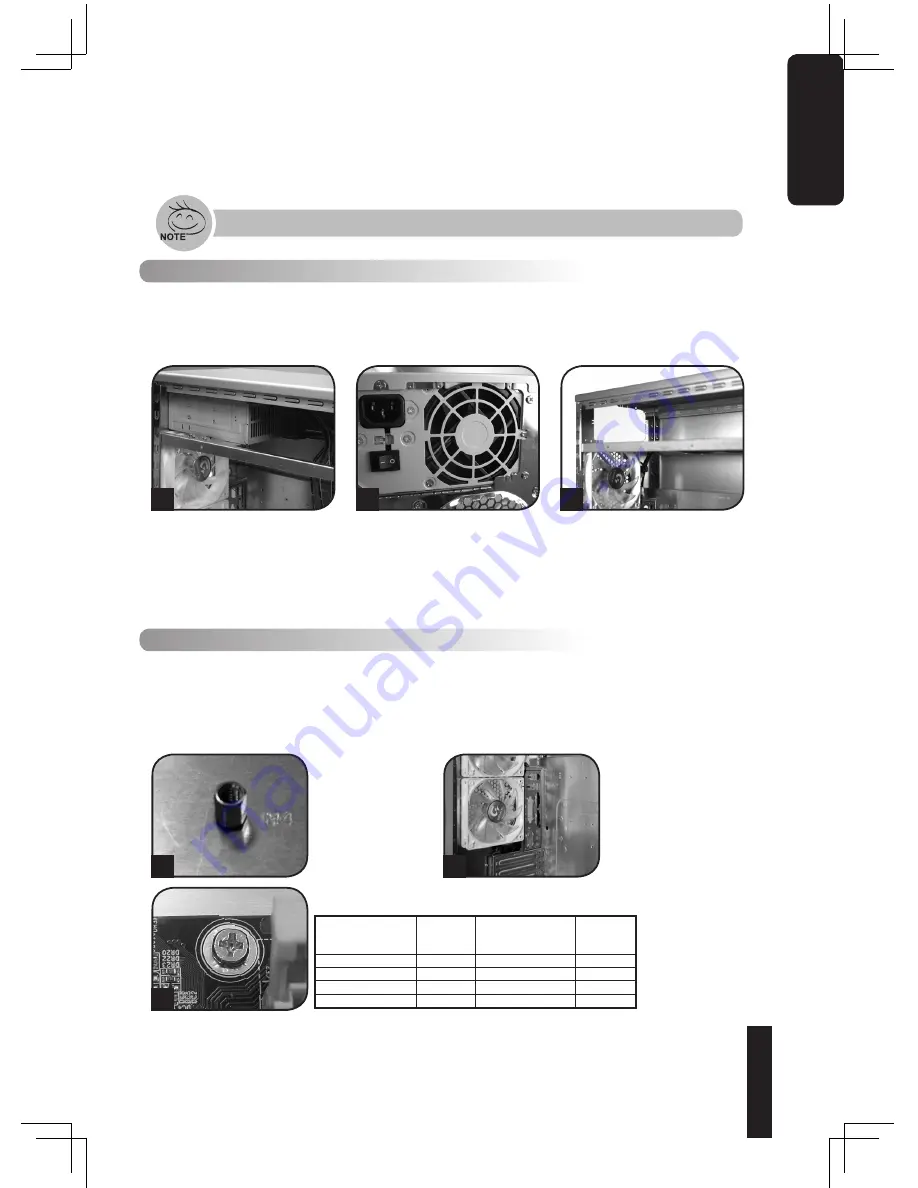
4-1 Installation of Power Supply
To facilitate the installation, it is recommended to set the chassis upright
on the table.
〔
Required Tools: Power supply securing screw x 4
〕
4-2 Installation of Motherboard
This chassis supports ATX / Micro ATX / Flex-ATX / CEB motherboards.
Please confirm the dimensions and fixing points of the motherboard prior
to installation.
〔
Required Tools: Copper stand offs, Motherboard screws
〕
Please follow the reference sections in order for installation
According to
motherboard
specifications, select
proper screw points,
screw in the copper
stand offs into the
corresponding points
on the motherboard.
2.1
Change the
motherboard I/O
bracket on the rear
panel (supplied by
the motherboard
manufacturer).
2.2
2.3
Motherboard
Code
name
Motherboard
screws
case
copper
post
ATX
A1-A9
9
9
Micro ATX
U1-U9
9
9
Flex-ATX
F1-F6
6
6
E-ATX
E1-E12
12
12
Secure the motherboard with the motherboard screws (refer to your
motherboard manual to check what type of motherboard you have).
1.1
1.2
1.3
Remove side panel (see step
1-3.1 on page 6). Place the
power supply unit into the case.
Secure the power supply with
the 4 securing screws.
When using a larger power
supply unit, Please disassemble
the cross bar by loosening
the securing screws. Fasten
the screws to secure the cross
bar after the power supply is
installed.


