


If this function is selected, the following information will appear:
Enter New Password hhhhhh
Then, enter the password with not more than eight characters and press <Enter>. BIOS will require entering the
password again. Once you enter it again, BIOS will save the set password.
Once the password item is enabled, you will be required to enter the password each time before the system
goes to the set program of BIOS. The user can set this item through the Security Option in advanced BIOS
properties. If the item Security Option is set as System, the password will be required to be entered before the
system guides and goes to the set program of BIOS. If set as Setup, the password will be required to be entered
only before the system goes to the set program of BIOS.
To delete the password, press <Enter> in the popped-up window that requires to enter the password. Then,
information for confirmation will appear on the screen to allow you decide whether the password is disabled.
Once the password is disabled, you won’t have to enter the password and can enter the setup program directly
when the system is restarted.
Boot Sector Virus Protection
This item is used for setting the alarm function in the case of virus attack in IDE disk sector. If this item is set as
Enable and some program wants to write information in the sector, BIOS will display alarm information on the
screen and buzz.
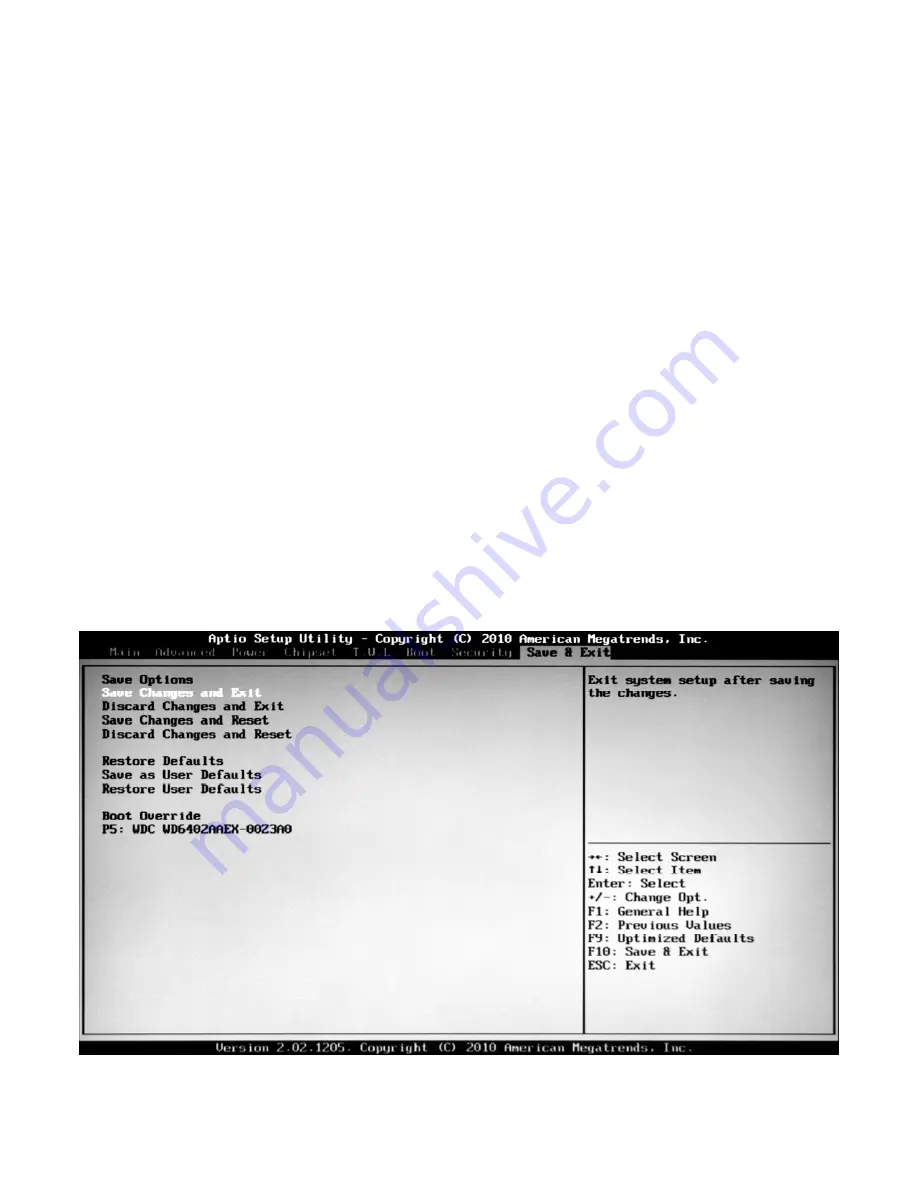
9. Save & Exit
Fig4.16
1)
Save Changes and Exit
Discard changes and exit


