background image

PIANO REMOTE APP

PP-3

13

DEUTSCH

Ihr GEWA Digitalpiano kann per Bluetooth mit Ihrem Smartphone verbunden werden.
Zusätzlich zu den Standard-Funktion über die Bluetooth-Audio und MIDI-Schnittstelle
können auch zusätzliche Einstellungen über die GEWA Piano Remote App vor-
genommen werden.

Diese App ist verfügbar für die meisten Android und iOS Geräte.

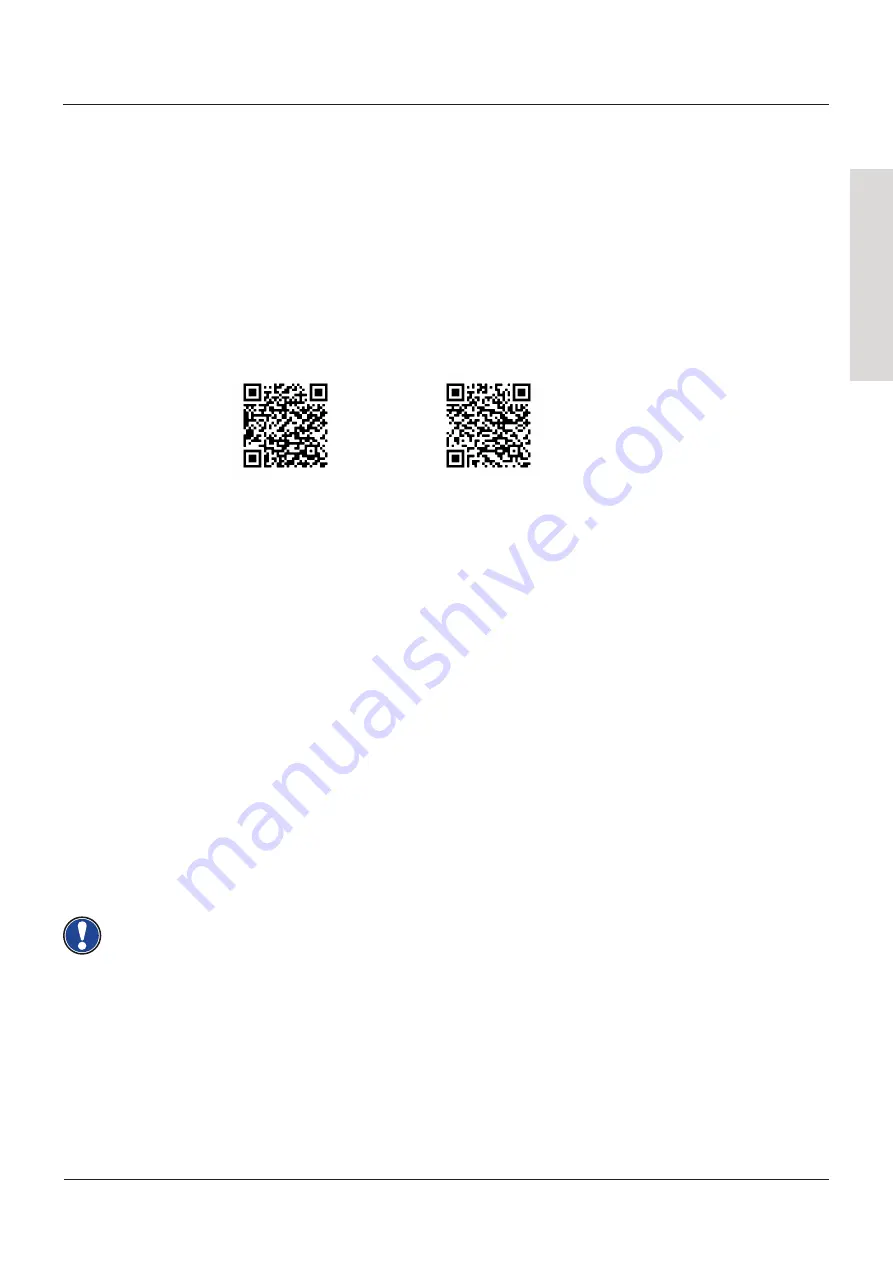
Zum Download suchen Sie einfach im App-Store nach

„GEWA Piano Remote“

oder

besuchen Sie unsere Website:

www.gewakeys.com

für mehr Informationen.

Über die GEWA Piano Remote App stehen Ihnen viele zusätzliche Einstellmöglichkeiten
Izur Verfügung. Wie zum Beispiel die Anlage von Favoritenklängen, Effekte,
Klankombinationen, Lesson-Player, Demo-Songs, Aufnahmefunktionen, oder Zugriff
auf den virtuellen Pianotechniker.

Eine vollständige Funktionsbeschreibung finden Sie unter

www.gewakeys.com

Um eine Verbindung mit Ihrem GEWA Piano herzustellen gehen Sie bitte wie folgt
vor:

Das Android OS benötigt Zugriff auf Ihren Standort um nach Bluetooth MIDI-Geräten
in der Nähe zu suchen. Bitte aktivieren Sie den Standortzugriff während des
Suchprozesses. Die GEWA Piano Remote App speichert keine Nutzerdaten und gibt
diese auch NICHT an Dritte weiter.

8

PIANO REMOTE APP

GEWA Piano Remote

auf Google Play

GEWA Piano Remote

im Apple App Store

8.1

APP VERBINDEN

1. Stellen Sie sicher, dass an Ihrem Piano Bluetooth eingeschaltet ist (LED leuchtet)

2. Starten Sie die GEWA Piano Remote App und suchen sie nach Geräten.

3. Klicken Sie auf das GEWA Device um eine Verbindung herzustellen.

HINWEIS

Содержание PP-3

Страница 1: ...QUICK START GUIDE GEWA PP 3 Die vollständige Bedienungsanleitung finden Sie unter Please follow this download link to the complete users manual www gewakeys com service downloads ...

Страница 2: ...Manufacturer GEWA music GmbH Oelsnitzer Str 58 08626 Adorf GERMANY www gewakeys com Version 1 0 Date 13 01 2022 ...

Страница 3: ...9 Favoritenklänge 14 1 1 Sicherheitsinformationen 4 1 2 Bestimmungsgemäß verwenden 5 1 3 Unsachgemäßer Gebrauch Beispiele 5 1 4 Vorsichtsmaßnahmen 6 1 5 CE Zeichen 7 1 6 Entsorgung 7 4 1 Stromversorgung 9 4 2 Pedal anschließen 10 4 3 Ein und Ausschalten 10 4 4 Verwenden von Kopfhörern 10 4 5 Einstellung der Lautstärke 10 5 1 Soundkategorien und Klänge 11 5 2 Klänge auswählen 11 8 1 App verbinden 1...

Страница 4: ...er 1 SICHERHEITSINFORMATIONEN 1 1 SICHERHEITSINFORMATIONEN Der Hersteller haftet nicht für Personen oder Sachschäden die aus einem unsachgemäßen Gebrauch des Geräts resultieren Verwenden Sie Ihr Digitalpiano nur gemäß den hier aufgeführten Bestimmungen In dieser Bedienungsanleitung kommen folgende Zeichen für die Kennzeichnung von Gefahren und Hinweisen zum Einsatz HINWEIS Gefahrenstufe Symbol Bed...

Страница 5: ... Digitalpiano muss auf sicher befestigten und für das Gewicht geeigneten stabilen und ebenen Böden oder Plattformen aufgestellt werden Verwendung im Freien oder Regen Verwendung in feuchten Räumen Anschluss an falsche Versorgungsspannung oder nicht vorschriftsmäßig installierte elektrische Stromversorgungen Verwendung in unmittelbarer Nähe von elektrischen oder elektronischen Geräten wie Stereoanl...

Страница 6: ...oder Flüssigkeiten in das Digitalpiano oder die Tastatur schütten Nie das Digitalpiano mit nassem Lappen reinigen Nie den Netzstecker mit nassen Händen einstecken oder aus der Steckdose herausziehen Dabei nie am Kabel ziehen es kann beschädigt werden Gelangt versehentlich eine Flüssigkeit in das Digitalpiano ziehen Sie sofort den Netzstecker Lassen Sie das Digitalpiano anschließend von Ihrem GEWA ...

Страница 7: ...räte beschädigen können Ziehen Sie bei Gewitter oder längerem Nichtgebrauch Reise den Netzstecker aus der Steckdose VORSICHT VORSICHT 1 5 CE ZEICHEN 1 6 ENTSORGUNG Dieses Gerät erfüllt die Anforderungen der EU Richtlinien Directive 2014 53 EU EN55032 2015 EN55035 2017 A11 2020 EN61000 3 2 2014 EN61000 3 3 2013 EN301489 17 V3 2 4 EN62368 1 2014 A1 2017 Die Konformität mit den o a Richtlinien wird d...

Страница 8: ...ließen von externen Wiedergabegeräten wie Smartphone o ä 8 Sustain Sostenuto Pedal 6 3mm Schließen Sie hier Ihr Sustain Pedal an 9 Soft Expression Pedal 6 3mm Schließen Sie hier Ihr Soft Expression Pedal an 10 Line Out 6 3mm Klinke Stereo Hier können Sie das Instrument an externe Wiedergabegeräte anschließen 11 Phones 6 3mm Klinke Stereo Schließen Sie hier Ihre Kopfhörer an 12 DC IN Buchse Schließ...

Страница 9: ...geschalten ist bevor Sie das Netzkabel trennen Der im Lieferumfang enthaltene Netzadapter verfügt über verschiedene Steckertypen Diese können je nach Einsatzland und dort vorhandenen Steckdosen ausgetauscht werden Gehen Sie hierzu wie folgt vor Drücken Sie den Feststellknopf 1 und halten diesen gedrückt Währenddessen drehen Sie die Adapterplatte 2 gegen den Uhrzeigersinn um diese vom Netzteil zu e...

Страница 10: ...en die Lautstärke mithilfe des Volume Reglers einstellen Drehen Sie den Regler im Uhrzeigersinn um die Lautstärke zu erhöhen Drehen Sie den Regler gegen den Uhrzeigersinn um die Lautstärke zu verringern Bitte beachten Sie folgendes Sobald Kopfhörer eingesteckt sind erklingt kein Ton mehr über die Lautsprecher des Instrumentes Sie können den Lautstärkeregler nutzen um die Kopfhörerlautstärke einzus...

Страница 11: ... Strings Organ 1 Piano 2 E Piano 2 Choir Organ 2 Piano 3 E Piano 3 Synth Strings Organ 3 Piano 4 E Piano 4 Synth Pad Guitar Harpsi Clavi Vibra Accord Um einzelne Klänge einer Kategorie auszuwählen gehen Sie wie folgt vor Wenn über die F1 F2 Tasten das Ende einer Soundkategorie erreicht ist springt das Piano automatisch in die vorherige bzw nächste Kategorie Alternative Tastenbelegung Shift F1 F4 1...

Страница 12: ...Shift F1 F4 Metronom AUS Power Bluetooth Shift leuchtet vorheriger Klang nächster Klang nächste Kategorie Metronom Start Stop Alternative Tastenbelegung Shift F1 F4 Metronom AN Power Bluetooth Shift leuchtet Tempo 5 bpm Tempo 5 bpm Letzte Einstellung Metronom Start Stop 1 Drücken Sie die Bluetooth Taste kurz bis diese dauerhaft leuchtet 2 Gehen Sie nun in Ihre bevorzugte Bluetooth MIDI Anwendung u...

Страница 13: ...nationen Lesson Player Demo Songs Aufnahmefunktionen oder Zugriff auf den virtuellen Pianotechniker Eine vollständige Funktionsbeschreibung finden Sie unter www gewakeys com Um eine Verbindung mit Ihrem GEWA Piano herzustellen gehen Sie bitte wie folgt vor Das Android OS benötigt Zugriff auf Ihren Standort um nach Bluetooth MIDI Geräten in der Nähe zu suchen Bitte aktivieren Sie den Standortzugrif...

Страница 14: ...nstasten F1 F4 Ihre Favoritenklänge aufrufen Auf der rechten Seite sehen Sie den Startbildschirm der GEWA Piano Remote App Dieser beinhaltet 4 Kacheln mit einem Symbol in der Mitte Drücken Sie auf das Symbol um einen neuen Favoriten klang anzulegen Pro Favoritenklang stehen folgende Einstellmöglichkeiten zur Verfügung Name Sound wählen Sie hier den bevorzugten Klang aus Effect zum Beispiel Chorus ...

Страница 15: ...mote App 25 9 Favorite Sounds 26 1 1 Key 16 1 2 Intended Use 17 1 3 Improper Use Examples 17 1 4 Preauctions 18 1 5 CE Mark 19 1 6 Disposal 19 4 1 Power Connection 21 4 2 Connecting the Pedal 22 4 3 Switch On and Off 22 4 4 Using Headphones 22 4 5 Setting the Volume 22 5 1 Sound Categories and Sounds 23 5 2 Selecting Sounds 23 8 1 Connecting the App 25 CONTENTS ENGLISH ...

Страница 16: ...er is not liable for personal injury or property damage resulting from improper use of the device Only use your digital piano as directed The following symbols are used in this operating manual to identify hazards and notes NOTE Level of Danger Symbol Importance Definition Severe injury WARNING Severe to fatal injuries if disregarded Severe injury through electric shock WARNING Additional symbol f...

Страница 17: ... permitted and cause the immediate loss of the warranty claim The digital piano must be placed on securely fastened and weight suitable stable and level floors or platforms Use outdoors or in rain Use in damp rooms Connection to incorrect supply voltage or improperly installed electrical power supplies Use in close proximity to electrical or electronic equipment such as stereos televisions radios ...

Страница 18: ...ital piano or keyboard Never clean the digital piano with a wet cloth Never plug in or pull out the mains plug with wet hands Never pull on the cable it can cause damage If liquid accidentally gets into the digital piano immediately unplug the power Then have your digital piano checked by your GEWA service representative Unusual circumstances Turn off the digital piano or unplug the power cable if...

Страница 19: ...as travel unplug the appliance from the mains CAUTION CAUTION 1 5 CE MARK 1 6 DISPOSAL This device complies with EU directive requirements Directive 2014 53 EU EN55032 2015 EN55035 1017 A11 2020 EN61000 3 2 2014 EN61000 3 3 2013 EN301489 17 V3 2 4 EN62368 1 2014 A11 2017 The conformity with the regulations listed above is confirmed by the CE sign on the device The declaration of conformity can be ...

Страница 20: ...und source to the instrument e g smartphone 8 Sustain Sostenuto Pedal 6 3mm Jack Connect your sutain pedal to the piano 9 Soft Expression Pedal 6 3mm Jack Connect a soft expression pedal to the piano 10 Line Out 6 3mm Jack TRS Connect the instrument to an external speaker 11 Phones 6 3mm Jack TRS Connect your heapdhones to the piano 12 DC IN Jack Connect the power adapter to the instrument 3 Shift...

Страница 21: ...ched off before disconnecting the power cord The power adapter included in the scope of delivery has different plug types These can be exchanged depending on the country of use and the sockets used there Proceed as follows to do this Press the locking button 1 and keep it pressed Meanwhile turn the adapter plate 2 counterclockwise to remove it from the power supply To use another adapter plate plu...

Страница 22: ...st the volume using the Volume control Turn the knob clockwise to increase the volume Turn the knob counterclockwise to clockwise to decrease the volume Please note the following As soon as the headphones are plugged in there will be no sound from the instrument s loudspeakers You can use the volume control knob to adjust the headphone volume 6 3 mm TRS Jack The Power LED should now light up perma...

Страница 23: ... 1 E Piano 1 Strings Organ 1 Piano 2 E Piano 2 Choir Organ 2 Piano 3 E Piano 3 Synth Strings Organ 3 Piano 4 E Piano 4 Synth Pad Guitar Harpsi Clavi Vibra Accord To select individual sounds of a category proceed as follows When the end of a sound category is reached via the F1 F2 keys the piano automatically jumps to the previous or next category Alternative Key Layout Shift F1 F4 1 Select the des...

Страница 24: ... Power Bluetooth Shift illuminated Previous Voice Next Voice Next Category Metronome Start Stop Alternative Key Layout Shift F1 F4 Metronome ON Power Bluetooth Shift illuminated Tempo 5 bpm Tempo 5 bpm Previous Setting Metronome Start Stop 1 Press the Bluetooth button briefly until it lights up continuously 2 Now go to your favorite Bluetooth MIDI application and search for Bluetooth MIDI devices ...

Страница 25: ...ing functions or access to the virtual piano technician A complete description of the functions can be found at www gewakeys com To establish a connection with your GEWA piano please proceed as follows The Android OS needs access to your location to search for Bluetooth MIDI devices nearby Please enable location access during the search process The GEWA Piano Remote App does not store any user dat...

Страница 26: ...u can call up your favorite sounds via the function keys F1 F4 On the right side you see the start screen of the GEWA Piano Remote App This contains 4 tiles with a symbol in the middle Press the symbol to create a new favorite sound For each favorite sound the following setting options are available Name Sound select your preferred sound Effect for example Chorus Tremolo etc Reverb define the Reve...

Страница 27: ......

Страница 28: ...changes and errors excepted Manufacturer GEWA music GmbH Oelsnitzer Str 58 08626 Adorf GERMANY www gewakeys com Version 1 0 Date13 01 2022 ...

Отзывы: