T3
TWINMOT
- 7-
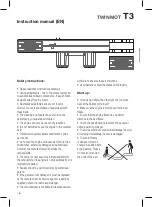
Installation instructions for engine
swap:
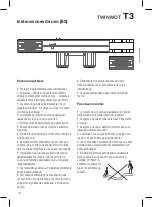
• If the engine is not in the correct position for the
installation, connect the plug and press the buttons
2 and 6 on the hand switch. The motor will move into
position for installation.
• For security reasons again pull the plug from the
socket. For an easy installation, place the bed frame
upside down so the steel pipes face upwards. Now
fi rmly press the engine through the nail-shaped
projections until the tubes remain in the “u” form gap.
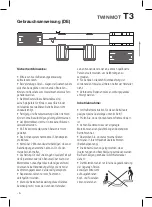
• Make sure the symbol for the back on the engine
shows to the head of the bed frame. At the T1 the
holes in the top of the engine are closed on the
tubes with sliding covers, which fi t into the center
of the slot.
• After completing the installation, check that the
remote cable is properly plugged in and is strain-re-
lieved (see drawing). Now place the slatted frame on
the bed frame and connect the plug, so the internal
energy storage can recharge itself.
• Then place the battery.
Emergency lowering:
So you can leave the slatted frame in a reclining po-
sition at power failure, the bed has special equipment
connected to an integrated of 9-V alkaline battery,
which is automatically activated when pressing the
button 2 and 6. The download speed is reduced.
Although the battery can hold several emergency
descents, we recommend changing after each
descent, or after a maximum of three years, due to
the deterioration of the same.
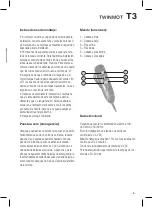
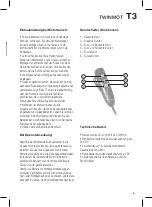
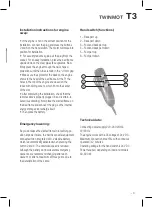
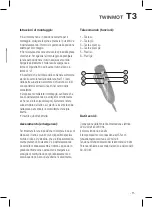
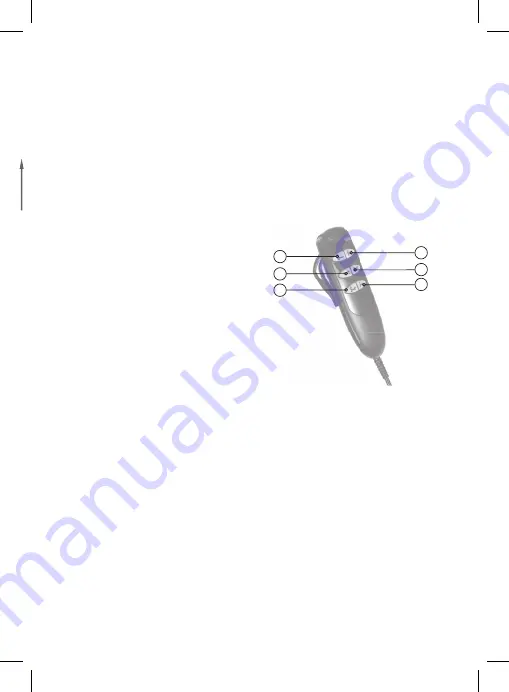
Hand switch (functions):
1 – Back part up
2 – Back part down
3 – Foot and back part up
4 – Foot and back part down
5 – Foot part up
6 – Foot part down
Technical data:
Connecting power supply 220-240 Volt AC
50/60 Hz.
The engine works with a DC voltage of 24 V DC.
Maximum connection time 15% with continuous
operation is 2 minutes.
Operating voltage for the hand switch is 24 V DC.
Power required, depending on load and models:
30-300 W.
3
5
4
6
1
2


