


26
3.8.2 GV-Tower VMS System V2 (Rev. C)
You can customize the display settings of GV-VMS. Click
Home
, select
Toolbar
,
select
Configure
, select
System Configure
, and click
Set Position
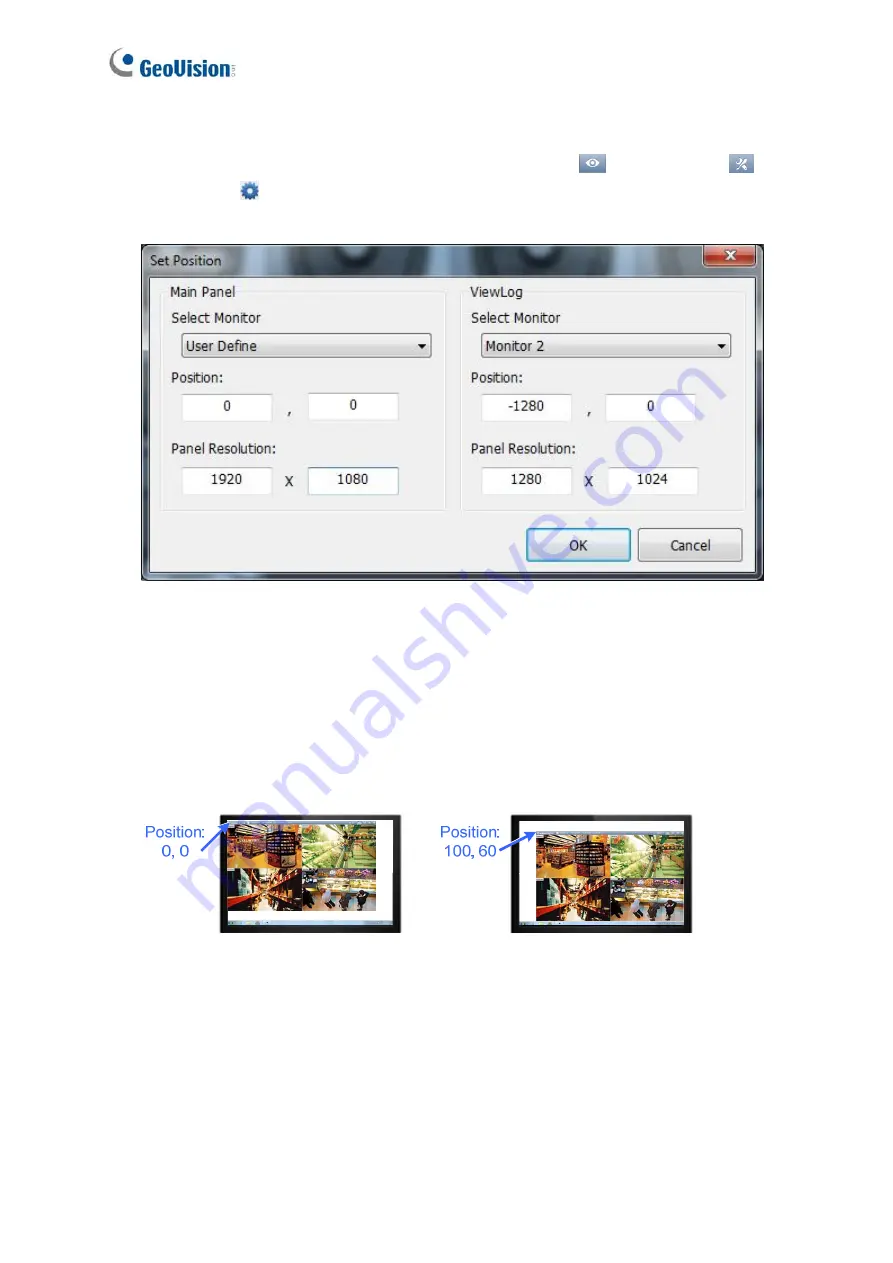
. This dialog box
appears. The right side of the dialog box is only available when multiple monitors are installed.
Figure 3-28
Select Monitor:
If you have multiple monitors connected, select the monitor you want to
configure from the drop-down list.
Position:
Offsets the position of the GV-VMS window relative to the upper-left corner of
the screen. The default position is 0, 0. A position of 100, 60 will place the GV-VMS
window 100 pixels to the right and 60 pixels below the upper-left corner. This function is
only supported when the GV-VMS window does not take up the entire screen.
Figure 3-29
Panel Resolution:
Sets the Panel Resolution of GV-VMS.


