Geo Solo II CT Скачать руководство пользователя страница 3

Solo II CT: Consumption

3

Welcome to 

geo’s  energy  management 

service.  You’ll  find  everything  you  need 

here to gain visibility and control of your 

consumption.  Your  new  Solo II  will  help 

you  manage,  regulate  and  visualise  your 

energy use – supporting you as you learn 

more and more about energy efficiency. 
In  this  guide  you’ll  find  everything  you 

need to quickly and simply set up and start 

using  your  display.  You’ll  also  find  more 

information about how the monitor works 

and how it can help you. In consumption 

mode you can use the display to help you 

reduce  CO₂  and  save  money  by  giving 

you  real-time,  visual  feedback  on  your 


energy consumption.

Microgeneration and  

consumption modes

The  Solo II  can  measure  either 


consumption (default) or microgeneration


–  but  not  at  the  same  time.  Please note 

that when you have chosen either of 

these modes then it is not advisable to 

switch to the other. If you do, you will lose 

the data you have been collecting (from 

whichever mode you had previously set 

up). If you choose to switch modes, the 

display will reset to day one.

SAFETY INFORMATION

  Keep the display away from water 
  Clean with a soft, dry cloth
  If  any  of  the  components  appear 

damaged, contact us

  This  is  a  self-installing  display.  There 

is  no  need  for  you  to  connect  or 

disconnect any cabling – and you won’t 

need access to your electricity meter

  Do not fit rechargeable batteries

  To  protect  the  environment,  please 

take your batteries to a recycling centre 

for safe disposal

  For  use  in  a  dry,  indoor  environment 

only

  Please  only  use  the  power  supply 

provided

  This  product  is  RoHS  compliant  and 


CE approved

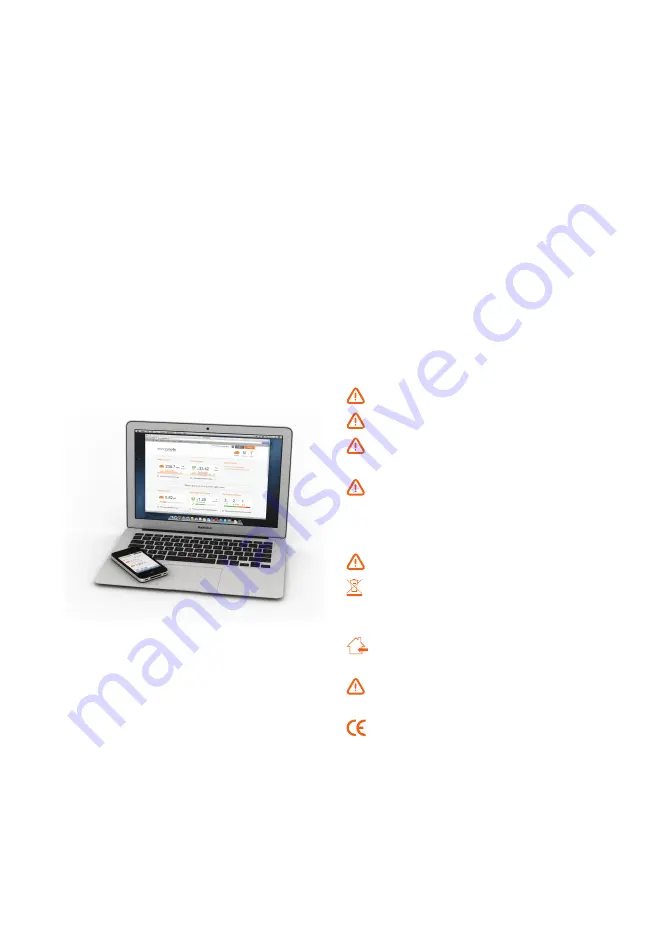
Using  the  optional  Web Pack,  you  will 

also  have  access  to  energynote,  our 

online  energy  management  service  that 

presents  all  your  data  in  greater  detail. 

There  is  no  limit  to  the  amount  of  data 

you can upload. See, analyse and explore 

for years to come. 
You  should  find  everything  you  need  in 

this guide, but if you don’t, get in touch 

and we’ll be happy to help. 

Содержание Solo II CT

Страница 1: ...Solo II CT Consumption 1 Solo II CT Consumption USER MANUAL...

Страница 2: ...d preferences Currency Temperature units Calibration Sleep mode Week start Internet bridge 10 Display overview 11 Reading your display 12 Icons Speedometer Upper numbers Lower numbers Budget bar and p...

Страница 3: ...he other If you do you will lose the data you have been collecting from whichever mode you had previously set up If you choose to switch modes the display will reset to day one SAFETY INFORMATION Keep...

Страница 4: ...ion 4 What s in the box Power supply 2 supplied with optional web pack Transmitter batteries included CT sensor Ethernet cable with optional web pack Internet bridge with optional web pack Solo II dis...

Страница 5: ...ase pack one mains sensor 3 At your electricity meter clip the sensor around the mains live cable Your mains live cable is usually identified by the colour brown red or the letter L You should hear a...

Страница 6: ...ou manage your electricity The display can then tell you whether you re on target to be within your budget and how you ve compared over the past few days weeks or months You can enter your budget as a...

Страница 7: ...then press the centre button to confirm If you don t have a second tariff then leave TARIFF 2 cost as zero If you do have a second tariff for example cheaper electricity overnight then enter the cost...

Страница 8: ...tricity flows You can read more about this under the Electricity meter section below You will be asked to set the following CONSUMPTION or MICRO GEN CURRENCY TEMPERATURE UNITS CALIBRATION DISPLAY OFF...

Страница 9: ...eadings to get your Solo II consumption e g 20 150 1 500 18 600 6 Compare the two readings and work out the calibration or correction factor as follows meter consumption Solo II consumption calibratio...

Страница 10: ...d at the same time for a few seconds to enter pairing mode the display will show PAIRING MODE for a second then show MAIN SENSOR Press three times to get to BRIDGE If the unit is paired it will show C...

Страница 11: ...ength Rewards Speedometer Text Currencies Primary temp Left button Lower digits Heatwave and snowflake Secondary temp Right button Centre button LED indicator Message Upper digits Energy Carbon cloud...

Страница 12: ...to tell you which of your tariffs is currently active and are a handy reminder for when your electricity is costing you the least One tariff only one money bag will light up Two tariffs e g day and ni...

Страница 13: ...over the time period you have asked it to show You can view this in cost currency or carbon Budget bar and prediction If you have set yourself a budget then the display shows if you are predicted to b...

Страница 14: ...the display will show the heatwave icon If the temperature is lower the display will show the snowflake icon You can purchase an additional sensor that you can pair to the second slot on the right Tem...

Страница 15: ...relate to Today Energy stopwatch The energy stopwatch mode is entered by pressing the button on any of the consumption screens The energy stopwatch allows you to measure the energy consumption of a t...

Страница 16: ...slide the cover off Step 2 Remove the battery tab from the temperature sensor Step 3 Press the pairing button on the temperature sensor Pairing The transmitter display and bridge are supplied pre pai...

Страница 17: ...should now read CONN followed by a cloud symbol on the top left hand corner Temperature sensor 1 available separately For when you want two additional temperature sensors The display will show T1 SEN...

Страница 18: ...energy use in lots of different ways so you can choose the one that suits you best View your entire consumption history the display holds up to one month of information but your website keeps a comple...

Страница 19: ...d corner European plug socket UK plug socket Smart Plugs available separately help you track and control appliances Set up through energynote our online energy management service you can schedule Smar...

Страница 20: ...ront for 10 seconds until the button colour changes to amber It will pair with the system after a few seconds Energynote will confirm a successful pairing You can now label the Smart Plug choosing fro...

Страница 21: ...l the paired sensors will disconnect Q Can I export the data from my Solo II into Excel A Yes First upload your data from your display onto energynote You can then export it as a csv file into Excel F...

Страница 22: ...G MODE for a second and then show MAIN SENSOR Press twice to show BRIDGE If the unit is paired it will show CONN and the signal strength will be shown using the signal strength icon at the top left of...

Страница 23: ...ent geo retains the right to make changes to this document including any specifications contained herein at any time without notice Technical information Legal information No part of this document may...

Страница 24: ...Solo II CT Consumption 24...

Отзывы: