background image

 English  

-1-


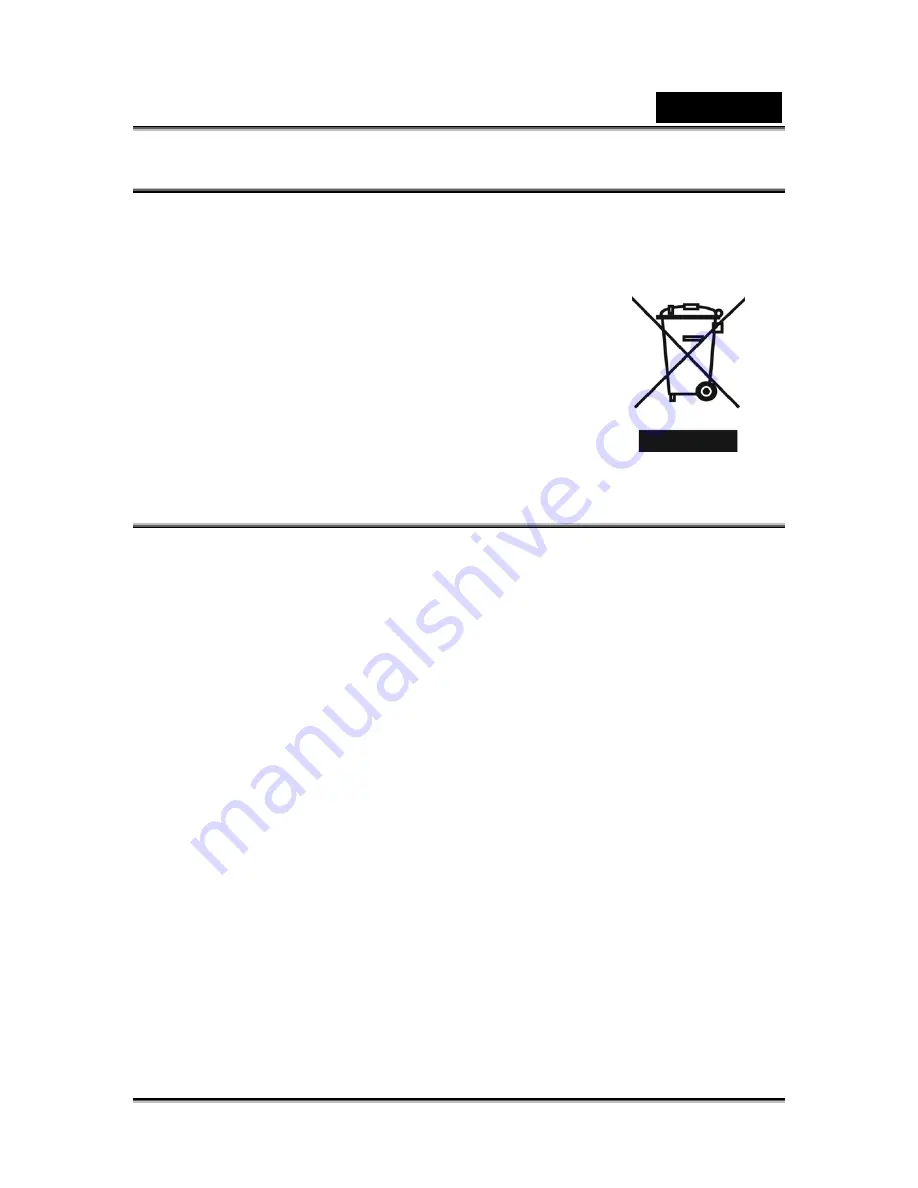
WEEE Warning Message 

Symbol for Separate Collection in European Countries 


This symbol indicates that this product is to be collected 

separately. 

The following apply only to users in European countries: 

z

  This product is designated for separate collection at an 

appropriate collection point. Do not dispose of as 

household waste. 

z

  For more information, contact the retailer or the local 

authorities in charge of waste management. 

FCC STATEMENT 

This device complies with Part 15 of the FCC Rules. Operation is subject to the 

following two conditions: 

(1). 

This device may not cause harmful interference, and 

(2). 

This device must accept any interference received, including interference that 
may cause undesired operation. 

Note: 

This equipment has been tested and found to comply with the limits for Class B digital 
devices, pursuant to Part 15 of the FCC rules. These limits are designed to provide 
reasonable protection against harmful interference in a residential installation. This 
equipment generates uses and can radiate radio frequency energy and, if not installed 
and used in accordance with the instructions, may cause harmful interference to radio 
communications. 
However, there is no guarantee that interference will not occur in a particular 
installation. If this equipment does cause harmful interference to radio or television 
reception, which can be determined by turning the equipment off and on, the user is 
encouraged to try to correct the interference by one or more of the following 
measures: 
 

„

 Reorient 

or 

relocate the receiving antenna 

„

  Increase the separation between the equipment and receiver 

„

  Connect the equipment into an outlet on a circuit different from that to which the 

receiver is connected 


Содержание DV5131

Страница 1: ...and found to comply with the limits for Class B digital devices pursuant to Part 15 of the FCC rules These limits are designed to provide reasonable protection against harmful interference in a resid...

Страница 2: ...ery often vary between retailers especially with accessories such as batteries memory cards cables carrying cases pouches and language support Occasionally a retailer will specify a unique product col...

Страница 3: ...e surrounding areas due to the battery rupturing or leaking Do not fire the flash close to anyone s eyes This might cause damage to the person s eyesight Do not subject the LCD monitor to impact This...

Страница 4: ...erias poder o esquentar durante a utiliza o da c mera por um longo per odo ou do flash de forma cont nua Isso normal e n o caracteriza mau funcionamento A c mera poder esquentar durante a utiliza o co...

Страница 5: ...________________ 16 MOVIE MODE SETTING___________________________________________ 16 Movie Resolution ____________________________________________ 16 Possible recording time sec video clip ___________...

Страница 6: ...__ 41 Lock Pictures _______________________________________________ 42 Slide Show _________________________________________________ 42 VOICE PLAYBACK_______________________________________________ 43...

Страница 7: ...by this camera include the following True 5 0 Mega pixels CMOS sensor Motion JPEG Digital Video Camera Voice Recorder Music Player Security Motion Detect Web Camera 8X Digital Zoom 2 4 TFT LCD Suppor...

Страница 8: ...ustration LCD Panel TV Out ear Phone Port Enter Button Right Button Left Button Record Play Button Strap hole Mini USB 2 0 port Tele Wide Button Green Red LED Movie Shutter Button Picture Shutter Butt...

Страница 9: ...English 9 Side View Speaker Battery cover Focus setting Microphone...

Страница 10: ...re pictures movies recorded voice and music You can expand the memory capacity by using an optional SD memory card up to 2GB To insert a memory card 1 Insert the memory card into the correct position...

Страница 11: ...picture press the Picture Shutter Button To record voice press the Enter Button and Right Left Button for voice recording To view stored movies pictures or listen to Voice recordings and Music press...

Страница 12: ...it again Picture Shutter Button Take a picture Tele Wide Button Digital Zoom in and out OK Button Menu ON Right Button Flash ON OFF Red Eye Reduction Light ON Auto Left Button Self Timer ON OFF RECOR...

Страница 13: ...n Movie High Standard Low Picture High Standard Low 3 Number of images or recording time of movie that can still be taken at current resolution 4 SD card inserted 5 Macro Position Focusing 6 White Bal...

Страница 14: ...resolution settings are available Quality High Quality Standard Quality Low Quality Picture Recording Press the Picture Shutter Button to take a picture Press RECORD PLAY Button to view the picture Th...

Страница 15: ...er z Exit z Normal z B W z Classic z Negative z Exit z Sound z Start up Screen z Time Setting z Format memory z TV System z Language z Default Setting z Exit Operations for Record Mode Operation Scree...

Страница 16: ...One One Time Off Photo Frame One Time Off Flash Always Off Self Timer One Time Off Multi Snap One Time Off Backlight Mode One Time Off Date Printing Always Off Effect One Time Normal Sound Always On F...

Страница 17: ...min 96 min Exposure The camera adjusts image exposure automatically In certain circumstances you may wish to adjust the exposure compensation setting To change Exposure setting 1 In Movie Picture Reco...

Страница 18: ...menu 1 In Movie Picture Record Mode press Enter to switch to record menu screen 2 Use Right Left Buttons to select Movie Mode The submenu of Movie Mode will appear on the screen 3 Use Tele Wide Butto...

Страница 19: ...e Balance The camera adjusts the color balance of images automatically Three manual white balance settings are available 1 Auto Default The camera automatically adjusts white balance 2 Daylight Outdoo...

Страница 20: ...ear on the screen 3 Use Tele Wide Button to select Motion Detect then press Enter to switch to the Motion Detect submenu 4 Use Tele Wide Button to choose ON or OFF 5 Press Enter to validate the settin...

Страница 21: ...ure Resolution To change Picture Resolution 1 In Movie Picture Record Mode press Enter to switch to record menu screen 2 Use Right Left Buttons to select Camera Mode The submenu of Camera Mode will ap...

Страница 22: ...he screen 3 Use Tele Wide Button to select Exposure Press Enter and the Exposure submenu will appear on the screen 4 Use Tele Wide Button to choose the preferred EV value 5 Press Enter to validate the...

Страница 23: ...ke your picture with a preferred electronic photo frame To enable Photo Frame 1 In Movie Picture Record Mode press Enter to switch to record menu screen 2 Use Right Left Buttons to select Camera Mode...

Страница 24: ...ect is distant beyond the range of the flash 4 Red Eye Reduction The flash fires twice before the picture is taken To change Flash setting 1 In Movie Picture Record Mode press Enter to switch to recor...

Страница 25: ...3 Use Tele Wide Button to select Self timer then press Enter to switch to the Self timer submenu 4 Use Tele Wide Button to choose On or Off 5 Press Enter to validate the setting and exit Display scree...

Страница 26: ...er to switch to the White Balance submenu 4 Use Tele Wide Button to move between the four settings The change can be previewed immediately 5 Press Enter to validate the setting and exit Display screen...

Страница 27: ...Tele Wide Button to select Backlight then press Enter to switch to the Backlight submenu 4 Use Tele Wide Button to choose On or Off 5 Press Enter to validate the setting and exit Display screen Backli...

Страница 28: ...e will be shown on the printed picture once date printing is enabled Night Mode Use Night Mode for night scenes or low light conditions A longer exposure captures more detail of background subjects Di...

Страница 29: ...te the setting and exit 5 Press Movie shutter Button to start stop voice recording Display screen Voice Option Effect Setting There are four modes Normal Black White Classic and Negative To change Eff...

Страница 30: ...ton to move between settings Display screen Setting Option z Sound operation sound z Start Up Screen z Time Setting z Format Memory z TV System z Language z Default Setting Sound Enable or disable the...

Страница 31: ...No Start Up Screen No Start up screen Time Setting 1 Move between Date Time Set and Exit by using the Left Right Buttons 2 Adjust date and time by using the Tele Wide Button then press Enter to valida...

Страница 32: ...g a SD card TV System Ensure that the appropriate TV standard of your area is selected either NTSC or PAL Wrong TV system setting may cause the image to flicker NTSC standard USA Canada Japan South Ko...

Страница 33: ...English 33 Display screen Default Setting To restore the default factory setting select this option Display screen Default setting option Enter Button...

Страница 34: ...d to select the specific option Press Enter to view movies pictures listen to voice and music Button Functions The Direction Buttons have the following functions in Movie and Picture Playback Modes Ri...

Страница 35: ...le in Playback Mode 1 Mode Indicator Movie Playback Mode Picture Playback Mode 2 Resolution Indicator High Resolution Standard Resolution Low Resolution 3 Indicates the selected movie picture is locke...

Страница 36: ...to select the Movie option 2 Press Enter to go to Movie Playback Mode 3 Use Right Left Buttons to go to the next or last movie 4 Press Movie Shutter Button to play and press it again to pause 5 While...

Страница 37: ...is deleted a confirmation screen will appear choosing Yes to execute the operation and No to cancel the operation 6 Press Enter Button to exit NOTE z If a memory card is used you can delete only those...

Страница 38: ...ing deleted accidentally Operation Display screen 1 Use Right Left Buttons to select the Lock option 2 Press Enter to go to the Lock menu 3 Use Right Left Buttons to select the movie 4 Use Tele Button...

Страница 39: ...ies This function automatically repeats playing a single movie or all movies in order Operation Display screen 1 Use Right Left Buttons to select the Repeat One option or Repeat All option 2 Press Ent...

Страница 40: ...ected use Tele Wide Button to magnify 5 For navigation press Enter and then use Tele Wide Button or Right Left Buttons to navigate the magnified picture 6 Press Enter again to go back to the original...

Страница 41: ...f you are using a memory card you can delete only those pictures stored on the card z Pictures on a written protected memory card cannot be deleted z The delete function will only erase unlocked pictu...

Страница 42: ...he picture 4 Use Tele Button to lock unlock all pictures and Wide Button to lock unlock a single picture 5 Before a picture is locked unlocked a confirmation screen will appear choosing Yes will execu...

Страница 43: ...option menu Operation Display screen 1 Use Tele Wide or Right Left Buttons to select the Voice option 2 Press Enter to go to Voice Playback Mode 3 Use Right Left Buttons to go to the next or last voic...

Страница 44: ...cute the operation No will cancel the operation 5 Press Enter to exit the submenu 6 Press Record Play Button to exit Voice Playback mode Repeat option Operation Display screen 1 In Voice Playback mode...

Страница 45: ...afterward 3 Press Movie Shutter Button to stop playing back the selected music Press it again to start 4 Use Tele Wide Button to adjust the volume 5 Press Enter to go to the music option menu 6 Use Wi...

Страница 46: ...e Motion JPEG Video Codec should be installed in PC To do this 1 Insert the CD ROM into the computer s CD ROM drive Click Device Driver Install Motion JPEG Video Codec and follow the on screen instruc...

Страница 47: ...autorun screen will appear 2 Click Device Driver Follow the on screen instructions to complete the installation Depending on your operating system you may have to restart your computer after installi...

Страница 48: ...ght up Under this mode you can implement live video conference meetings or use video email over the Internet Installing Bundled Software The CD ROM supplied with this video camera contains Multi langu...

Страница 49: ...ip into a DVD You can preserve your precious movies on a DVD to share with family and friends To create a DVD 1 Install Arcsoft Showbiz DVD 2 Click Start Select Programs Arcsoft Showbiz DVD Showbiz DV...

Страница 50: ...English 50 5 Click Create 6 Click Start to start DVD burning...

Страница 51: ...igh 3840 x 2880 Standard 2592 x 1944 Low 1600 x 1200 Movie Resolution VGA 640 x 480 30fps QVGA 320 x 240 30fps White Balance Auto Manual Daylight Fluorescent Tungsten Exposure Auto Manual 1 0 1 0 EV S...

Страница 52: ...set of batteries The power does not go off Digital video camera malfunction Replace with a new set of batteries It is being used in extreme low temperature Don t use this camera under extreme low temp...

Страница 53: ...s used other than this digital video camera The auto power off function is activated Turn the power on again The power is not on Turn the power on Images do not appear on the LCD monitor The LCD monit...

Страница 54: ...o Add a white object to the composition Playback Symptom Cause Measure Cannot playback It is not set to playback mode Slide the mode switch to playback mode The contents of memory card cannot be repla...

Страница 55: ...set Set the correct date and time The date set has disappeared The battery is removed with the power still on Set the date and time again About connecting to your computer software Symptom Cause Meas...

Отзывы: