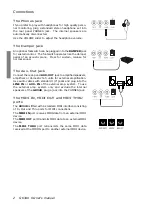
background image

GK340     9

4

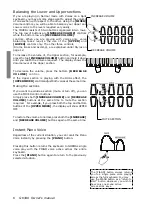
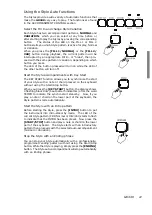
Use the numeric keypad to select a Style

Using the numeric keypad is the quickest way to go directly

to the Style you need, but first, you must know the exact

number of the Style.  The name and corresponding number

of all the Styles in memory are silkscreened above the display

on the left.  You’ll see that they are organized in Groups (8

BEAT, 16 BEAT, ROCK, etc.) and numbered from 01 through

to 96.  Select the Style you want by entering the corresponding

two digits in sequence.
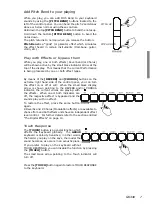
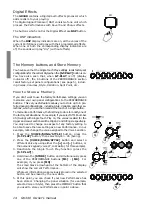
5. For example, to select Style number 17 (Shuffle 2), press

button 

[1] 

then 

[7]

.

Selecting the Styles by recalling the Memory

Another quick way of selecting the Styles is by selecting the

Performances, but this means that you have to remember

which Style is memorized in the Memoriy.
If you use the Performances to select Styles, remember to

turn off the S.T. PLAY button.  You can also memorize your

preferred Styles to these buttons with Write Memory.  This

argument is explained in detail further ahead on page 16.

Playing the Styles

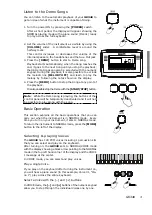
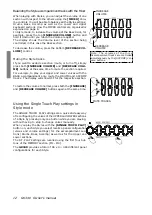
6. Once you have selected a Style, press the

 [START/STOP]

 button.

You’ll hear the Drums accompaniment track start to play.

7. Play a note or chord on the left part of the keyboard below

note F#3 to trigger the automatic accompaniments.
An automatic accompaniment will start to play, generated

by the Style sections: Drums, Bass and Accomp.  As you change

chord from Major to minor or seventh, etc., you will notice a

change of style pattern.  Each time you change key, for example,

from C to F, the Style pattern will transpose automatically.
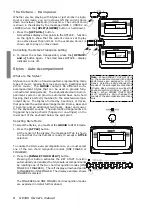
The names of the recognized chords are displayed in the left hand

corner of the display.  For example, if you play the chord of C, the

display will show the large letter “C”.  If you play a chord not

recognized by the instrument’s chord recognition system, the

current pattern will not change until you play a recognized chord.
Also shown in the display are 4 round Beat pattern indicators

which show the current beat of the bar as you play your style.

The first bar of every two-bar cycle shows all 4 indicators,

while every other beat shown one small indicator.  The first

beat of the second bar is shown with the larger beat indicator.
To play your Style using the automatic functions (Var, Key

Start, Intro, Fill, Ending), see the section entitled “Using

the Style Auto functions”  further ahead.

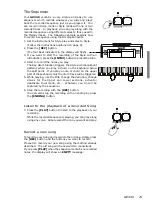
8. Press the 

[START/STOP]

 button if you want to stop the Style.

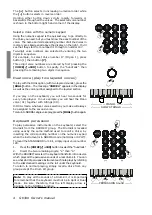
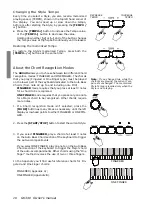
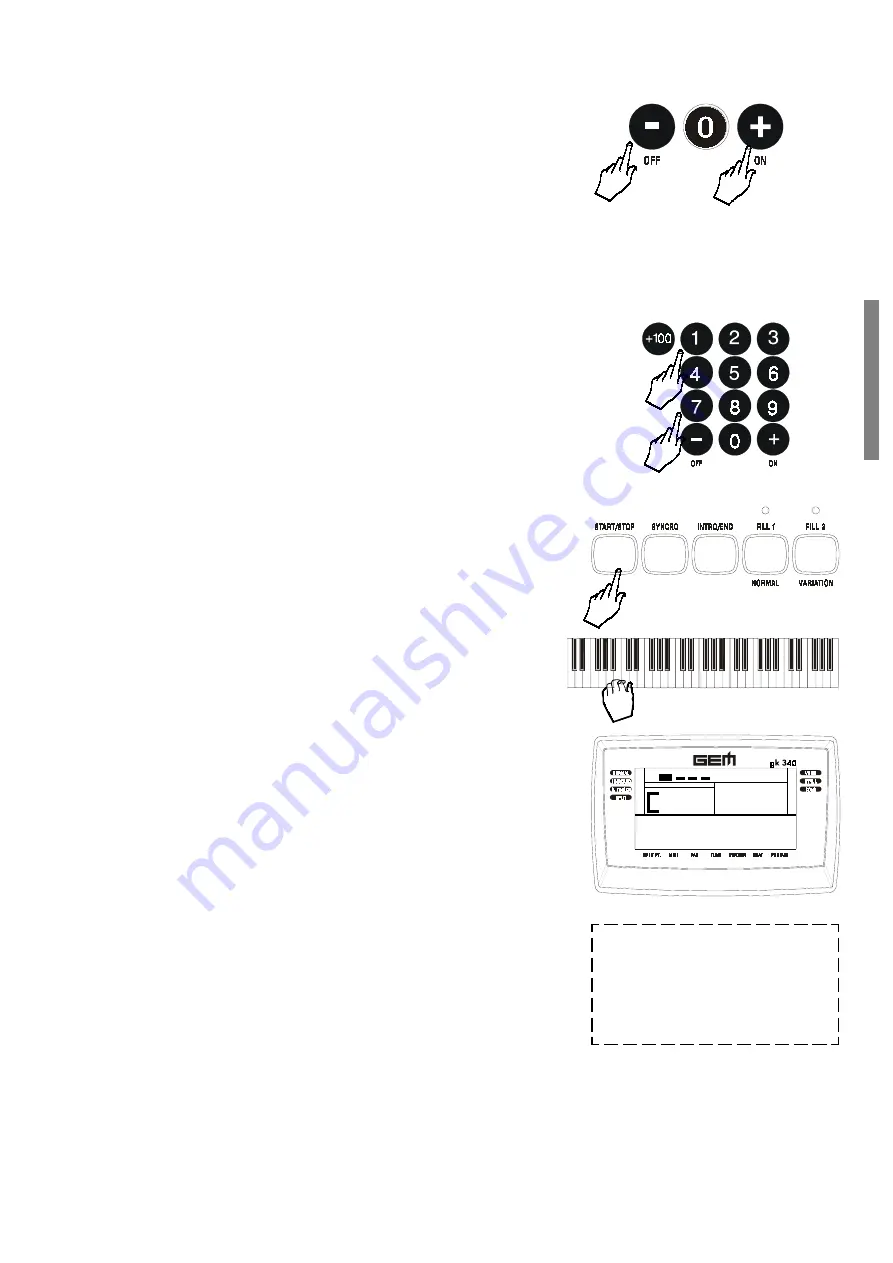
You can select a Style in three different ways:

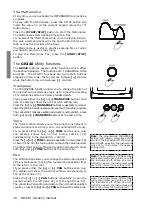
Use the 

[-] 

and 

[+] 

buttons to select a Style

In STYLE mode, the 

[–] 

and 

[+] 

buttons of the numeric

keypad step through the individual Styles one by one.
3. Press the 

[+] 

button to select the Styles in increasing

numerical order.
4. Press the 

[–] 

button to select the Styles in reverse order.

Holding the button down scrolls rapidly forwards or backwards

through all the Styles. The selected Style number is shown

at the center of the display.

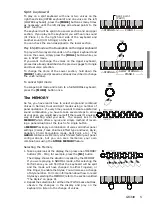
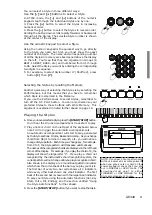
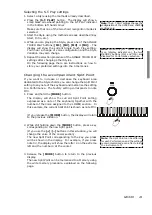
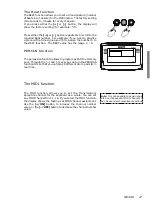
NOTE: If you hear a Drum pattern only

without automatic accompaniment

when you play a note or chord on the

Lower keyboard, check that you are

not in NORMAL or SPLIT mode. The

arrowhead must point  to either

FINGERED or ONE FINGER for the

Style accompaniment to play.

Содержание GEM GK 340

Страница 1: ...ENGLISH Owner s manual GK 340 ...

Страница 2: ...t your authorized technical assistance centre to have the lithium battery replaced with the same or equivalent type reccommended by the manufacturer NB Danger of explosion or damage of the battery if it is incorrectly replaced reversed polarities Generalmusic web site http www generalmusic com The information in this publication has been carefully prepared and checked The manufac turers however de...

Страница 3: ...g the Octave Transpose setting 8 Styles Auto Accompaniment 8 What are the Styles 8 Selecting Style Mode 8 Use the and buttons to select a Style 9 Use the numeric keypad to select a Style 9 Selecting the Styles by recalling the Memory 9 Changing the Style Tempo 10 Restoring the memorized Tempo 10 About the Chord Recognition Modes 10 Using the Style Auto functions 11 Select the Fill In and change St...

Страница 4: ...II GK340 Contents The GK340 Utility functions 16 Transpose 16 Tune 16 Pan 16 MIDI 17 Midi channel selection 17 Control Change filter 17 The Beat function 17 PERCUS function 17 ...

Страница 5: ...t cover 2 Insert six D size SUM 1 or R 20 batteries into the battery com partment beingcarefultofollowthepolaritymarkingsonthecabinet 3 Replace the compartment cover making sure that it locks firmly in place then turn the instrument the right way up Important battery information Any of the following symptoms indicate low battery power Replace thebatteriesassoonaspossiblewheneveranyofthefollowingoc...

Страница 6: ...nnect the rear panel AUX OUT jack to amplified speakers amplifiers or domestic hi fi units for external amplification Use audio cables with standard 1 4 jacks and plug into the LINE IN or AUX IN of the external amp system To use the external amp system only and exclude the internal speakers of the GK340 plug a jack into the PHONES jack The MIDI IN MIDI OUT and MIDI THRU ports The GK340 is fitted w...

Страница 7: ...nstrument is in NORMAL mode Every time you turn on your instrument it sets to NORMAL mode To return the instrument to NORMAL mode press the MODE button to the left of the display Selecting playing Voices The GK340 has 129 PCM voices including 1 percussion kits that you can select and play on the keyboard After turning on the GK340 sets to NORMAL VOICE mode with the display showing a black arrow po...

Страница 8: ... number assigned to the layered section If you play on the keyboard you will hear two sounds for every note played In our example you will hear the Piano voice 01 together with Strings 49 In DUAL mode whatever voice selection you make will always be assigned to the second voice ToreturntoNORMALsinglevoiceplay pressthe DUAL buttonagain Keyboard percussion To play percussive instruments on the keybo...

Страница 9: ...ed Voices in Normal Dual and Split modes using a number of panel operations If every time you want to create a preferred sound combination you have to take several steps to arrive at your goal you would ask yourself if there wasn t a quicker way of selecting what you want The answer lies in the MEMORYwhich offers a quick and simple method of recall ing a panel situation at the touch of a single bu...

Страница 10: ... volume press the bottom DECREASE VOLUME control If the Upper section is playing with the DUAL effect the UPPER MIXER controls adjust both voices at the same time Muting the sections If you want to exclude a section mute or turn off you can use the MIXER control buttons Simply press both INCREASE VOLUME and DECREASE VOLUME buttons at the same time to mute the section required For example if you pr...

Страница 11: ...e right hand side of the control panel you can turn the effect on or off at will When the small black display arrow is shown pointing to the REVERB and or CHORUS indicator the current voices are playing with the effects When one or both indicators are off the respective effect is bypassed and the sounds play with no effect To restore the effect press the same button again 8 Reverbs and 8 Chorus Mo...

Страница 12: ...by 5 sections or tracks that generate the automatic arrangements Drums Bass and 3 Accomp and an additional two tracks Upper and Lower for the keyboard sounds The automatic arrangements are triggered by playing chords fingered or one finger on the lower part of the keyboard below the split point Selecting Style Mode To select the Styles you must set the GK340 to STYLE mode 1 Press the STYLE button ...

Страница 13: ...ange key for example from C to F the Style pattern will transpose automatically The names of the recognized chords are displayed in the left hand corner of the display For example if you play the chord of C the display will show the large letter C If you play a chord not recognized by the instrument s chord recognition system the current pattern will not change until you play a recognized chord Al...

Страница 14: ...note C2 up to and including note F 3 FINGERED mode requires that you press at least 3 notes for a chord to be recognized ONE FINGER mode requires that you press only one note for a Major chord to be recognized Other chords require more notes 1 If a Chord recognition mode isn t selected press the MODE button as many times as necessary until the left display arrowhead points to either FINGERED or ON...

Страница 15: ...you to synchronize the start of your Style with a note or chord pressed on the keyboard without using the Start Stop button When you press the KEY START button the display shows 4 flashing black dots beat pattern indicators after the word TEMPO to indicate the synchro start stand by Now if you play a note or chord on the lower part of the keyboard the Style pattern starts automatically Start the S...

Страница 16: ...de a section mute or turn off simply press both INCREASE VOLUME and DECREASE VOLU ME buttons at the same time to mute the section required For example to play your Upper and Lower voices with the BASS accompaniment only mute the DRUMS and ACCOMP tracks The display will show OFF for the respective section To restore the volume to normal press both the INCREASE and DECREASE VOLUME buttons again at t...

Страница 17: ... corresponds to note F 3 1 Press and hold the MODE button The display will show the current Split Point setting expressed as a note of the keyboard together with the number of the Voice assigned to the LOWER section In this example the current Split Point is shown as note F 3 If you release the MODE button the display will return to the previous situation 2 While still holding down the MODE button...

Страница 18: ...ncluding Style Variation and other se lections which you can then recall at the touch of a single button To memorize a Performance the first thing to do is to modify one of the factory set situations For example if you select STYLE number 45 Swing with Single Touch Play on the voices recalled for the Upper and Lower sections will be Organ 2 and Strings respectively You only need to change one aspe...

Страница 19: ...tterns when you play a chord on the keyboard below the split point If you play a note or chord on the upper part of the keyboard only the drum track will be triggered 5 While playing use the Fills change the Variation change Voices for the Upper and Lower sections activate deactivate Dual mode etc Whatever you do will be captured by the sequencer 6 Stop the recording with the REC button You can al...

Страница 20: ...normal pitch press both and TRANSPOSE buttons at the same time Tune The TUNE function allows you to fine tune the instrument in steps on one cent at a time cent one hundredth of a tone If you press either the or TUNE buttons once only the display shows the normal tuning setting 00 corresponding to the standard A 440 Hz Press the or TUNE buttons repeatedly to raise max 50 or lower max 50 the tuning...

Страница 21: ...either the or button repeatedly to scroll to the required Beat number For example if you want to practice a piece with a time signature of 5 4 assign the number 5 to the BEAT function The BEAT value has the range 0 9 The MIDI function The MIDI function allows you to set the Transmission Reception channel for the keyboard as a whole You can set any MIDI channel from 1 16 If you select the MIDI func...

Страница 22: ...styles X 2 variations 4 tracks Styles Control normal fingered one finger split start stop syncro intro end fill 1 normal fill 2 variation Sequencer 1 song style record play stop 96 internal demo songs Demo song 96 internal demo songs Classical Folk Country Golden Pop Jazz Fusion MIDI in out thru Modes Normal One Finger Fingered Split Dual Connections headphones stereo out sustain pedal Amplificati...

Страница 23: ...7 TRUMPET 58 TROMBONE 59 TUBA 60 MUTE TRP 61 FR HORN 62 BRASSECT 63 SYNBRASS 1 64 SYNBRASS 2 REED group 65 SPRNOSAX 66 ALTOSAX 67 TENORSAX 68 BARI SAX 69 OBOE 70 ENG HORN 71 BASSOON 72 CLARINET PIPE group 73 PICCOLO 74 FLUTE 75 RECORDER 76 PANFLUTE 77 BOTTLE 78 SHAKHCHI 79 WHISTLE 80 OCARINA SYN LEAD group 81 SQUARELD 82 SAW LEAD 83 CALIOPLD 84 CHIFF LD 85 CHARANLD 86 VOICE LD 87 FIFTH LD 88 BASS ...

Страница 24: ...HO U S E DANCE2 37 TECHNO M 38 70 D ISCO 39 DIGITAL 40 CL DISCO 41 BAKER POP 42 RAP 43 EURO POP 44 PARTY POP JAZ Z 45 SWING 46 MID SWING 47 SL SWING 48 BIG BAND 1 49 BIG BAND 2 50 DIXIE 51 BROAD WAY 52 FO XTROT U S TRAD 53 BLUES 54 SL BLUES 55 GOS PEL 56 W E S T E R N 57 R B 58 B GRASS 59 COUNTR Y 60 MARCH USA TRAD 1 61 SL WALTZ 62 WEINER W 63 FRENCH W 64 R O M A G N A 65 MAZURKA 66 POLKA 67 BOEHM...

Отзывы: