


Page 5
owners manual
gm-x
START THE
gm-x
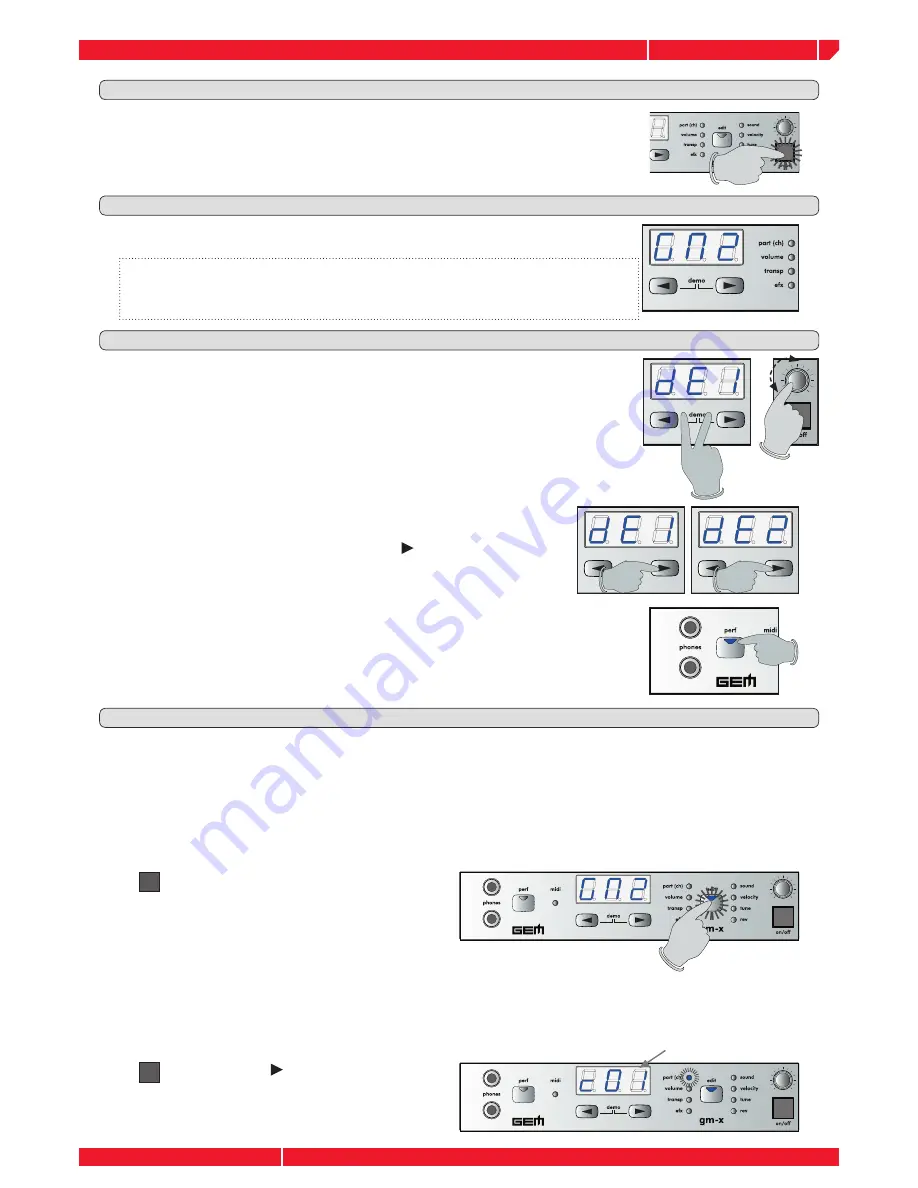
THE DEFAULT MODE (GM2)
LISTEN TO THE DEMO SEQUENCE
EDIT THE DEFAULT MODE (GM2)
Once the gm-x module is connected to your controller (via MIDI or USB), it's pos-
sible to use it, in the way you prefer.
The gm-x has an internal DEMO sequence demonstrating the musical quality
& power of the instrument. Press the two DATA ENTRY buttons on the panel at
the same time in order to start the DEMO. The display show the message “DE1”
(Demo 1).
After a small period of loading & checking, the display will show the message
“GM2”. The module is ready to perform. .
This is the main status of the instrument, in this default GM2 mode, the gm-x is ready to
respond to any MIDI message over 16 MIDI channels adhering to the features and specifi -
cation of the General MIDI 2 standard. This is the instrument mode normally used to play
standard MIDI fi les.
Playing the DEMO. Adjust the instrument output VOLUME, by rotating the VOLUME
knob on the panel.
Use the ON/OFF button on the front panel to switch on the module.
The DEMO sequence contains various MIDI fi les from different mu-
sical styles. During playback it’s possible to select each MIDI fi les
or demo song, by simply pressing the DATA button. The display
will indicate the number of the selected MIDI fi le. In the normal
DEMO mode, all the MIDI fi les will be played in chain.
You can exit The DEMO mode by pressing the PERF button on the panel. The
module will return the default mode (GM2).
The default GM2 mode is designed to be connected to a PC playing standard MIDI fi les. In this way, all the
data contained in the MIDI fi les will properly control all of the gm-x track parameters. Should you wish, it’s
temporarily possible to edit the parameters contained in the EDIT menu.
Please note that incoming MIDI messages, such as Program Change or control change will change the modi-
fi ed parameters according to the data contained in the MIDI fi le.
It is not possible to store the edited data in the GM2 mode. These have to be properly changed in your MIDI fi le.
Press the EDIT button to enter the edit
menu.
1
1
Once the EDIT button is pressed you enter the edit menu starting with the PART (CH). The PART (CH)
parameter allows you to select any of the 16 available multi-timbral parts and their relative MIDI chan-
nel. The PART (CH) led, light up in the panel, the currently selected part is showed in the display.
Press the DATA button to select the PART
(CH) you want to edit
2
2
Number of the selected part