TruSat Technical Reference Manual
4–2
4.
Choose a sensor designed for use on a finger, place it on your finger, and connect it
to the monitor. Power ON.
NOTE: All pleth bar segments pulsate until the measured values are displayed.
5.
When the SpO
2
and pulse rate values are displayed, verify that the lowest pleth bar
segment remains visible while one or more of the other segments pulsate.
6.
Remove the sensor from your finger. Verify that the alarm LED flashes red, an alarm
tone sounds, and dashes replace the SpO
2
and pulse rate values.
7.
Place the sensor on your finger again. After the SpO
2
and pulse rate values are
displayed, unplug the sensor from the monitor. Verify that the alarm LED flashes red,
an alarm tone sounds, and dashes replace the values.
8.
Press, then turn the ComWheel until the pointer is above PI
r
. Press the ComWheel
and verify that the PI
r
value is displayed.
NOTE: Press the ComWheel to exit the PI
r
display
.
9.
Check the battery indicator. If the battery is low, recharge the battery before using it
to power the monitor.
10. If the monitor is configured with the Trend Download option, check the clock
settings. Go to
Setting the clock
.
Important
: DO NOT use the monitor if it fails to function as described. To identify and
correct the problem, refer to the
Troubleshooting
chapter.
Changing the line power filter
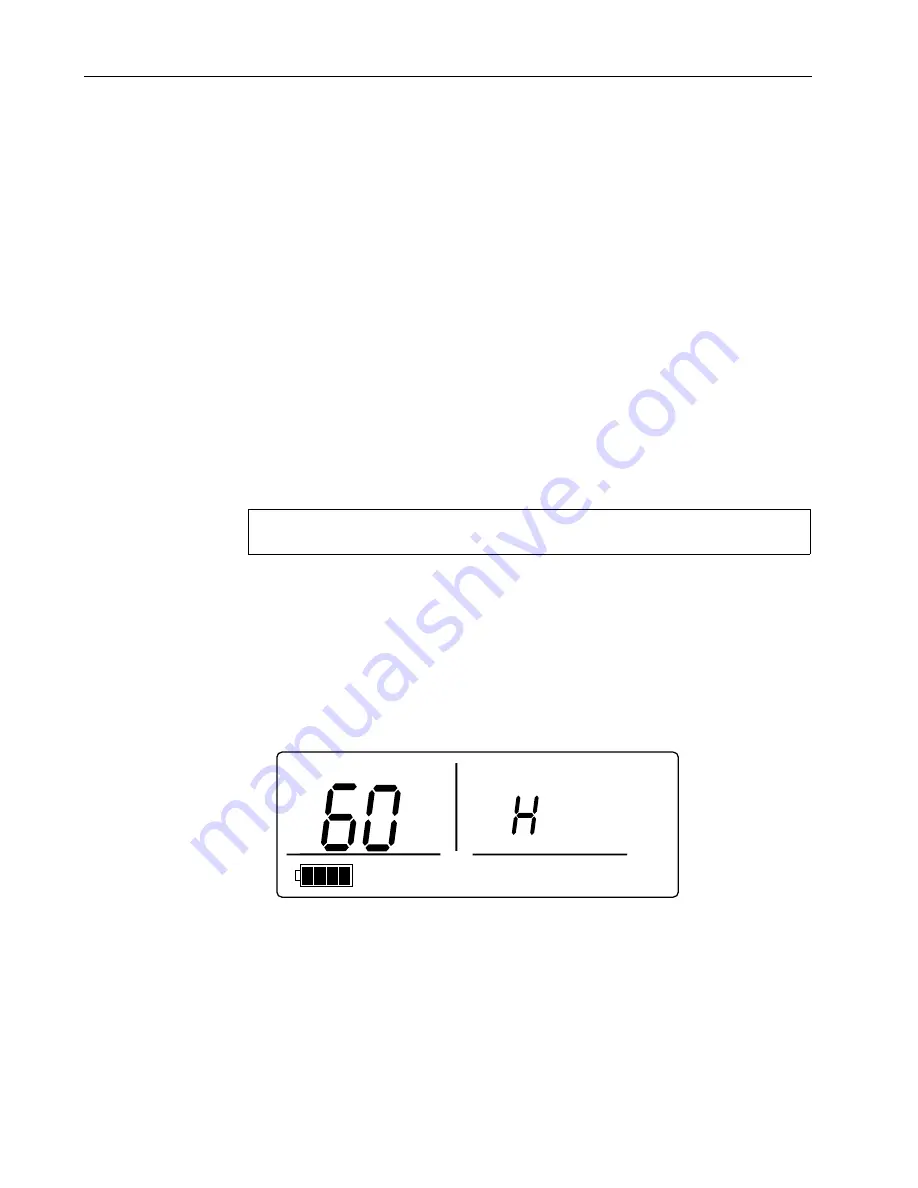
For the best low perfusion performance, set the line power filter to match the line power
frequency of your local AC power source. The software line power filter will then
eliminate potential interference when you use AC power or when you use battery power
near an AC power source.
1.
To change the line power filter setting, power ON the monitor. Press the ComWheel
seven times, holding it in on the seventh press until the new setting is displayed: 50
H(z) or 60 H(z).
Figure 4-1. Changing the line power filter
2.
To check the setting, power OFF and verify that the new setting is displayed in the
high pulse rate alarm area.


