18
REPLACEMENT OF THE PREFILTER, POSTFILTER, AND RO MEMBRANE ELEMENTS
Rev B
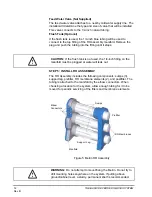
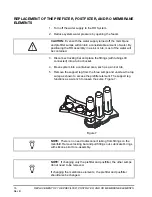
B. Pour a tablespoon (15 milliliters) of chlorine bleach into the
center opening of the prefilter sump connection. See
Figure 8.
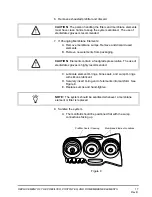
9. Install prefilter.
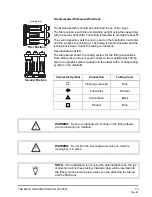
A. Remove new prefilter from packaging. Ensure gaskets are
secure. Insert prefilter into proper opening on manifold.
B. Lubricate sump O-ring with silicone lubricant.
C. With the prefilter element in place, screw the sump into the
connection. Do not overtighten.
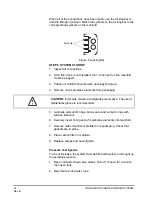
10. Replace the postfilter.
A. To unlock the fittings from the tubing, push down on the collet
sleeves and pull the tubing out.
B. Discard the exhausted postfilter.
C. To prevent leaks, cut the tubing back approximately
1/4 inch prior to connecting the new postfilter. Make sure flow
direction arrow aligns with water path. Reinsert tubing and
collect locks.
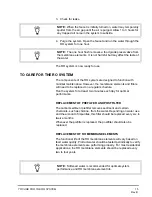
11. Re-connect the fittings to the manifold and lock in position with
locking bar.
12. Re-position the assembly and turn the water supply on. Check the
system for any leaks.
13. Open the faucet and run water for two minutes.
14. Shut off the faucet and allow the system to stand idle for 20 to 30
minutes.
15. Open the faucet and run water for two minutes or until chlorine
odor is gone.
NOTE:
The sumps are sealed using an O-Ring. Tighten by hand. If
any leaks are detected when water pressure is applied, the sumps
can be tightened further.
CAUTION:
When the faucet is opened, water may sputter from the
air gap until the trapped air is purged.
NOTE:
Carbon fines may be present until the postfilter element is
flushed out.
Содержание MERLIN 1255052
Страница 20: ...20 APPENDIX Rev B APPENDIX...
Страница 25: ...DIMENSIONS 25 Rev B...

