62
2. Select the
Protect
setting from the
Playback
menu as described previously.
3. Use the
Up/Down
navigation buttons to
select
One
to protect this picture/video,
or select All to protect all pictures/videos in
the internal memory or memory card. Then
press the
Right
navigation button.
4. Use the
button to select
Yes
WRORFN
the displayed picture/video or
Unlock
WRXQORFNLWDQGXVHWKH
Up/Down
navigation buttons to select
Back
to
return to the
Playback
menu.
$NH\
) icon will appear on the top of
the screen to indicate that the picture/
video is protected.
6. Select
reset
to cancel protection for all
½OHVWKDWKDYHEHHQSODFHGLQWKHSURWHFWHG
mode.
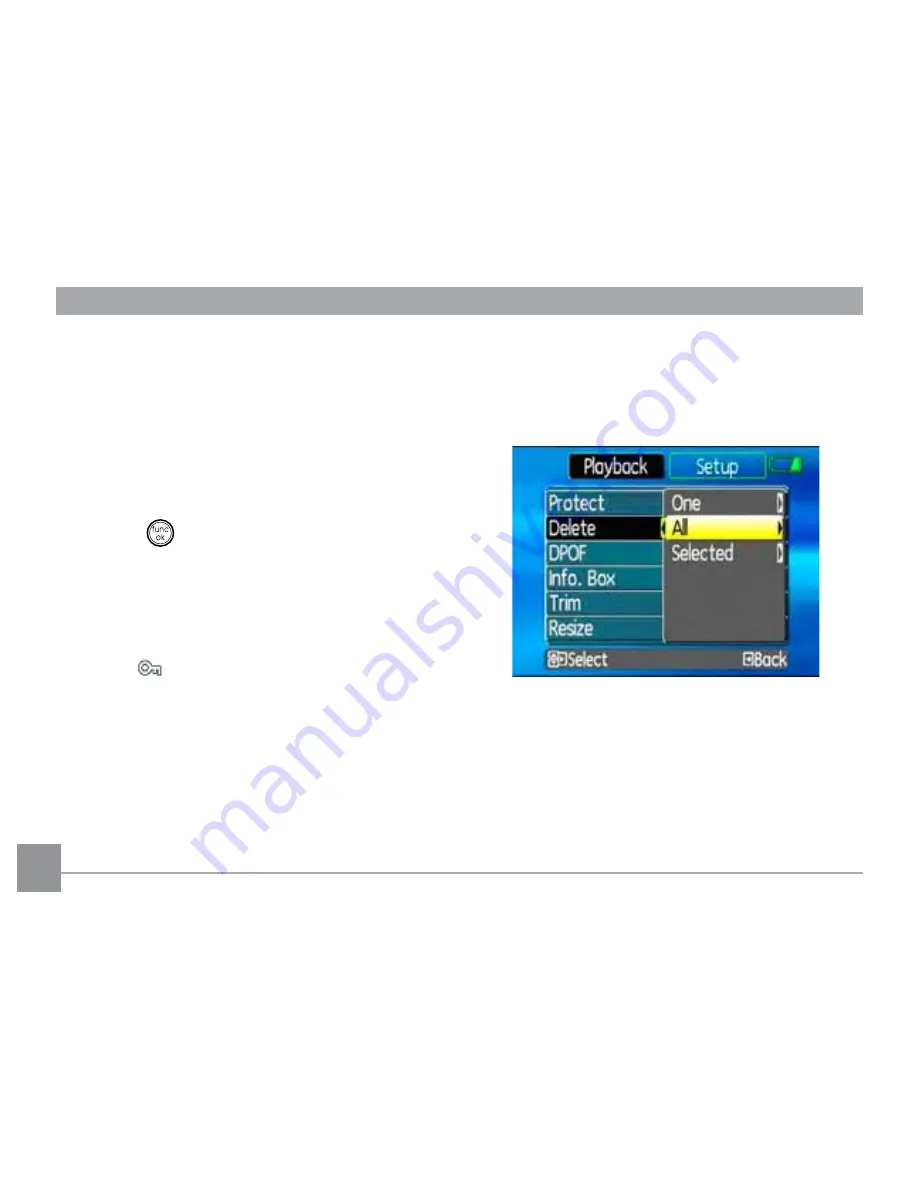
Delete
7KHUHDUHWKUHHZD\VWRGHOHWH½OHVSOHDVH
QRWHWKDWD½OHFDQQRWEHUHFRYHUHGRQFHLWLV
deleted.)
•Delete One
:
1. On the Delete menu, select
Delete One
and then press the
Right
button.
2. Using the
Left/Right
buttons, locate the
SKRWRRUPRYLH½OHWREHGHOHWHG6HOHFW
Yes
WRGHOHWH½OHRU
No
(to return to
Содержание A835
Страница 1: ...i USER MANUAL G Series G2 A Series A735 E Series E840s E1035 GE Digital Camera A835 E1235...
Страница 2: ...ii...
Страница 12: ...8 8 Front View Camera views G2 Back View Right View 1 2 3 4 5 6 7 8 9 10 11 12 13 14 15 16...
Страница 14: ...10 10 Front View Camera views A735 A835 Back View Right View 1 2 3 4 5 8 7 6 9 10 11 12 13 14 15 16...
Страница 16: ...12 12 Front View Camera views E840s Back View Right View 1 2 3 4 5 7 6 8 9 10 11 12 13 14 15 16...


