


JF-240UV User Manual
63
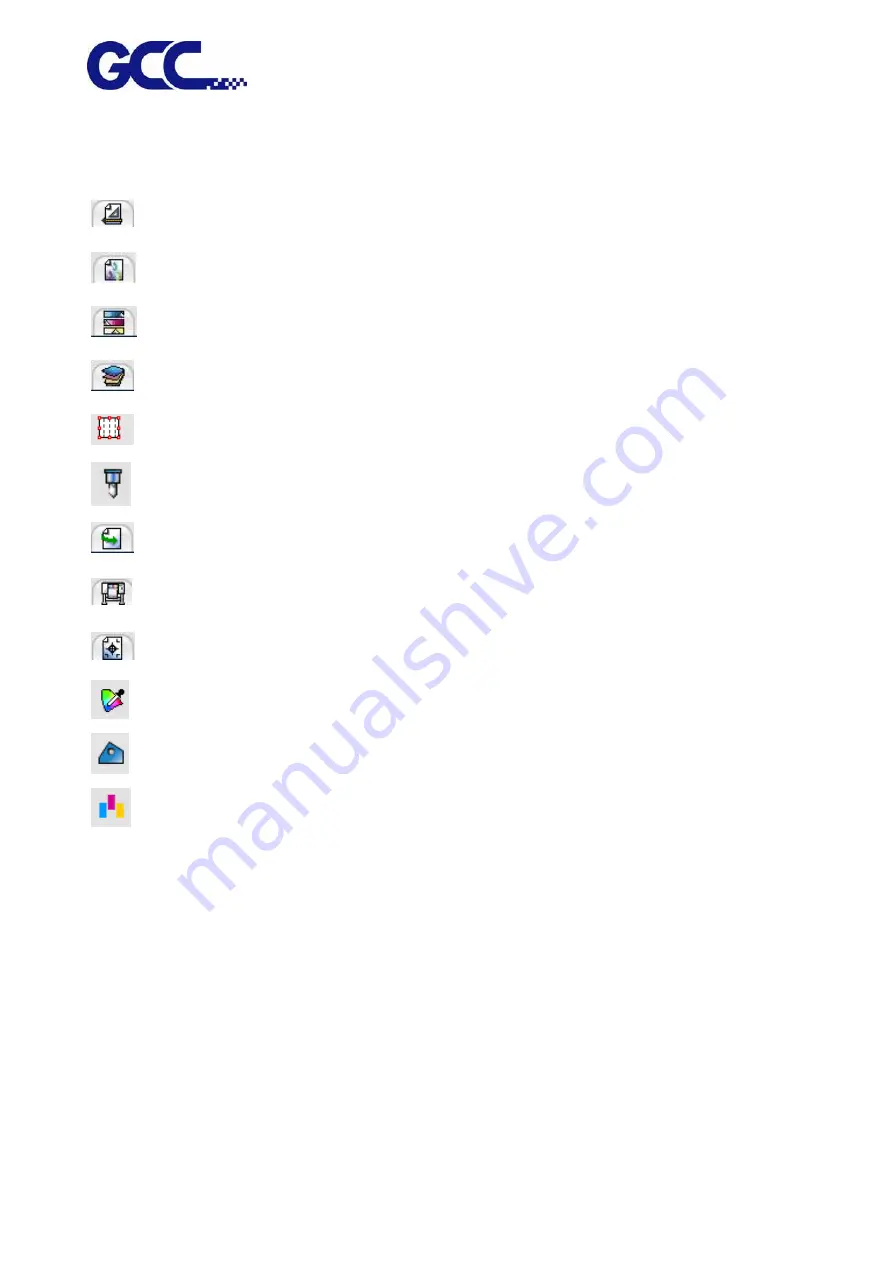
Select the preset options you want to save.
Save the default Layout tab value.
Save the default Color management tab value.
Save the default Color adjustment tab value.
Save the default Separation tab value.
Save the default Tile tab value.
Save the default Cut tab value.
Save the default Workflow tab value.
Save the default Printer options tab value.
Save the default Labels and marks tab value.
Save the default Object color control tab value.
Save the default Finisher tab value.
Save the default Step and repeat tab value.
7. Completion.
Selecting Setups
To select job, please click in the job list to select it.
Use standard Windows operation, combine CTRL and SHIFT key to select multiple jobs :
˙
Hold the CTRL key to select multiple independent jobs.
˙
Hold the SHIFT key to select the first job and the last job to select a range of jobs.
To select all jobs, please click the select all in the Edit menu.
Содержание JF-240UV
Страница 1: ...JF 240UV User Manual http www GCCworld com V 9 2020 Sep GCC GCC Club...
Страница 21: ...JF 240UV User Manual 20 3 Select Activate Now...
Страница 24: ...JF 240UV User Manual 23 Control panel flow...
Страница 25: ...JF 240UV User Manual 24 Operating work flow...
Страница 27: ...JF 240UV User Manual 26 Operating work flow...
Страница 28: ...JF 240UV User Manual 27 Control panel flow O N FRONT REAR O N O N OFF OFF...
Страница 38: ...JF 240UV User Manual 37 MANUL CLEANING WHITE CIRCULATION Circulation of white ink print head ON...
Страница 41: ...JF 240UV User Manual 40 Workflow A Set the PH Gap Auto Adjustment to be ON on control panel The default setting...
Страница 42: ...JF 240UV User Manual 41 B Set the PH Gap Auto Adjustment to be OFF on the control panel...
Страница 57: ...JF 240UV User Manual 56 Step 4 The settings is completed and open FlexiPRINT GCC Edition...
Страница 87: ...JF 240UV User Manual 86 8 Select Advanced...
Страница 95: ...JF 240UV User Manual 94 Step13 Click Finish Step14 Auto Serialization is completed 10 Click Preferences...
Страница 102: ...JF 240UV User Manual 101 4 Select Rip and print 5 Set the send mode is Hold list and send it...
Страница 128: ...JF 240UV User Manual 127 Step 8 File Export Step 9 Save the file as eps format Step 10 The process is completed...
Страница 130: ...JF 240UV User Manual 129 5 4 2 Introduction of VLCD VLCD Description...
Страница 168: ...JF 240UV User Manual 167 Step 2 Enter the password caldera Step 3 Click Next...
Страница 169: ...JF 240UV User Manual 168...
Страница 171: ...JF 240UV User Manual 170 Step 2 Select the file you want to use Step 3 Move the selected file to the GCC JF 240UV window...
Страница 174: ...JF 240UV User Manual 173 Step 8 Click Add job Step 9 Click Send job and the process is complete...