


JF-240UV User Manual
131
Drop/Speed m/s
Ink jet head drop speed adjustment
Default Voltage
Ink jet head voltage adjustment
MACHINE PARAMETERS
Write Parameters to
machine
Send the parameter settings to machine
Parameters backup
from machine
Retrieve parameters backup from
machine
MB VERSION
Read
Read M/B version info.:
Motion Firmware Version
Motion FPGA Version
Ink ID Board Version
Engine Board Version
5.4.3
Preliminary Calibration Parameters
Set the printing direction. When Uni-Directional is selected, the image will be printed only from
right to the left; when Bi-directional is selected, the image will first printed from right to left, then
from left to right. This calibration is primarily used to ensure the uni-directional / bi-directional
printing precision.
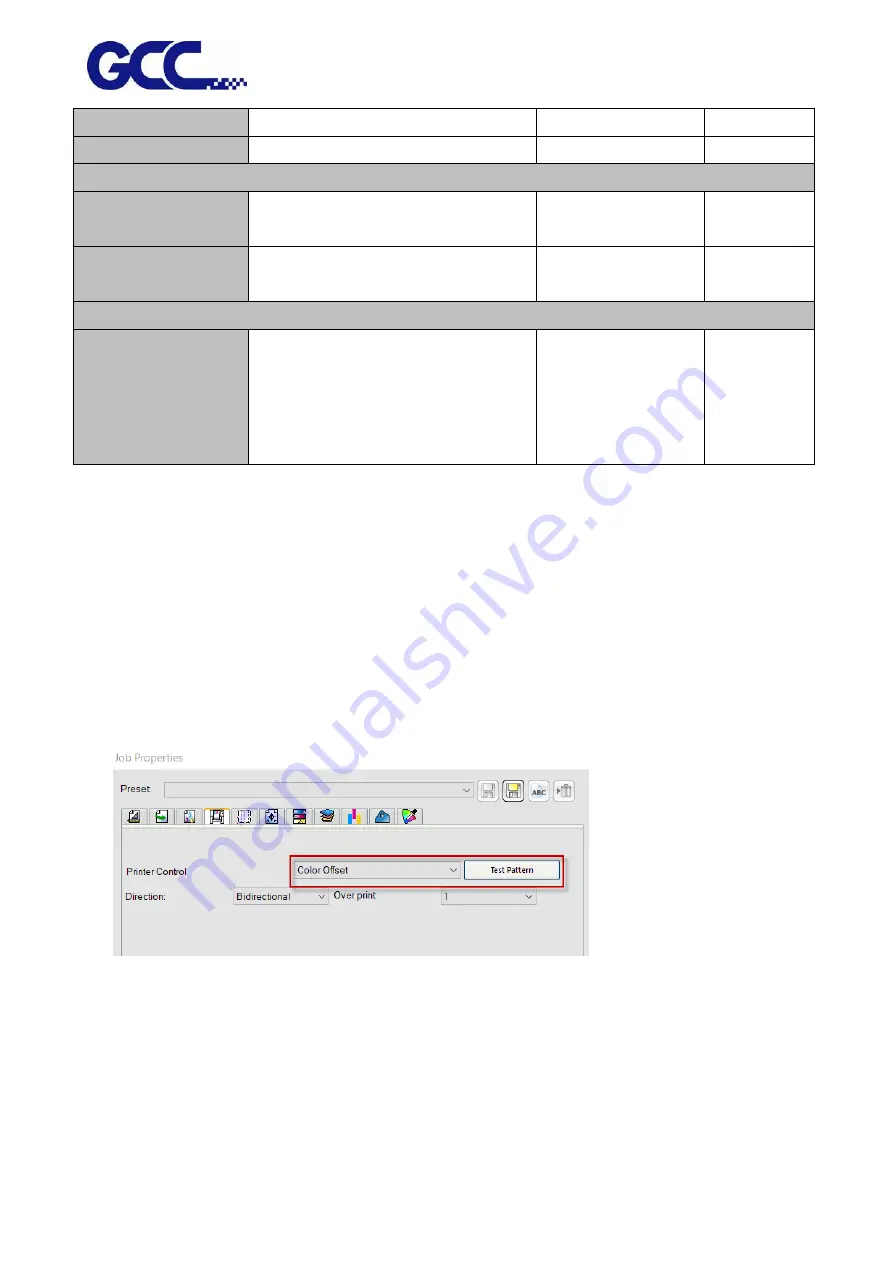
Uni-Directional Calibration:
1.
Start FlexiPRINT GCC Edition, select Color Offset in Printer Control and click Test Pattern.
2.
JF-240UV will automatically start Color Offset Test Pattern
Содержание JF-240UV
Страница 1: ...JF 240UV User Manual http www GCCworld com V 9 2020 Sep GCC GCC Club...
Страница 21: ...JF 240UV User Manual 20 3 Select Activate Now...
Страница 24: ...JF 240UV User Manual 23 Control panel flow...
Страница 25: ...JF 240UV User Manual 24 Operating work flow...
Страница 27: ...JF 240UV User Manual 26 Operating work flow...
Страница 28: ...JF 240UV User Manual 27 Control panel flow O N FRONT REAR O N O N OFF OFF...
Страница 38: ...JF 240UV User Manual 37 MANUL CLEANING WHITE CIRCULATION Circulation of white ink print head ON...
Страница 41: ...JF 240UV User Manual 40 Workflow A Set the PH Gap Auto Adjustment to be ON on control panel The default setting...
Страница 42: ...JF 240UV User Manual 41 B Set the PH Gap Auto Adjustment to be OFF on the control panel...
Страница 57: ...JF 240UV User Manual 56 Step 4 The settings is completed and open FlexiPRINT GCC Edition...
Страница 87: ...JF 240UV User Manual 86 8 Select Advanced...
Страница 95: ...JF 240UV User Manual 94 Step13 Click Finish Step14 Auto Serialization is completed 10 Click Preferences...
Страница 102: ...JF 240UV User Manual 101 4 Select Rip and print 5 Set the send mode is Hold list and send it...
Страница 128: ...JF 240UV User Manual 127 Step 8 File Export Step 9 Save the file as eps format Step 10 The process is completed...
Страница 130: ...JF 240UV User Manual 129 5 4 2 Introduction of VLCD VLCD Description...
Страница 168: ...JF 240UV User Manual 167 Step 2 Enter the password caldera Step 3 Click Next...
Страница 169: ...JF 240UV User Manual 168...
Страница 171: ...JF 240UV User Manual 170 Step 2 Select the file you want to use Step 3 Move the selected file to the GCC JF 240UV window...
Страница 174: ...JF 240UV User Manual 173 Step 8 Click Add job Step 9 Click Send job and the process is complete...