3
Part Three - Install USB Software
1.
Make sure that the PC and printer are both
turned on and running, and that the
printer’s LCD display is reading “Ready.”
2.
Connect the USB cable first to the printer’s
USB port, then to an available USB port on
the PC.
3.
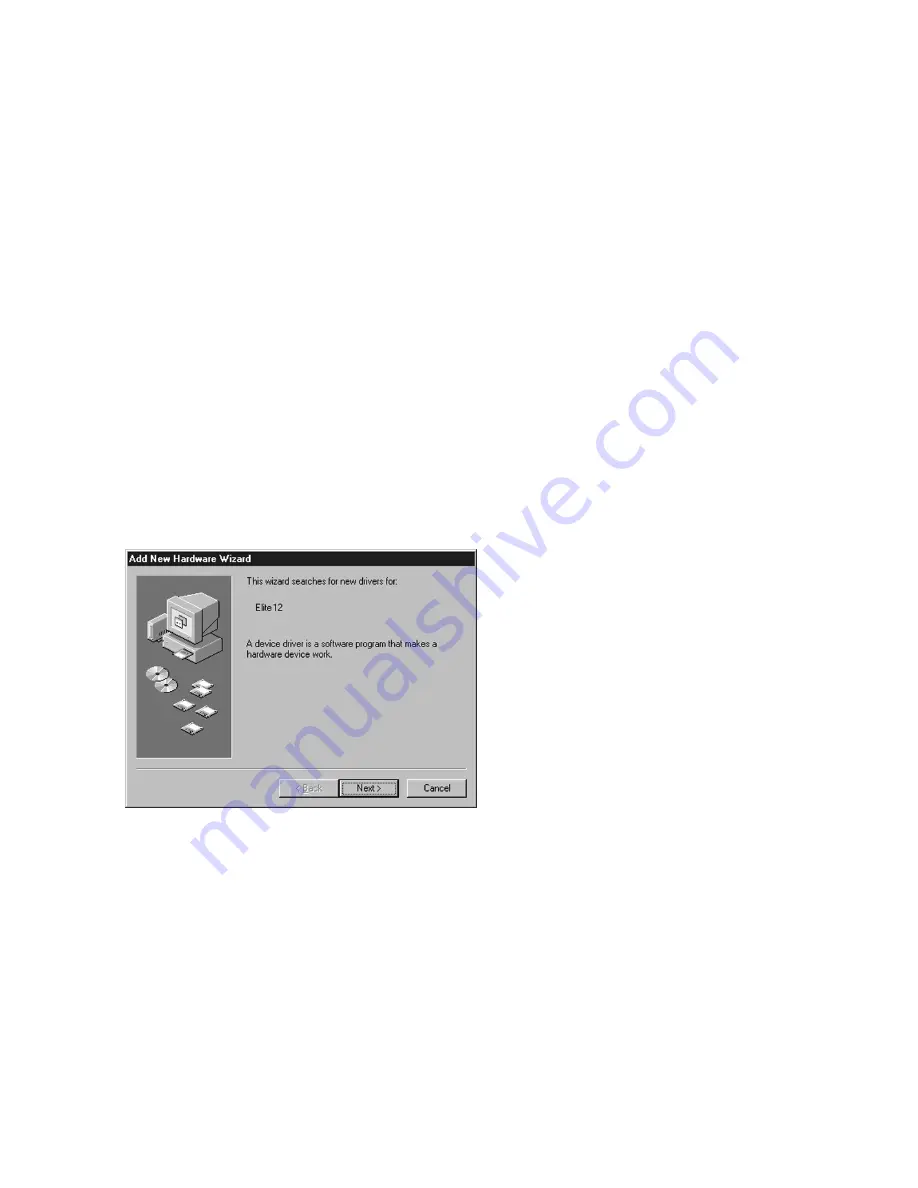
The Add New Hardware Wizard should
start up, informing you that a new device
has been found. Click Next.
The new USB software is installed through the Windows Plug and Play process.
When the printer is plugged into the PC, the PC should automatically begin a
two-step Plug and Play installation. The first step is to install the USB printing
software, and the second step is to install specific software for your GCC printer
model. The steps for these installations are as follows:


