background image

Instructions for Assembly 

Sandbox Pavilion

Ref.-Nr. 31050-4

©

 C

o

p

y

ri

g

h

b

y

 G

A

S

P

O

 G

a

rt

e

n

m

ö

b

e

G

m

b

H

0

9

/2

0

1

0


h

tt

p

:/

/w

w

w

.g

a

s

p

o

.a

t

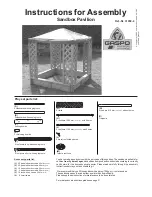
You have made a good choice with the purchase of this sandbox. The sandbox is suitable for 
children 

from 3 years of age

 and has been designed and constructed according to currently 

valid norms for the domestic private sector. Please read carefully through the assembly 
instructions before you start assembling it.

 We recommend that you fill the sandbox with approx. 150 kg

 (330 lbs)

 of play sand.

The sandbox does not have a bottom, so water can flow off easily.
Please keep these instructions for maintenance to be done later on.

For maintenance instructions please see page 3! 
 

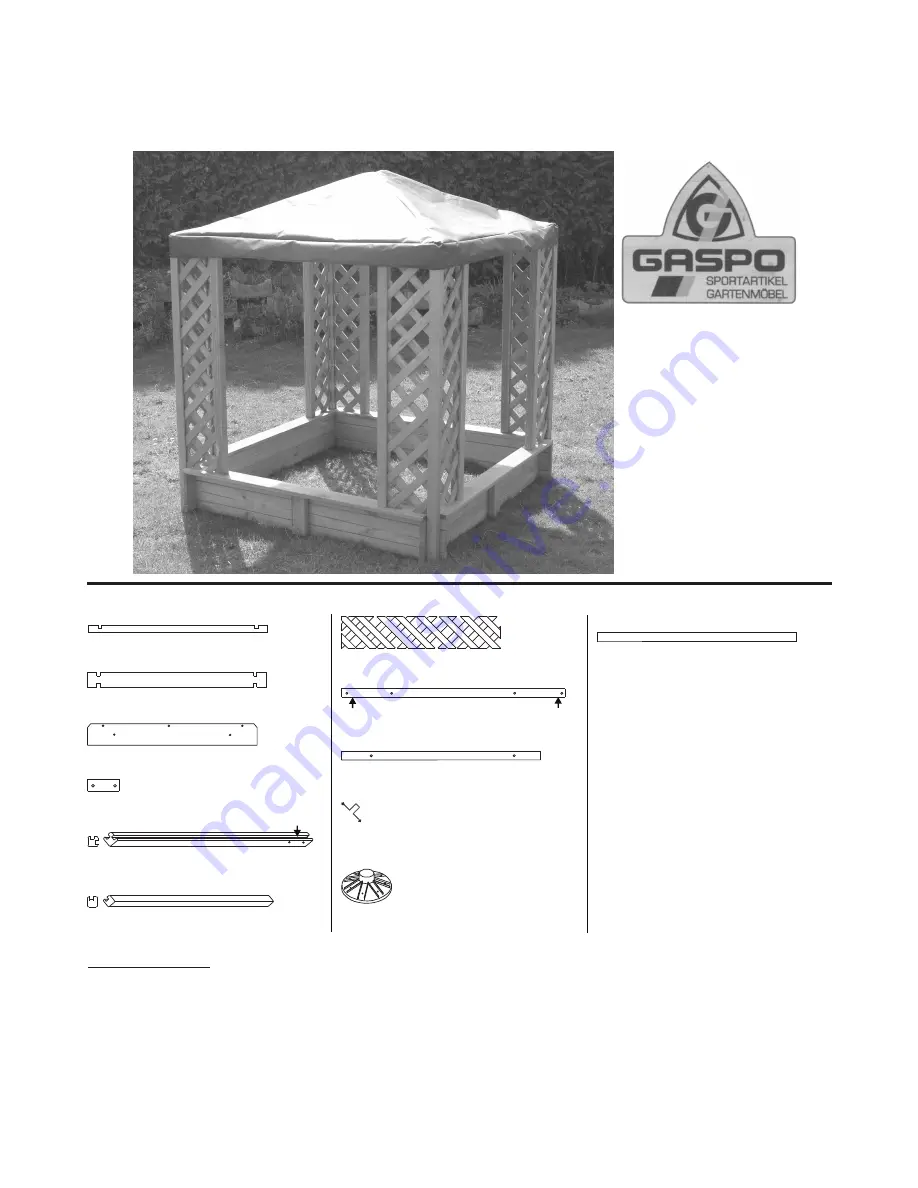
Play set parts list:

(A)

4 sideboards with single groove

(B)

2 sideboards with double groove

(C)


4 sitting boards 

(D)


2 reinforcing boards 

(F)


8 roof posts, short, with single groove   

(G)


8 trellis 

(J)


2 roof-bars, 1180 mm 

(3’ 10 7/16”)

, with 2 holes

(O)


1 tarpaulin 

(N)


4 top bars, 815 mm 

(2’ 8 1/16”)

, without holes 

(M)


1 plastic roof cone 

(E)


4 roof posts, long, with double groove

(L)


4 metal roof holding device 

Accessory parts list: 

(1)

   20 particle board screws 40 mm 

(1 9/16”)


(2)

   20 particle board screws 45 mm 

(1 3/4”)

(3)

   12 particle board screws 55 mm 

(2 3/16”)

(4)

     4 particle board screws 60 mm 

(2 3/8”)

(5)

   16 round-head screws 20 mm 

(3/4”)

(6)

     8 small shims

(H)


2 roof-bars, 1260 mm 

(4’ 1 5/8”)

 , with 6 holes

Содержание 31050-4

Страница 1: ...f easily Please keep these instructions for maintenance to be done later on For maintenance instructions please see page 3 Play set parts list A 4 sideboards with single groove B 2 sideboards with double groove C 4 sitting boards D 2 reinforcing boards F 8 roof posts short with single groove G 8 trellis J 2 roof bars 1180 mm 3 10 7 16 with 2 holes O 1 tarpaulin N 4 top bars 815 mm 2 8 1 16 without...

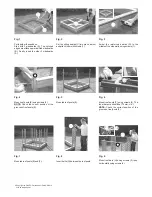
Страница 2: ...g 4 Mount roof posts E using screws 3 NOTE Check the correct position of the grooves of roof posts E Fig 5 Mounted roof posts E Fig 6 Mount roof posts F using screws 2 The inner distance should be 175 mm 6 7 8 NOTE Check the correct position of the grooves of roof posts F Fig 7 Mounted roof posts E and F Fig 8 Insert trellis G between the roof posts Copyright by GASPO Gartenmöbel GmbH 9 2010 http ...

Страница 3: ...esilience of the material This means that the static properties are not affected In order to prevent possible risk of injury you can fill in these cracks with silicone or a similar material or polish the wood The wood should be treated with a wood preserving paint from your colour specialty shop at least once per year When treating the wood please make sure that the paint is suitable for children ...

Страница 4: ...Manufacturer GASPO Sportartikel und Gartenmöbel GmbH Peiskam 6 4694 Ohlsdorf Austria Phone 43 7612 47 292 0 Fax 43 7612 47 292 6 e mail or contact your local dealer office gaspo at ...

Отзывы: